Initial Appliance Setup
Appliance Setup
After installation, log into the appliance at the URL presented upon completion. An initial setup wizard walks through the first account and user creations.
Enter Master Account name
Typically, the Master Account name is your Company name.
Create Master User
First Name
Last Name
Username
Email Address
Password * Must be at least 8 characters long and contain one each of the following: Uppercase letter, lowercase letter, Number, Special Character
Enter Appliance Name & Appliance URL
The Appliance Name is used for white labeling and as a reference for multi-appliance installations.
The Appliance URL is the URL all provisioned instances will report back to. Example: https://example.morpheusdata.com. The Appliance URL can be changed later, and also set to a different URL per cloud integration.
Optionally Enable or Disable Backups, Monitoring, or Logs from this screen.
Note
You may adjust these settings from the Administration section.
Note
The Master Account name is the top-level admin account.
Note
The Master User is the system super user and will have full access privileges.
Upon completing of the initial appliance setup, you will be taken to the Administration > Settings page, where you will add your License Key.
Login Methods
Master Tenant
Enter username (or email address) and password
Subtenant
To login, subtenants can either use the master tenant URL with subtenant\username formatting:
- Example:
I have a username
subuserthat belongs to a tenant with the subdomainsubaccount. When logging in from the main login url, I would now need to enter in:subaccount\subuser
Or use the tenant specific URL which can be found and configured under Administration > Tenants > Select Tenant > Identity Sources.

Important
In 3.4.0+ Subtenant users will no longer be able to login from the main login url without specifying their subdomain.
Configure Cloud-init Global Settings
When using cloud-init, cloudbase-init, VMware Tools customizations, or Nutanix Sysprep, Global Linux User and Windows Administrator credentials can be set using the settings in Administration > Settings > Provisioning. It is recommended to define these settings after installation unless credentials are defined per Virtual Image for Provisioning.
Add a License Key
In order to provision anything in Morpheus, a Morpheus License Key must be applied.
If you do not already have a license key, one may be requested from https://www.morpheushub.com or from your Morpheus representative.
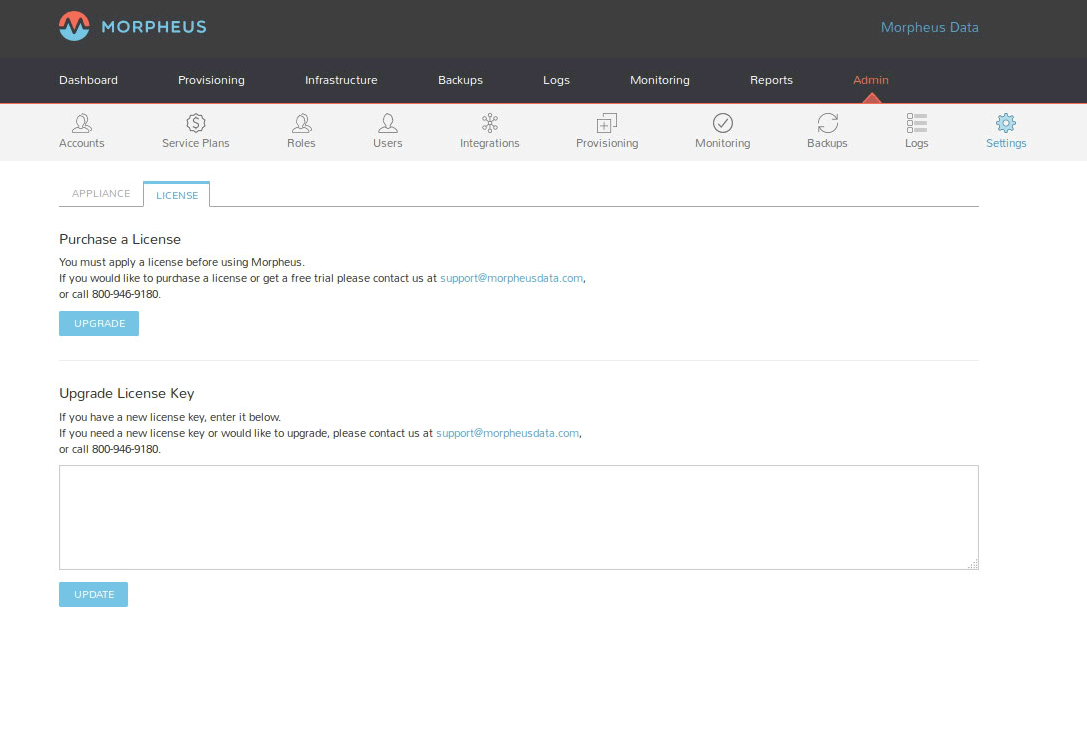
In the Administration > Settings section, select the LICENSE tab, paste your License Key and click UPDATE

When the license is accepted, your license details will populate in the Current License section.
If you receive an error message and your license is not accepted, please check it was copied in full and then contact your Morpheus representative. You can also verify the License Key and expiration at https://www.morpheushub.com.