NSX-V
Overview
SUMMARY
TRANSPORT ZONES
SWITCHES
LOGICAL SWITCHES
FIREWALL
LOGICAL ROUTERS
EDGE GATEWAYS
Add NSX-V Integration
Navigate to
Infrastructure > Network > IntegrationsSelect Select + ADD > VMWare NSX-V
Enter the following:
- NAME
Name for the NSX Integration in Morpheus
- API HOST
URL of NSX Manager
- USERNAME
NSX Manager Admin Username
- PASSWORD
NSX Manager Admin password
- VMWARE CLOUD
Select the existing VMware cloud associated with this NSX integration
Select ADD NETWORK INTEGRATION
Once the NSX Integration is added Morpheus will sync in existing Transport Zones, Logical Switches, and Edge Gateways. New Transport Zones, Logical Switches, and Edge Gateways can be now be created.
Summary View
When accessing an NSX-V integration (Infrastructure > Network > Integrations), you’re taken to the SUMMARY tab by default. In Morpheus 4.1.2 and later, the NSX-V integration includes an enhanced summary view that includes global, system, and component statuses, as well as enhanced stats. As of Morpheus version 4.1.2, you can also force a manual refresh of the integration details by clicking ACTIONS > Refresh.

Create NSX Transport Zone
Navigate to Infrastructure > Network
Select the Integrations tab
Select the name of NSX-V integration
Select the Transport Zones tab
Select + CREATE NSX TRANSPORT ZONE
- NAME
Name of Transport Zone
- DESCRIPTION
Description for the Transport Zone
- CLUSTER
Select the Cluster the Transport Zone will be provisioned to
- REPLICATION MODE
“multicast”, “unicast”, or “hybrid”
Switches
Morpheus version 4.1.2 adds SWITCHES tab to view switches associated with the selected NSX integration. Information displayed on each switch include the following:
NAME
UPLINK PORT
TYPE
SWITCH ID
DESCRIPTION

Create NSX Logical Switch and Edge Gateway
Important
Prior to creating a Logical Switch and Edge Gateway, associated External VMware Networks must be configured in Morpheus. Navigate to INFRASTRUCTURE > NETWORK and edit any Distributed Switch Groups that will be used and populate the Gateway, DNS and CIDR
Navigate to INFRASTRUCTURE > NETWORK
Select the SERVICES tab
Select the name of NSX Integration
Select the LOGICAL SWITCHES tab
Select + CREATE NSX LOGICAL SWITCH
Populate the following for the Logical Switch and Edge Gateway Configurations:
Logical Switch Configuration:
- NAME
Name of the Logical Switch
- DESCRIPTION
Description of the Logical Switch
- TRANSPORT ZONE
Select an existing Transport Zone
- CIDR
Add the CIDR for the Logical Switch. Example: 10.30.28.0/24
- TENANT NAME
Enter Tenant name for the Logical Switch (Optional)
Edge Gateway Configuration:
- HOSTNAME
Enter Hostname of the Edge Gateway
- SIZE
Select Size of the Edge Gateway
- EXTERNAL NETWORK
Select the External Network for the Edge Gateway.
Important
The Gateway, DNS and CIDR must be populated on an external network for it to be selectable when creating an Edge Gateway.
- IP ADDRESS
Populate IP address to be assigned to the Edge Gateway
- DATA STORE
Select the Datastore for the Gateway
- RESOURCE POOL
Select the Resource Pool for the Gateway
- FOLDER
Select a Folder for the Edge Gateway (optional)
- USERNAME
Enter a Username for the Edge Gateway
- PASSWORD
Enter a Password for the Edge Gateway
Note
Password length must be at-least 12 characters and at-max 255 characters. It must contain mix of alphabets with both upper case and lower case, numbers and at-least one special character. Password must not contain username as substring. Character must not consecutively repeat 3 or more times.
Select + CREATE
Morpheus version 4.1.2 also extends the details we can see on existing Edge Gateways. First, to view the list of Edge Gateways, navigate to your selected NSX integration, and click on the EDGE GATEWAYS tab. Here you will see a list of existing Edge Gateways, including their NAME and DESCRIPTION values. To see the enhanced details view for your Edge Gateways, click on the name of a selected Edge Gateway.
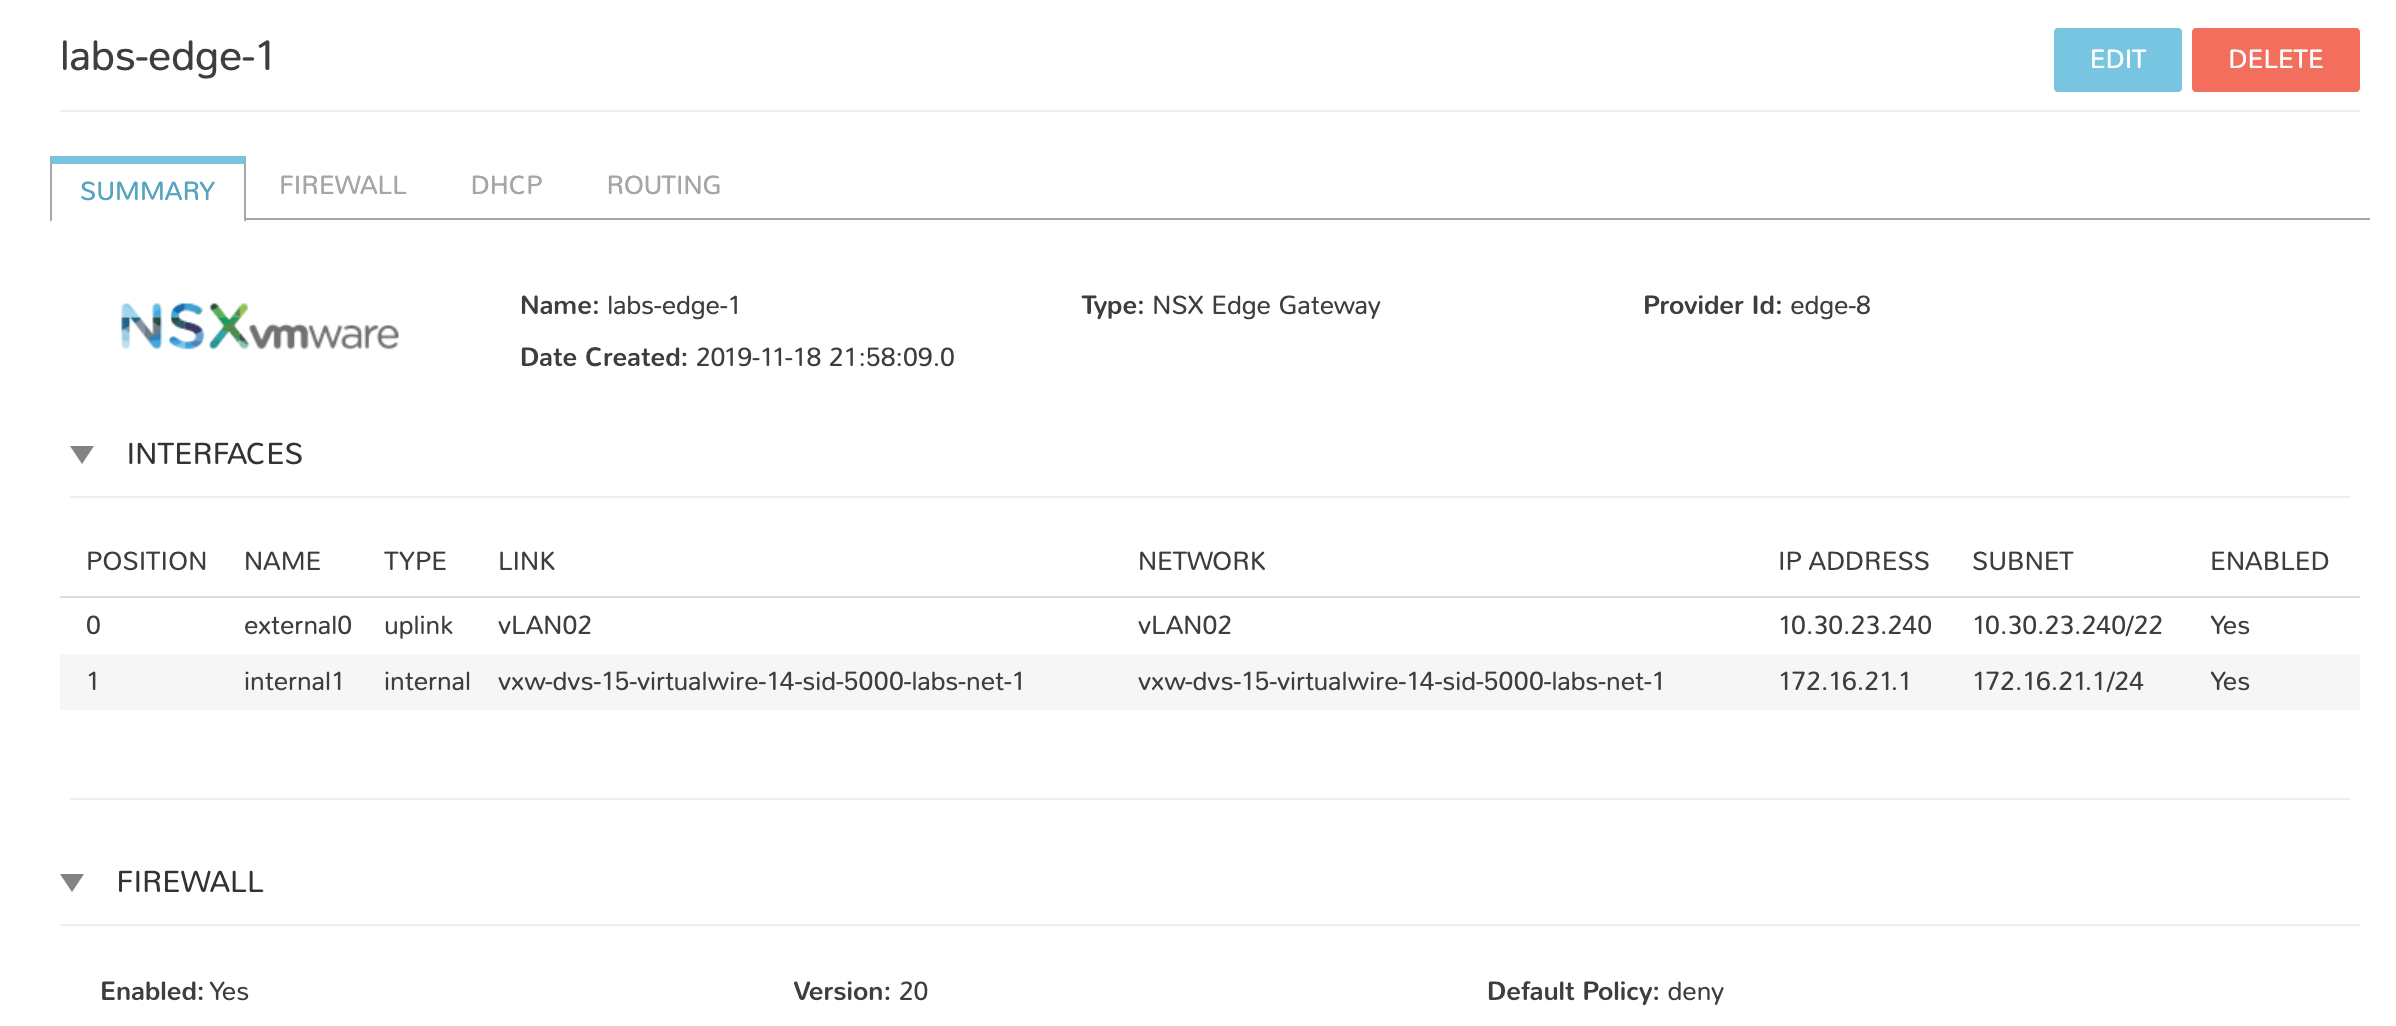
The new Edge Gateway detail view includes the following tabs:
SUMMARY: Includes general configuration details for the selected Edge Gateway
FIREWALL: Includes firewall configuration detail and includes the ability to create rules
DHCP: Includes details on IP pools
ROUTING: Includes details on configured routes and includes the ability to create routes
Firewall
Morpheus version 4.1.2 adds a FIREWALL tab which allows you to view existing firewall rules as well as create new rules and groups. From the rules summary list, the following fields are displayed for each rule:
NAME
TYPE
POLICY
DIRECTION
SOURCE
DESTINATION
APPLICATION
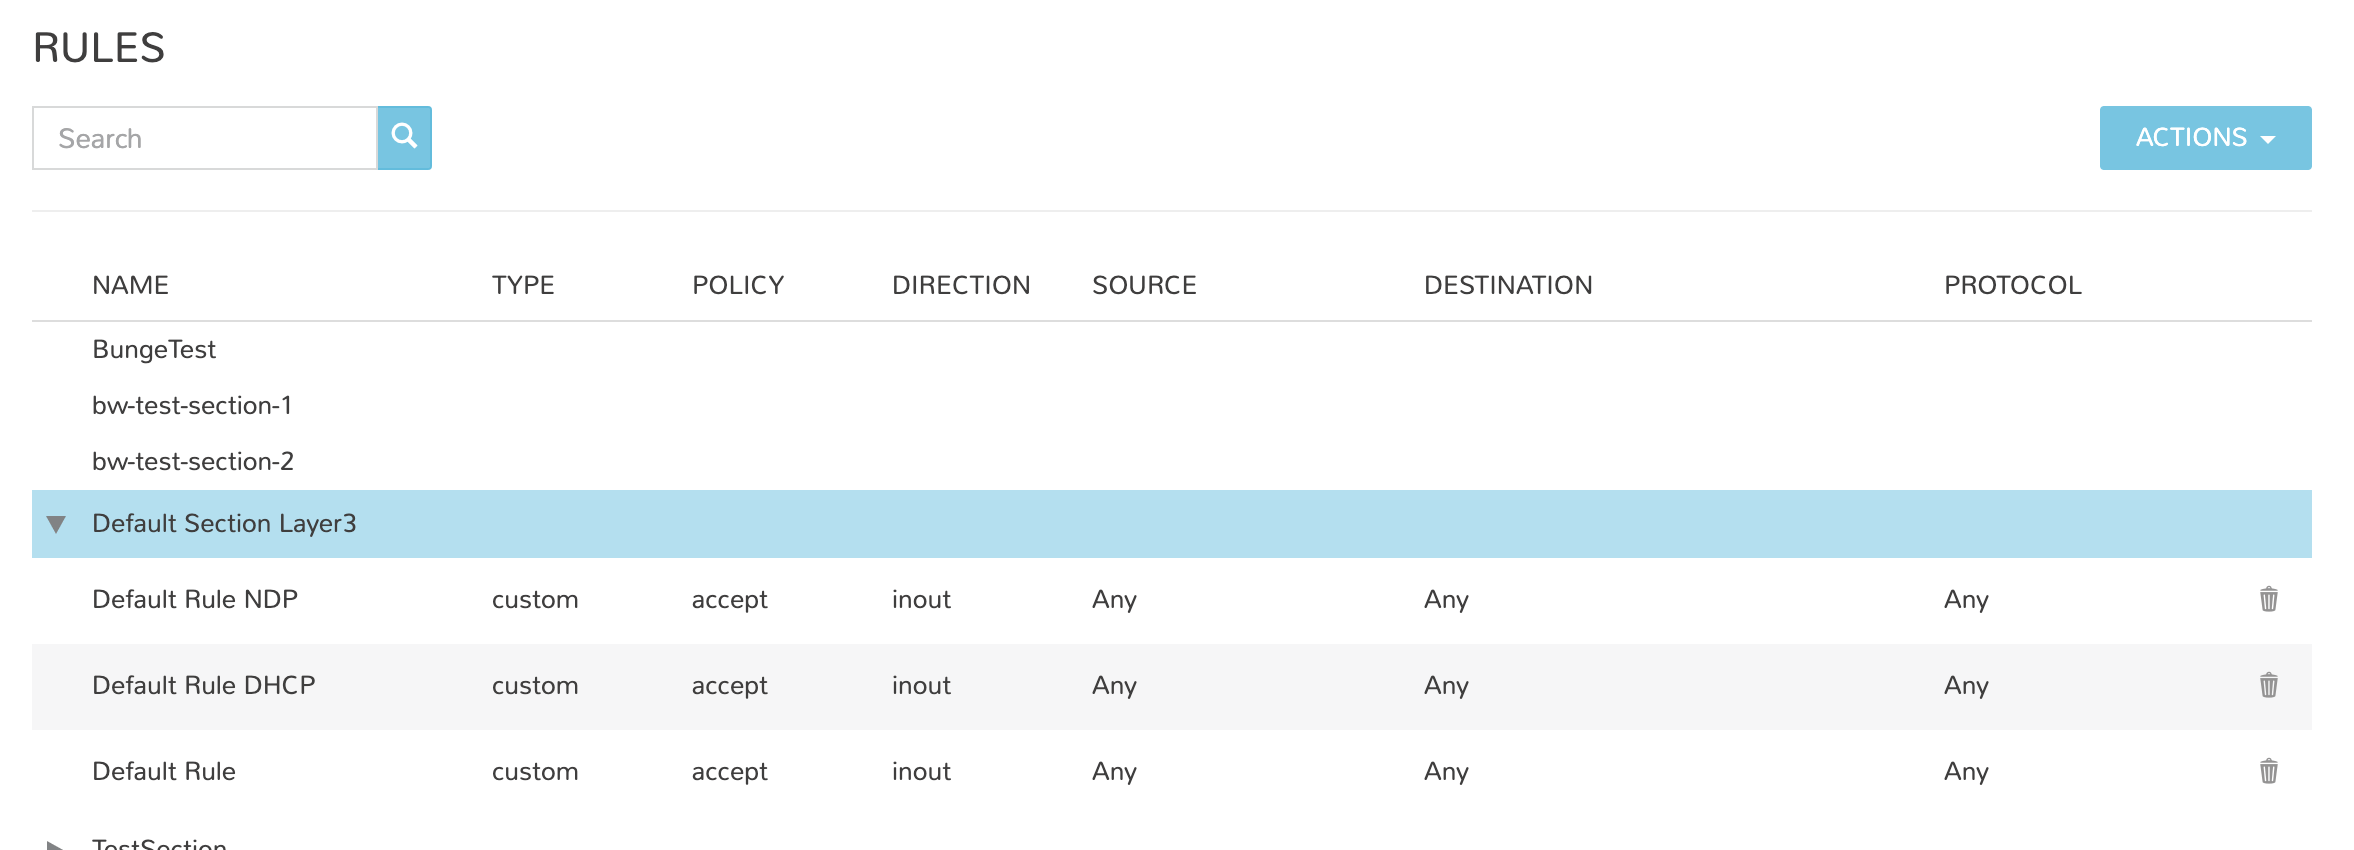
Morpheus also allows you to create new firewall groups and new firewall rules.
To create a new group:
Click on the ACTIONS button from within the list of firewall rules
Click “Create Group”
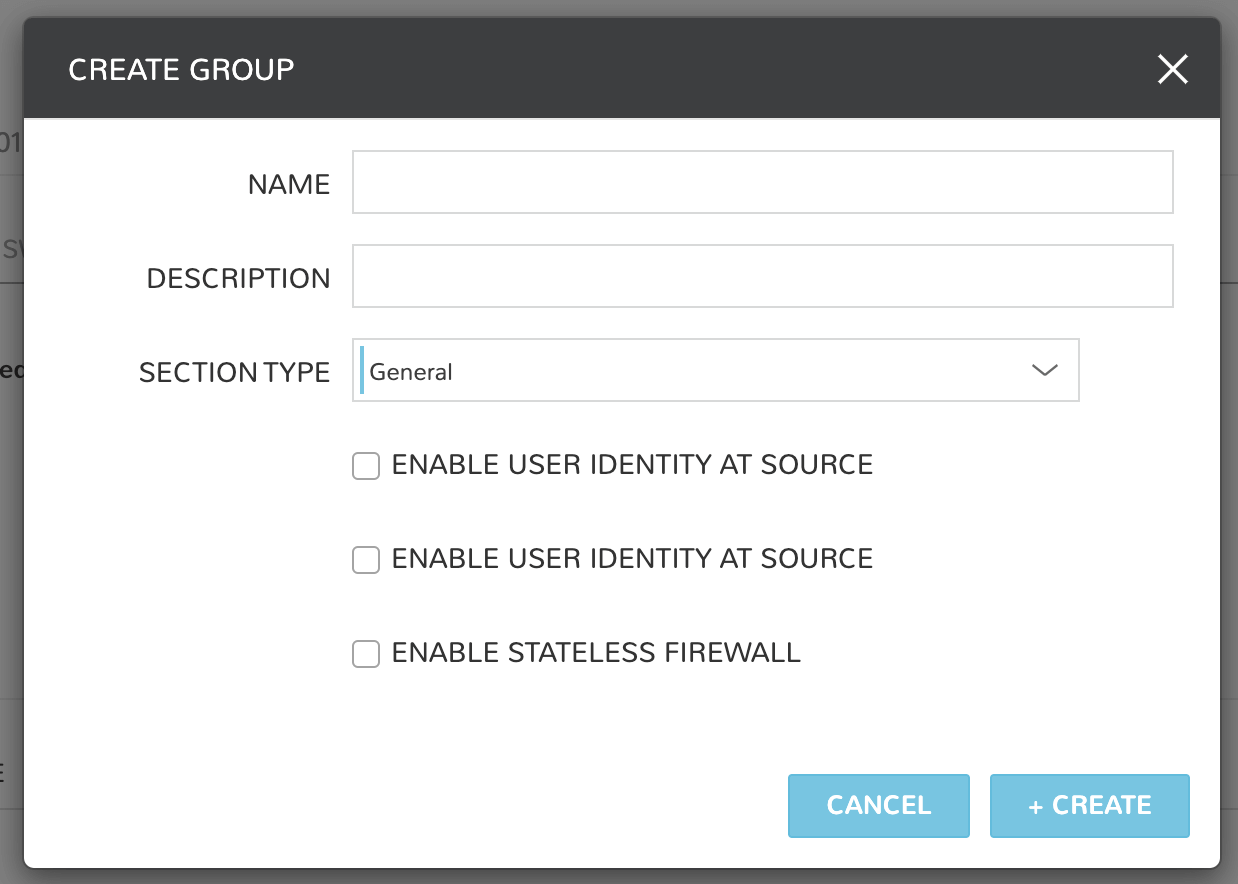
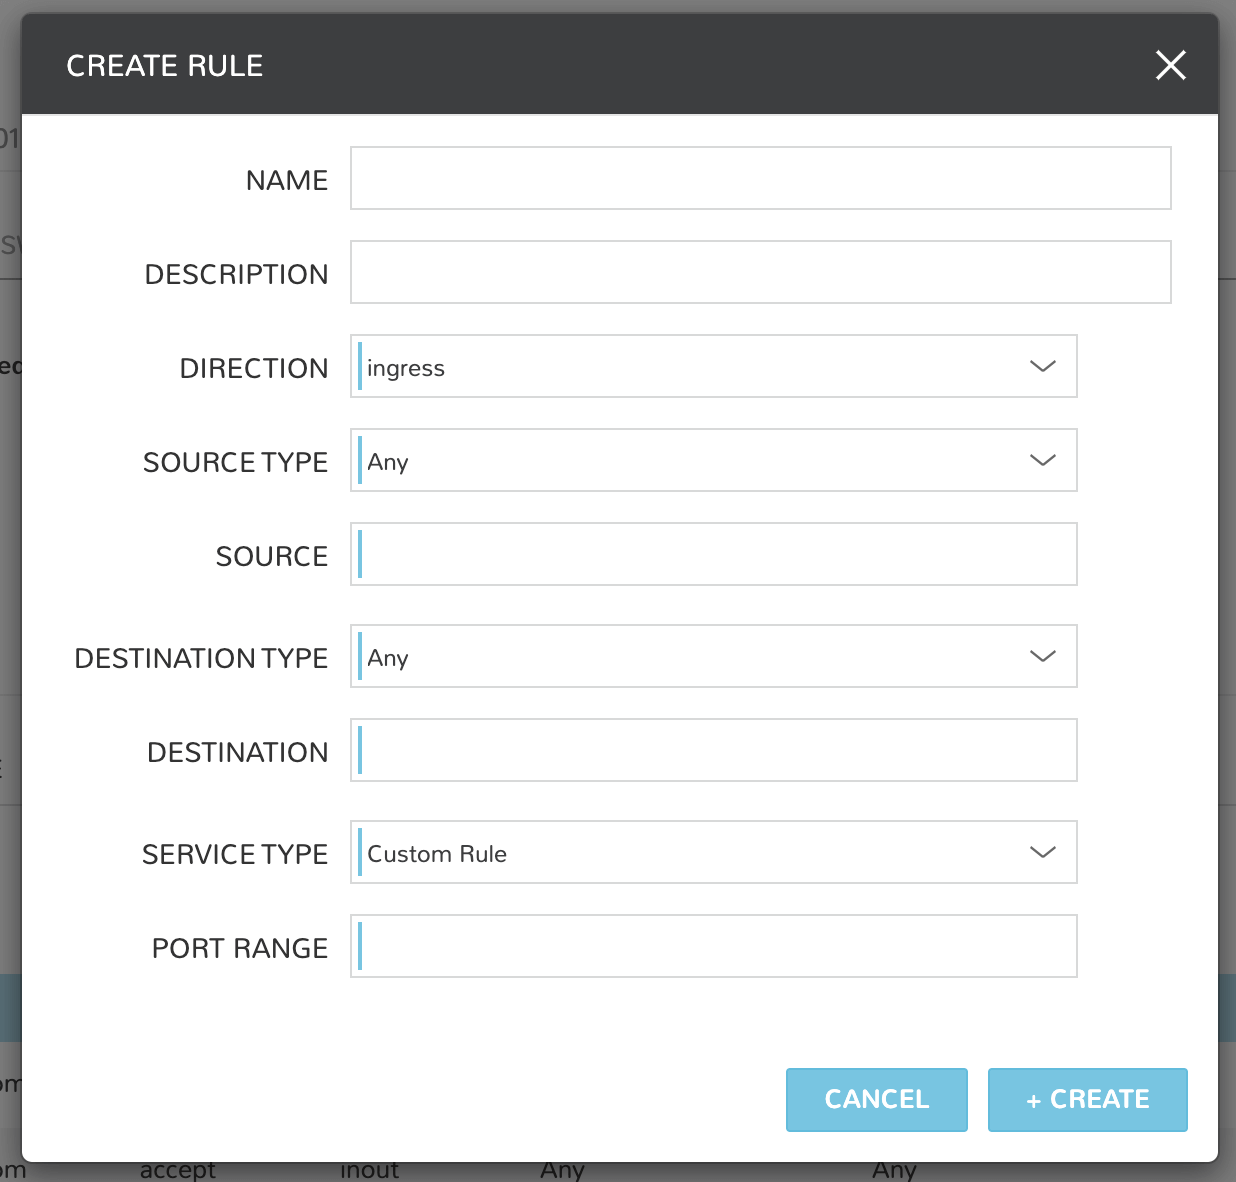
To create a new rule:
Click on the ACTIONS button from within the list of firewall rules
Click “Create Rule”
Logical Routers
Morpheus version 4.1.2 adds a Logical Routers section to the NSX integration, including the ability to view and create new logical routers. From the LOGICAL ROUTERS tab, a list of logical routers associated with your selected integration is shown. Values displayed for each logical router include the following:
STATUS
NAME
DESCRIPTION
To create a new logical router:
Navigate to the LOGICAL ROUTERS tab for the chosen integration
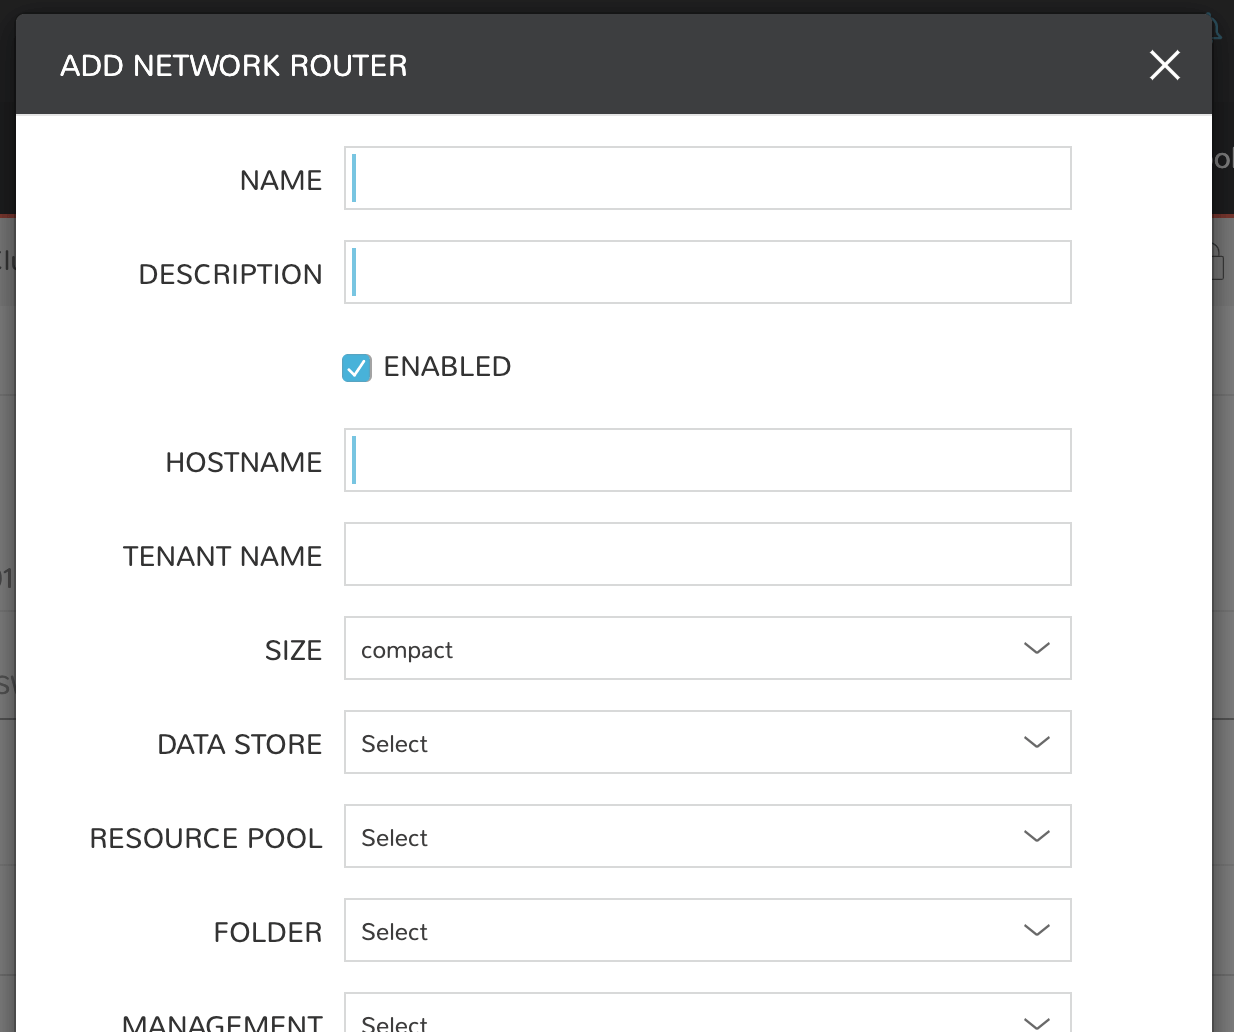
Click on + CREATE NSX LOGICAL ROUTER
Complete the presented modal
Click ADD NETWORK ROUTER
