User Settings
User settings are accessed by clicking on your display name in the far upper-right corner of the application window. In this dropdown menu, click on the “USER SETTINGS” link.
User Photo
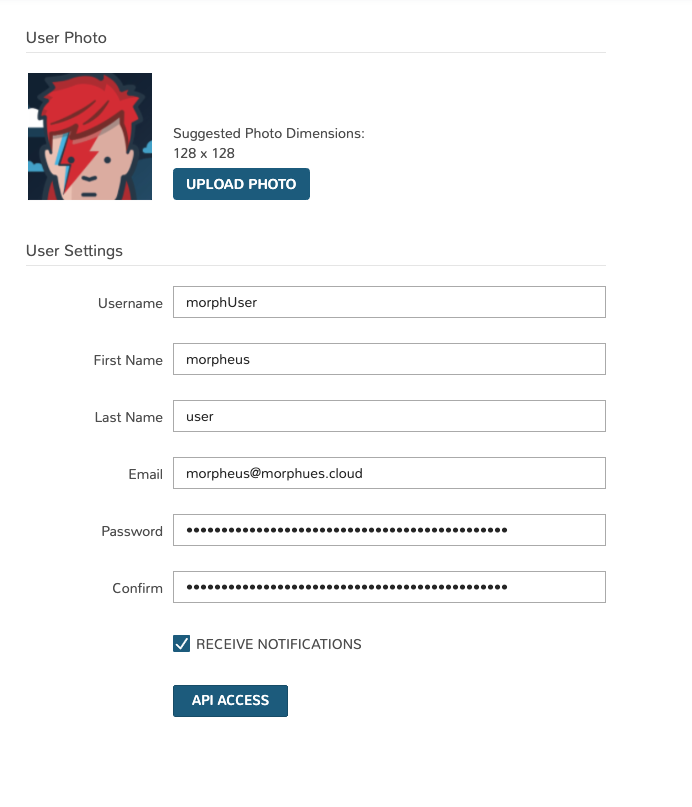
Upload a custom image for your user avatar that is displayed in the top header and user administration sections. Suggested Photo Dimensions: 128 x 128
User Settings
The fields included in this section are described below. By entering any new values in these fields and clicking SAVE, the existing value will be overwritten.
Theme: Default or Dark mode
Username: Your Morpheus username
First Name: Your first name (together with Last Name makes up your display name)
Last Name: Your last name (together with First Name makes up your display name)
Email: Your email address
Password: Enter a value and save changes to update your password. The value in the Confirm field below must match
Confirm: Confirm the new password you’ve entered
RECEIEVE NOTIFICATIONS Determines if Provisioning notifications are emailed to this Users.
2 Factor Authentication
Morpheus supports two-factor authentication (2FA) for local user accounts as well as those authenticating through Active Directory and LDAP identity sources. Authentication is handled through a 2FA app such as Authy or Google Authenticator. Other common methods for handling 2FA, such as through email or SMS text message are not currently supported. Two-factor authentication is handled on a per-user basis through the User Settings section. There is not currently a way for an administrator to enforce the use of two-factor authentication appliance-wide.
Setting Up Two-Factor Authentication
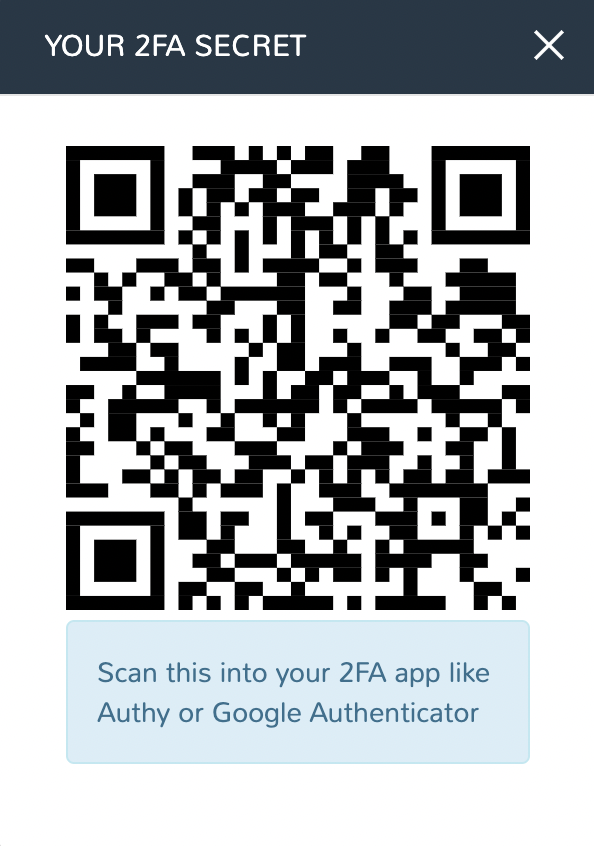
When two-factor authentication isn’t yet set up, this section contains a single button: ENABLE 2FA. To get started, click this button and Morpheus will prompt for your password. After entering the password, you’ll be shown a QR code which can be scanned into your authenticator application of choice. Once the QR code is shown, 2FA is active and the supplemental code will need to be entered each time the user logs in.
On subsequent login attempts, the user will be prompted to enter a 2FA code after successful entry of the username and password. Retrieve this code from the 2FA app you set up in the prior section and enter it to complete the login process.
Disabling Two-Factor Authentication
When two-factor authentication is set up, this section contains two buttons: DISABLE 2FA and GET 2FA CODE. To generate a new QR code and configure an authenticator app, click GET 2FA CODE. Once you generate a new QR code, the old one is no longer valid. At that point you must reconfigure your authenticator app or you will not be able to access your account on the next login attempt. Generating a new QR code requires your password.
To disable 2FA, click DISABLE 2FA. This action does not require a password.
Handling User Lock-Out
If a user loses the device they’ve configured for authentication or if they cannot proceed through 2FA login for any other reason, an administrator should impersonate the user’s account, reset their password, disable 2FA, then share the new temporary password with the user. At that point, the user can login, reset their password to something more secure, and re-enable 2FA (if desired).
Preferences
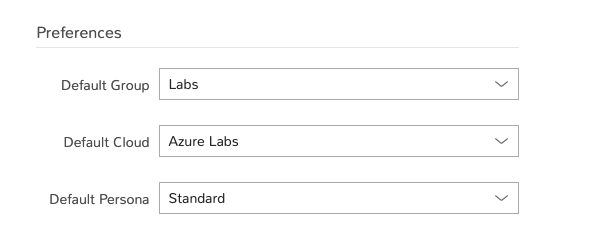
Default Group: Sets the default Group selection when provisioning
Default Cloud: Sets the default Cloud selection when provisioning
Default Persona: Sets the default Persona used when logging in
Default Locale: Sets the user’s preferred language and region, this setting will override the global locale for the individual user
Linux Settings
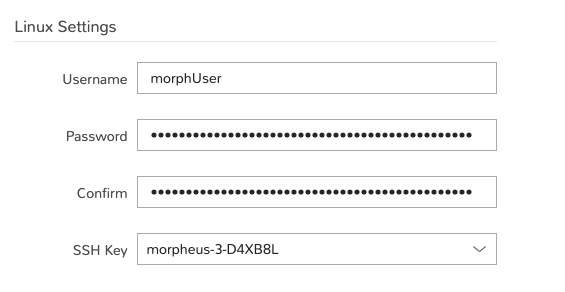
When provisioning a Linux-based resource and opting to have your user created during the provisioning process, the credentials entered in this section will be used to seed that user into the provisioned resource.
Username: The username that will be used with your Linux user
Password: The password that will be used with your Linux user (optional if specifying key)
Confirm: Confirm your entered password. These must match in order for the new password value to be saved
SSH Key: Select a pre-existing SSH key pair object in Morpheus. Required of not specifying password and creating your user during provisioning, or required if ssh password authentication has been disabled.
Warning
If your users Linux Settings password and/or key are not defined, and ‘Create User” is enabled during provisioning (default), a random password will be generated but not exposed and you will not be able to login with your user.
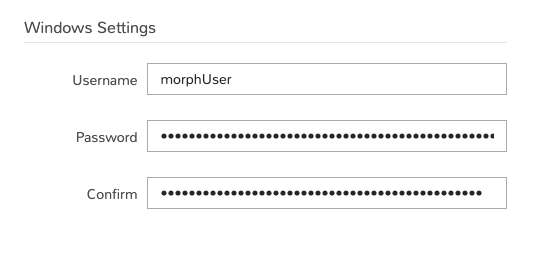
Windows Settings
When provisioning a Windows-based resource and opting to have your user created during the provisioning process, the credentials entered in this section will be used to seed that user into the provisioned resource.
Username: The username that will be used with your Windows accounts
Password: The password that will be used with your Windows accounts
Confirm: Confirm your entered password. These must match in order for the new password value to be saved
Warning
If your users Windows Settings password is not defined, and ‘Create User” is enabled during provisioning (default), a random password will be generated but not exposed and you will not be able to login with your user.
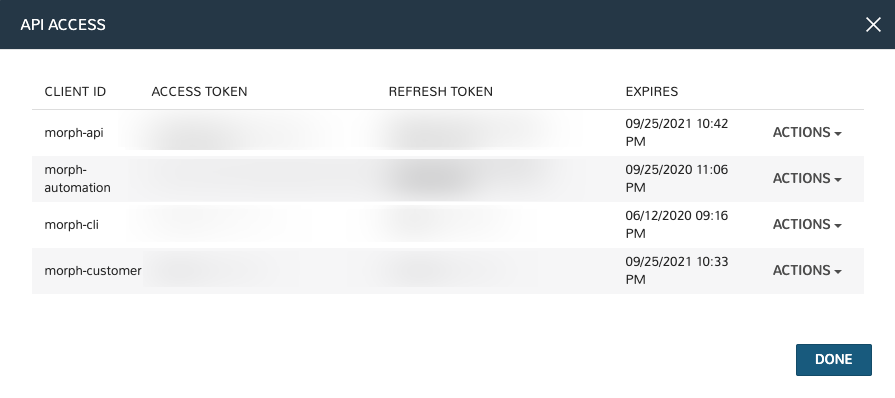
API Access
Click the API Access button to expand the “API ACCESS” modal. In this modal you can generate or refresh access tokens that can be used with Morpheus API and Morpheus CLI.
If no token yet exists for a particular “CLIENT ID”, click ACTIONS and then Generate. If a token has expired, we can also regenerate that token by clicking ACTIONS and then Regenerate. After regenerating a particular token, you would need to ensure any scripts using those tokens are updated.
If needed, Primary Tenant administrators may configure the expiration periods for existing clients or create new clients from Morpheus global settings (Administration > Settings > Clients). See client configuration documentation for more details.
morph-api: Used for Morpheus API access and should be the default token-type used
morph-cli: Used for Morpheus CLI access
morph-automation: Used by the internal Task engine and by jRuby-type Tasks to make API calls. It shouldn’t be used externally for other types of access or in external automation. It is surfaced in the UI so users can see if a token exists and can clear it when necessary
morph-customer: This token is available for legacy implementations and was previously recommended for custom API access (similar to the morph-api token). It’s not recommended for use but is still available to maintain support for legacy custom automation which may still be in use on customer sites
After navigating away from the User Settings page, the complete access and refresh tokens will be masked from view. If these are lost or compromised, you can eliminate a token completely by clicking ACTIONS and then Clear. If you need to generate a new token for the same Client ID, click ACTIONS and then Regenerate.
Note
Access Tokens are only displayed/available after generation. Copy new Tokens and store appropriately before navigating from /user-settings, they will not be displayed again.