Commvault
Morpheus integrates with Commvault for selection as a Cloud backup target. Compatible Clouds include VMware and OpenStack. Morpheus integrates with your existing Commvault appliance, which can then be set as the preferred backup solution for any existing Clouds. From there, easily schedule backup routines during Instance provisioning and restore Instances when needed. This section discusses the process for integrating Commvault with Morpheus, sharing a Commvault integration with multiple Tenants, setting backup during Instance provisioning, and restoring Instances from backup.
Features
Share one backup provider across multiple Tenants
Apply Commvault integration as the default backup target for compatible clouds
Select Commvault integrations as backup provider at Instance provision time
Automate backups with Morpheus Backup Jobs
When needed, easily restore Instance backups
Adding Commvault Integration
Navigate to Backups > Services
Select + ADD
Select Commvault
Fill in the following:
- Name
Name of the Integration in Morpheus
- Enabled
Enable the Commvault integration
- Host
IP or Hostname of the Commvault server.
- Port
Port number configured to access the Commvault server
Tip
Enter the port to connect with the Commvault web server, by default this is port 81. For more, see Commvault port requirement documentation.
- Username
Admin Username for Commvault
- Password
Password for Username provided (encrypted in Morpheus).
- Visibility
- Sets Multi-Tenant Visibility
- Private
Only Available to the Tenant the Integration is added by
- Public
Available to Sub-Tenants (master tenant option only)
SAVE
Set Commvault as Cloud Backup Target
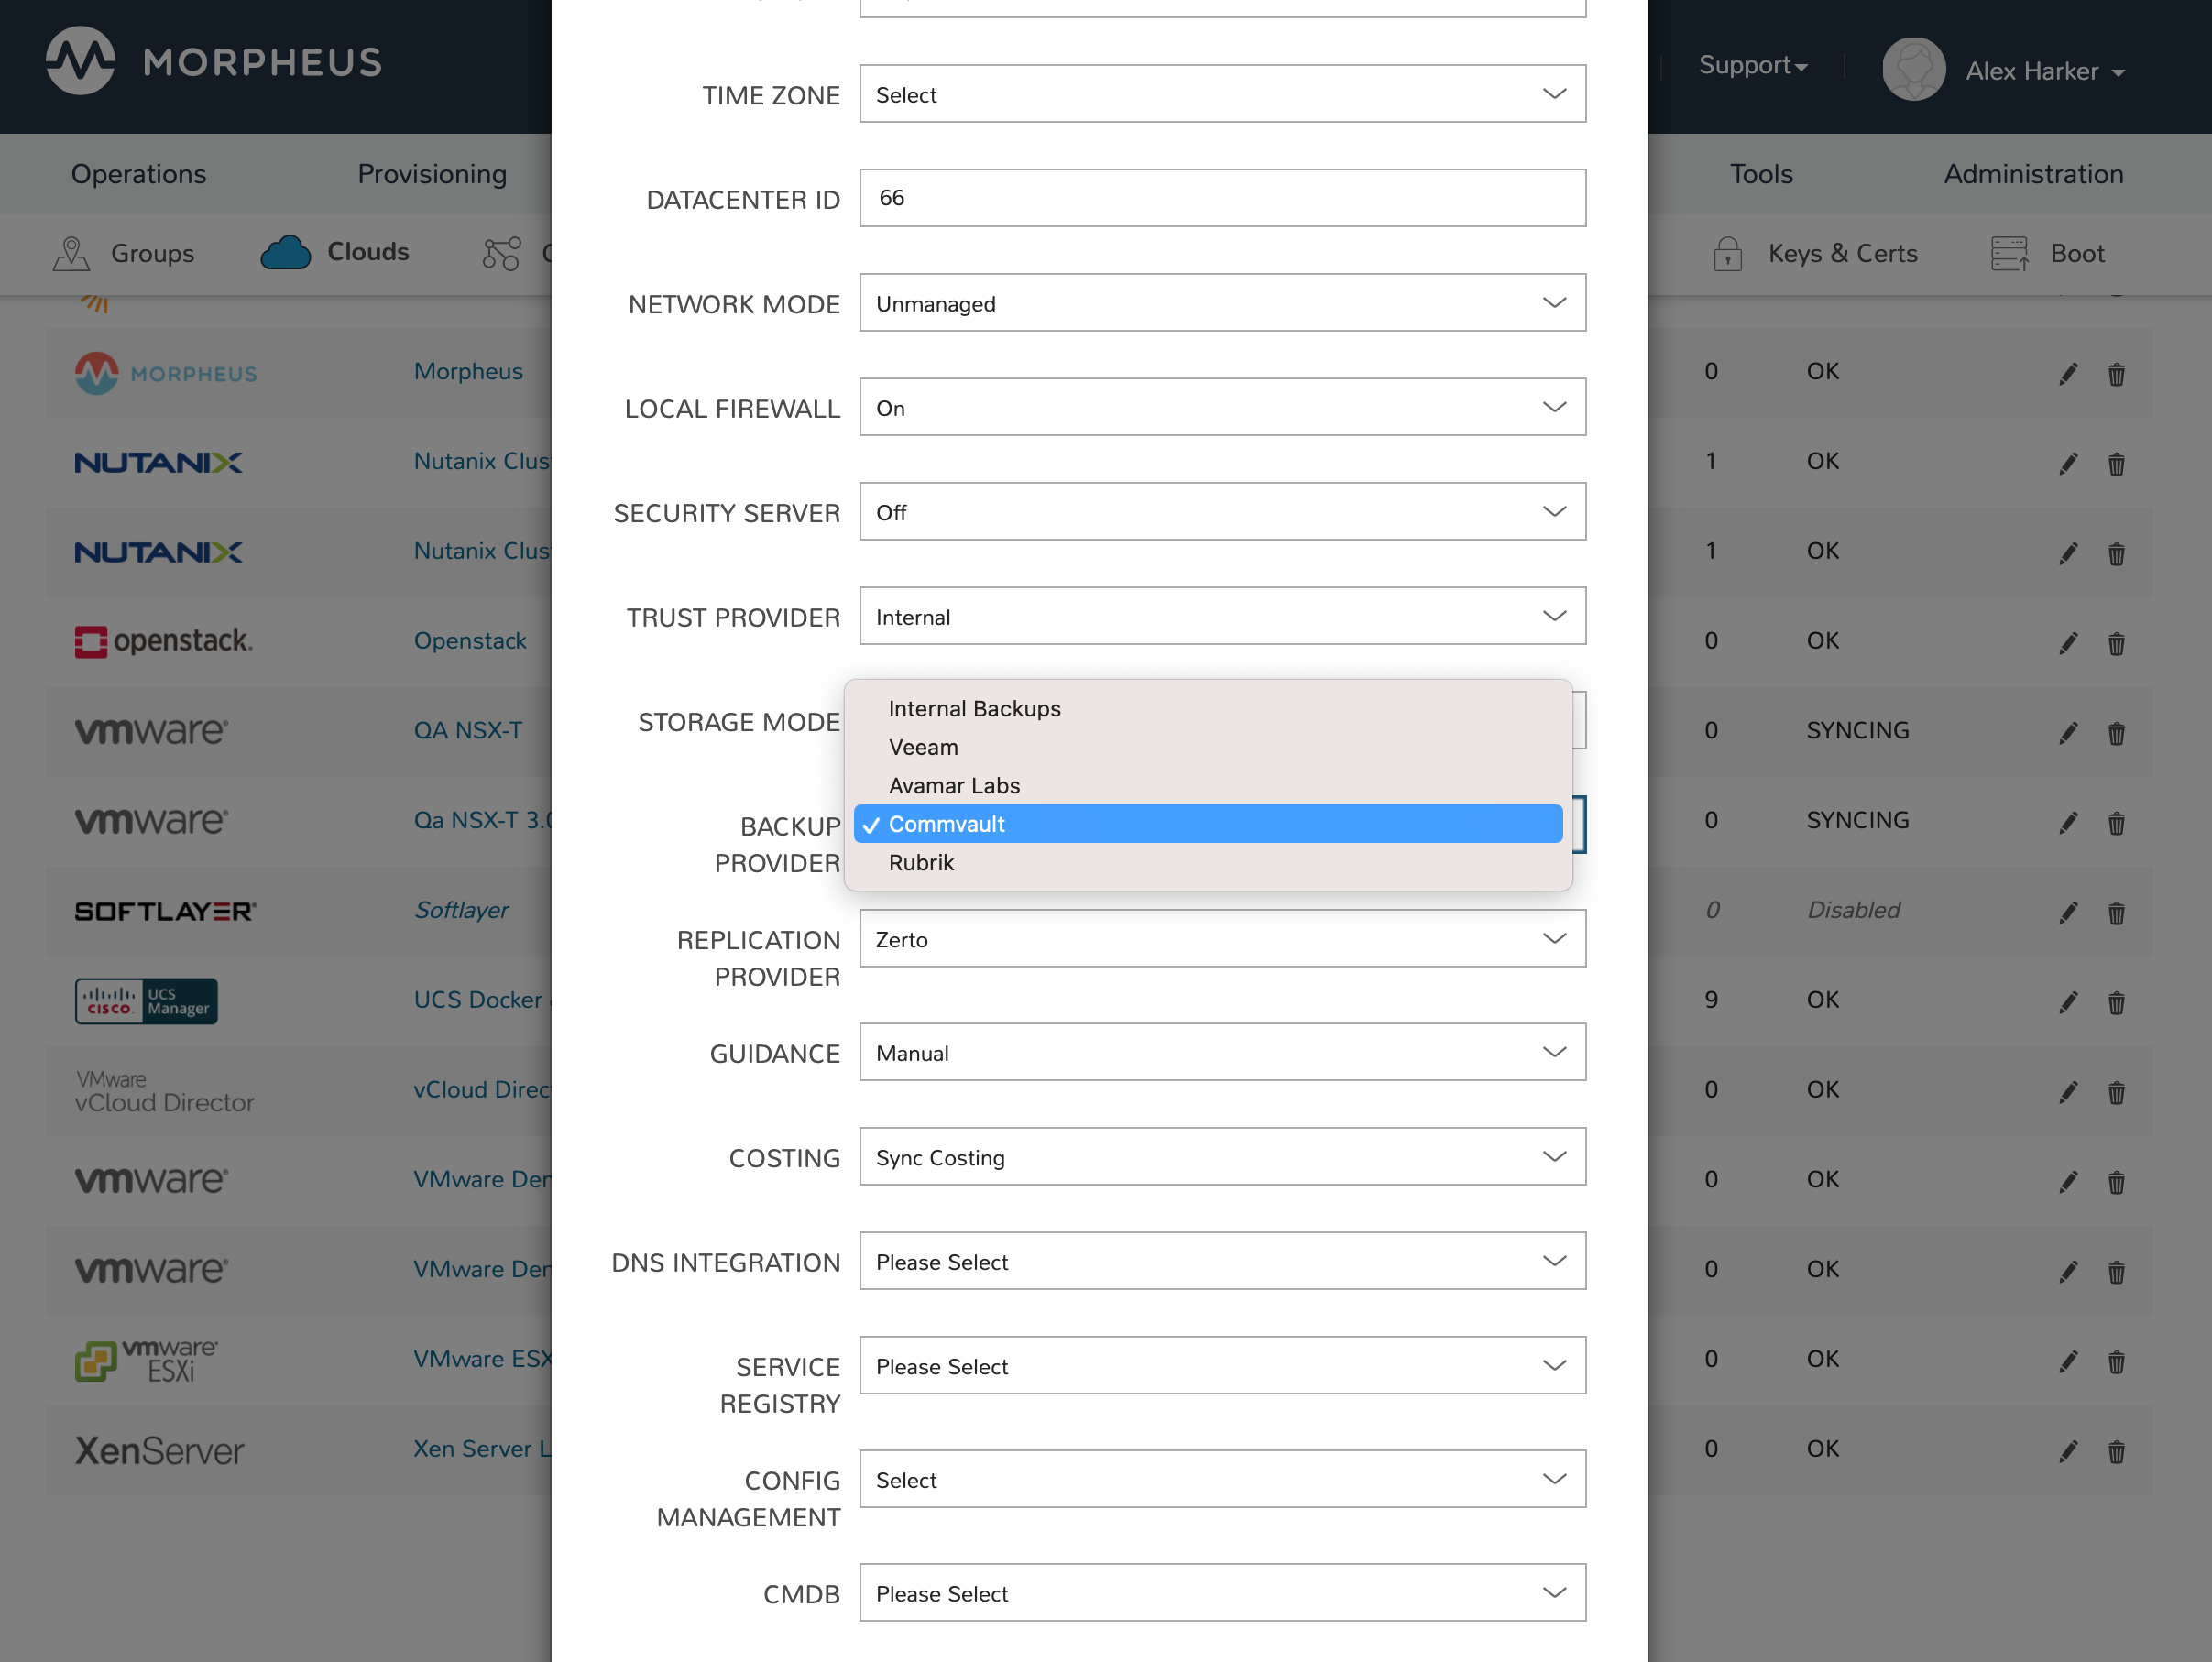
Once the initial integration is made, set this integration as the backup provider for as many supported Clouds as needed. Commvault integrations are supported as backup target for VMware and OpenStack Clouds at this time.
Navigate to Infrastructure > Clouds
Select an existing VMware or OpenStack Cloud
Click EDIT
Expand the Advanced Options section
Under “Backup Provider”, select the relevant Commvault integration
Click SAVE CHANGES

Configure Backup at Provision Time
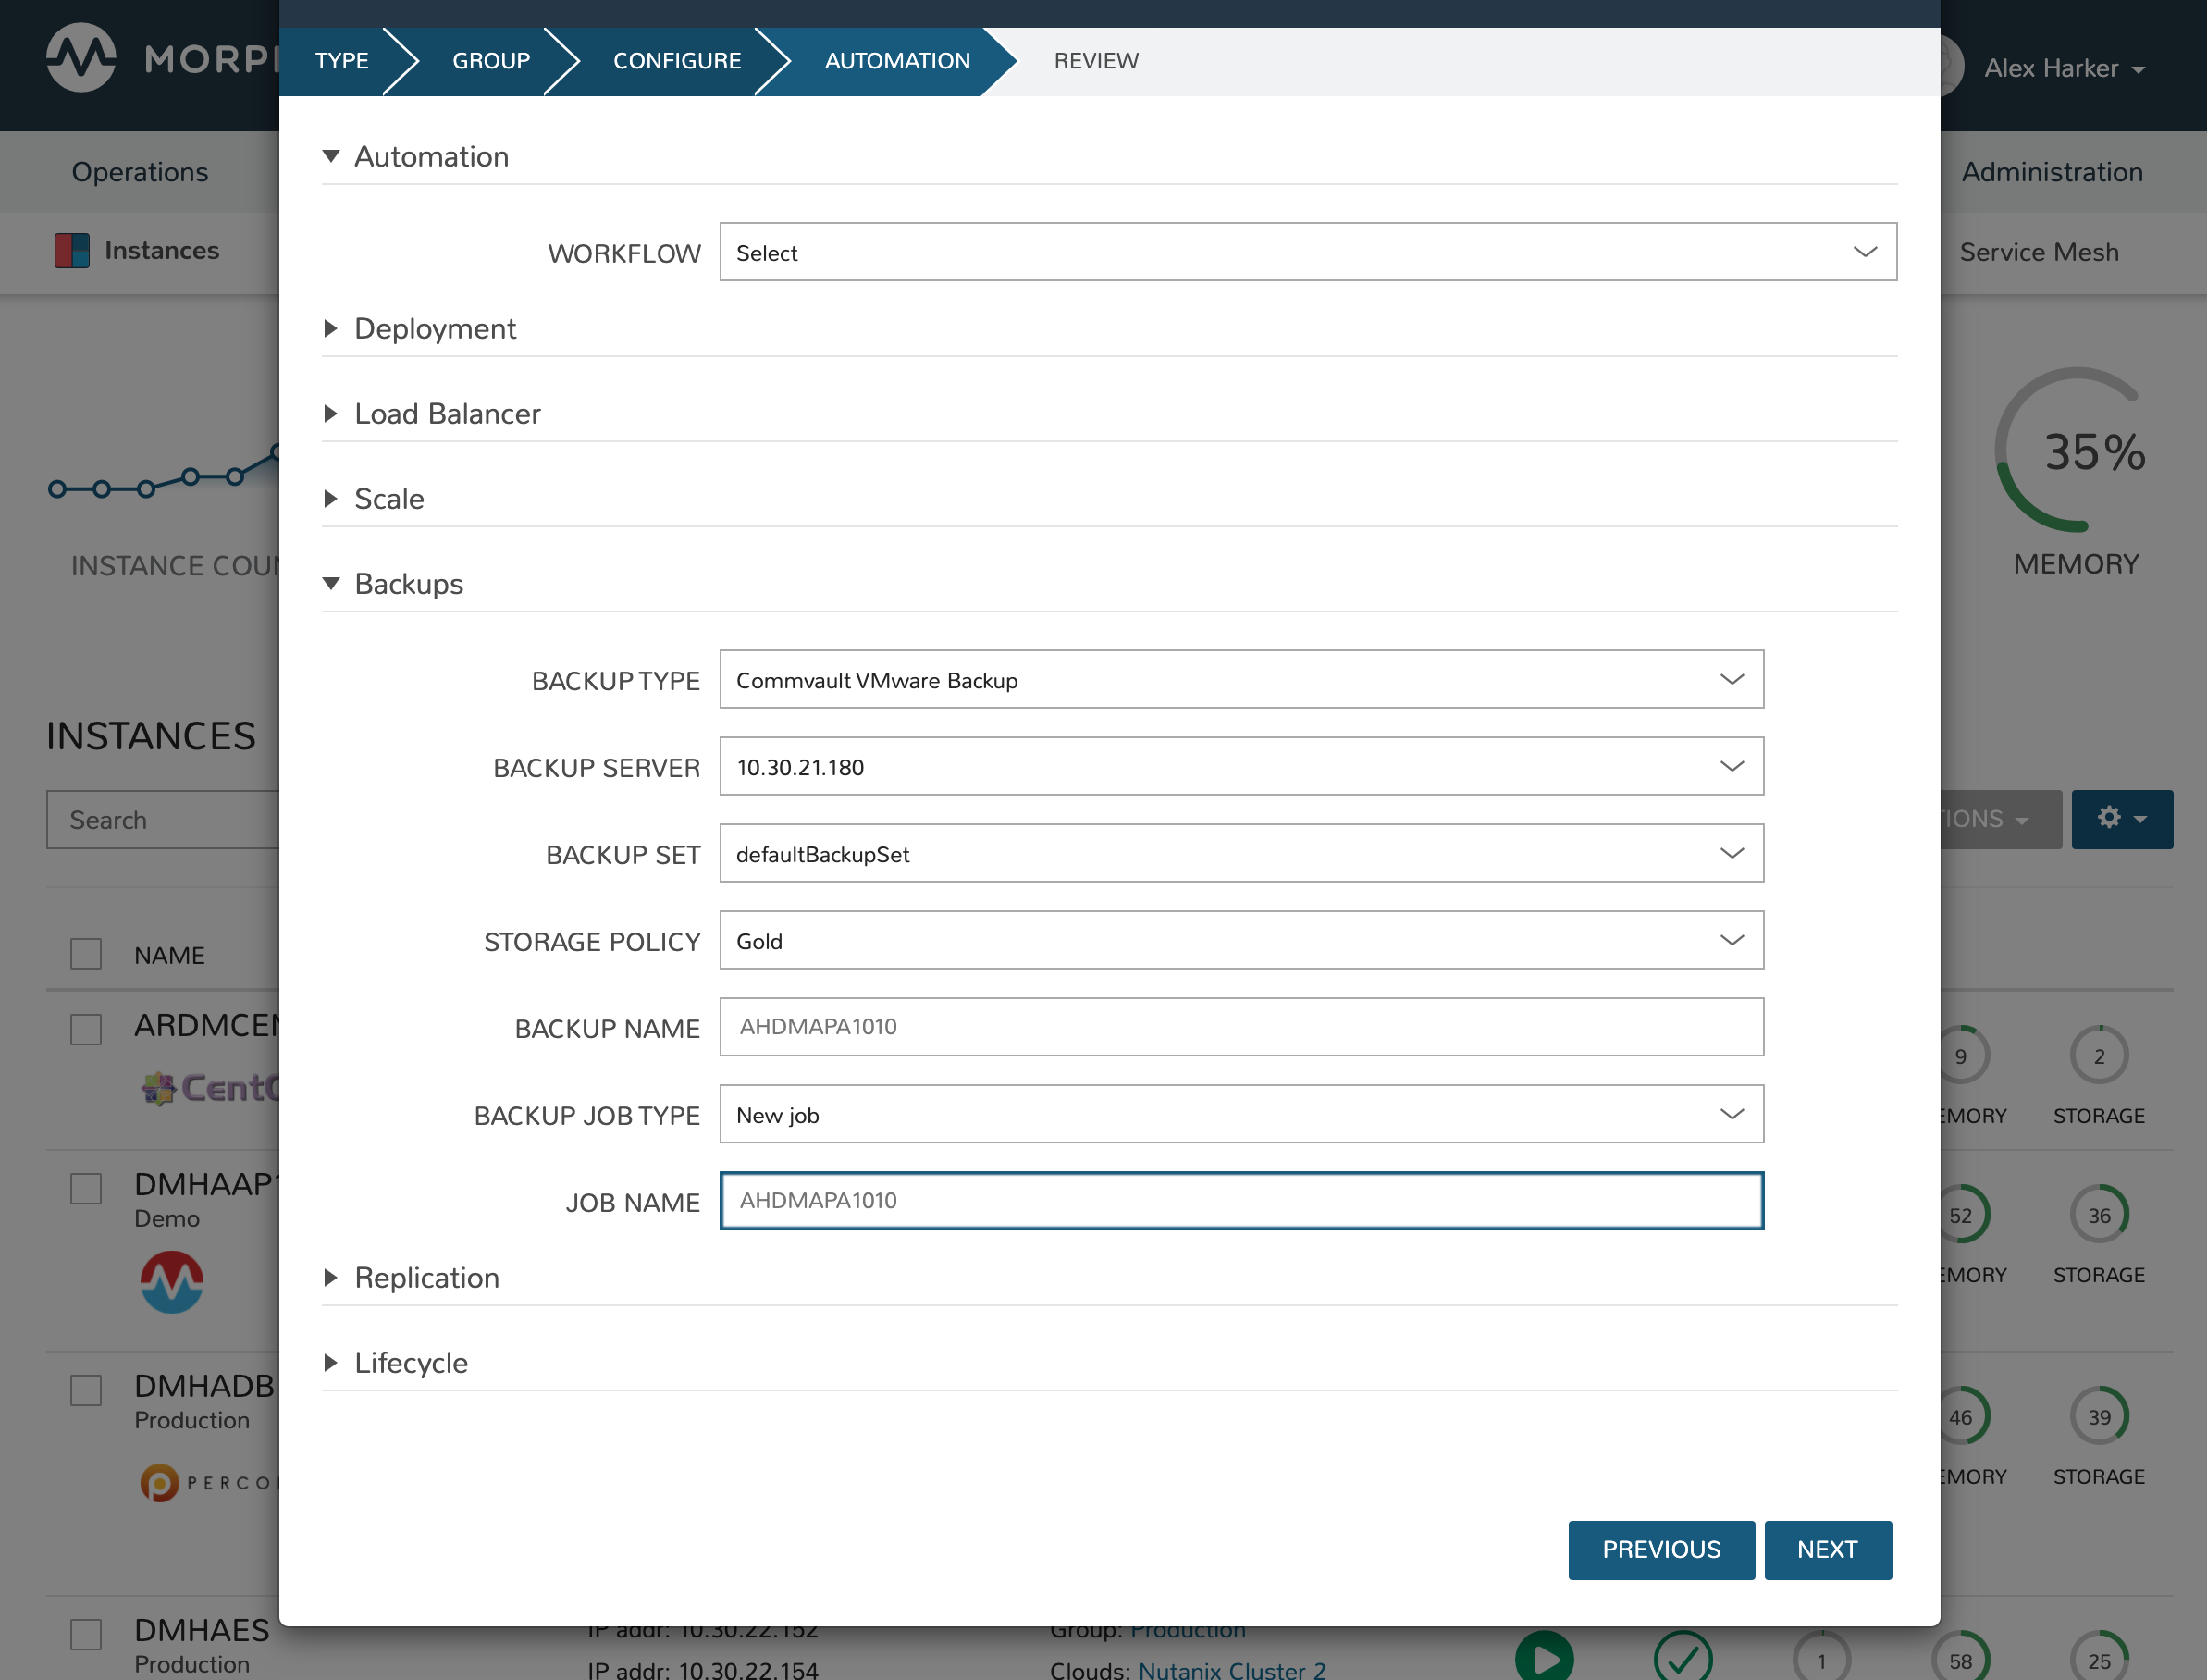
When provisioning an Instance into a Cloud where Commvault is set as the backup provider, Commvault will be selectable as the “Backup Type” on the Automation tab of the provisioning wizard. Expand the Backups section on this tab and enter the following:
Backup Type: Select the desired Commvault backup type
Backup Server: Select the desired server synced from the Commvault backup provider associated with the Cloud
Backup Set: Select a configured backup set synced from the Commvault backup provider associated with the Cloud
Storage Policy: Gold, Silver, or Bronze. Select the applicable SLA or retention policy for the workload being provisioned. The meanings of these retention tiers are configurable in Commvault
Backup Name: A name for the backup in Morpheus, this field is pre-populated with the Instance name but can be overwritten
Backup Job Type: Clone an existing backup job (Backups > Jobs) or add this backup to an existing job. A job contains a retention count and backup frequency schedule and can have as many Instances backing up under it as needed
Backup Job: Select the job which will be cloned or have a backup added to it depending on your selection in the prior field
Job Name: A name for the new cloned job (if you are cloning and not creating a new Backup Job)

Viewing Backups
After provisioning, users can review backup details from the Instance detail page (Provisioning > Instances > Selected Instance > Backups tab). Additionally, backups can be configured here if this was not done during provision time by clicking ADD BACKUP. Users can also run one-off backups from this page by opening the ACTIONS menu and clicking Backup. Backups will still continue to run based on the schedule configured in their job but additional runs can be made on-demand this way.
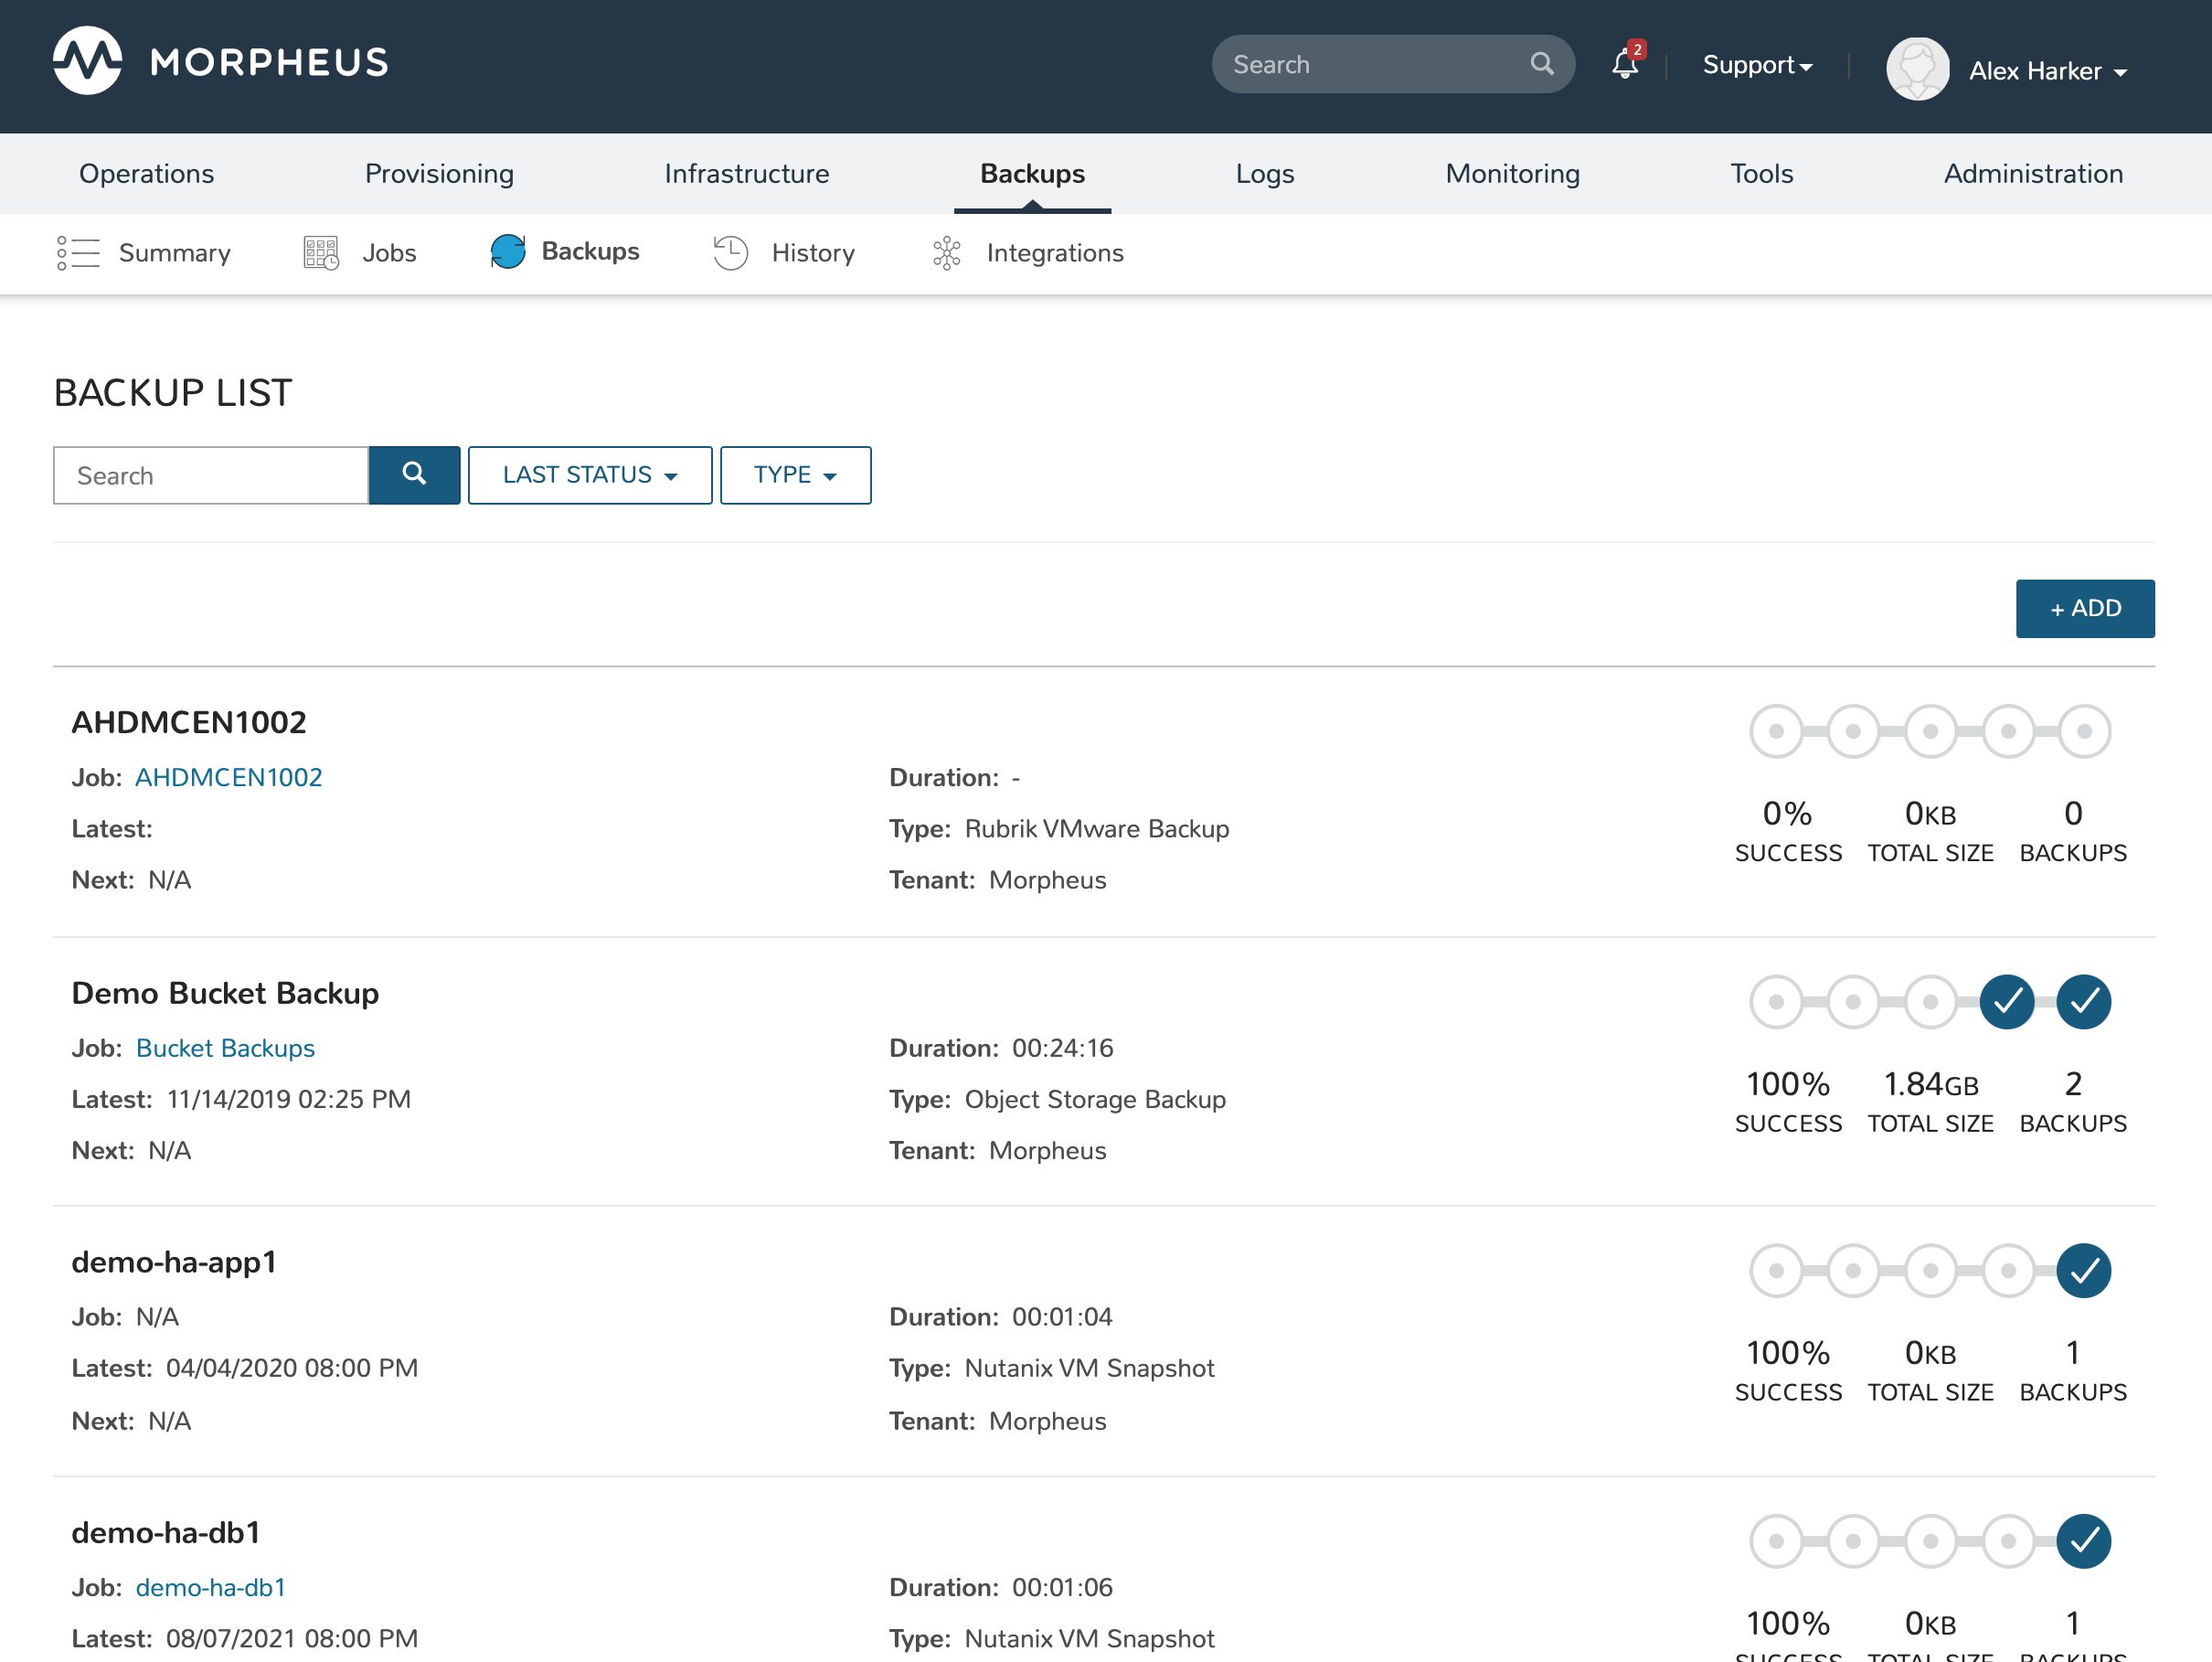
Within the Backups section (Backups > Backups) users can also view all currently-configured backups and whether or not recent backup runs have succeeded.

Restore an Instance from Commvault
For Instances with current backups, the Backup Results section will be populated on the Instance detail page (Provisioning > Instances > Selected Instance > Backup tab). If the Instance needs restored, simply click Actions (within the Backup Results area, not the main actions menu for the Instance itself) and then click Restore. The status icon at the top of the Instance detail page will turn green once this process is finished and the Instance will be fully restored from your selected backup.