NSX
Overview
VMware NSX offers network virtualization allowing for creation and management of software-based virtual networks in an efficient and programmatic way. Morpheus offers a full-featured integration with NSX, including Project scoping for NSX 4+ integrations. Morpheus will ingest and expose its networking abstractions in the following sections of the Morpheus NSX integration:
SUMMARY
TRANSPORT ZONES
DHCP
SEGMENTS
FIREWALL
TIER-1 GATEWAYS
TIER-0 GATEWAYS
EDGE CLUSTERS
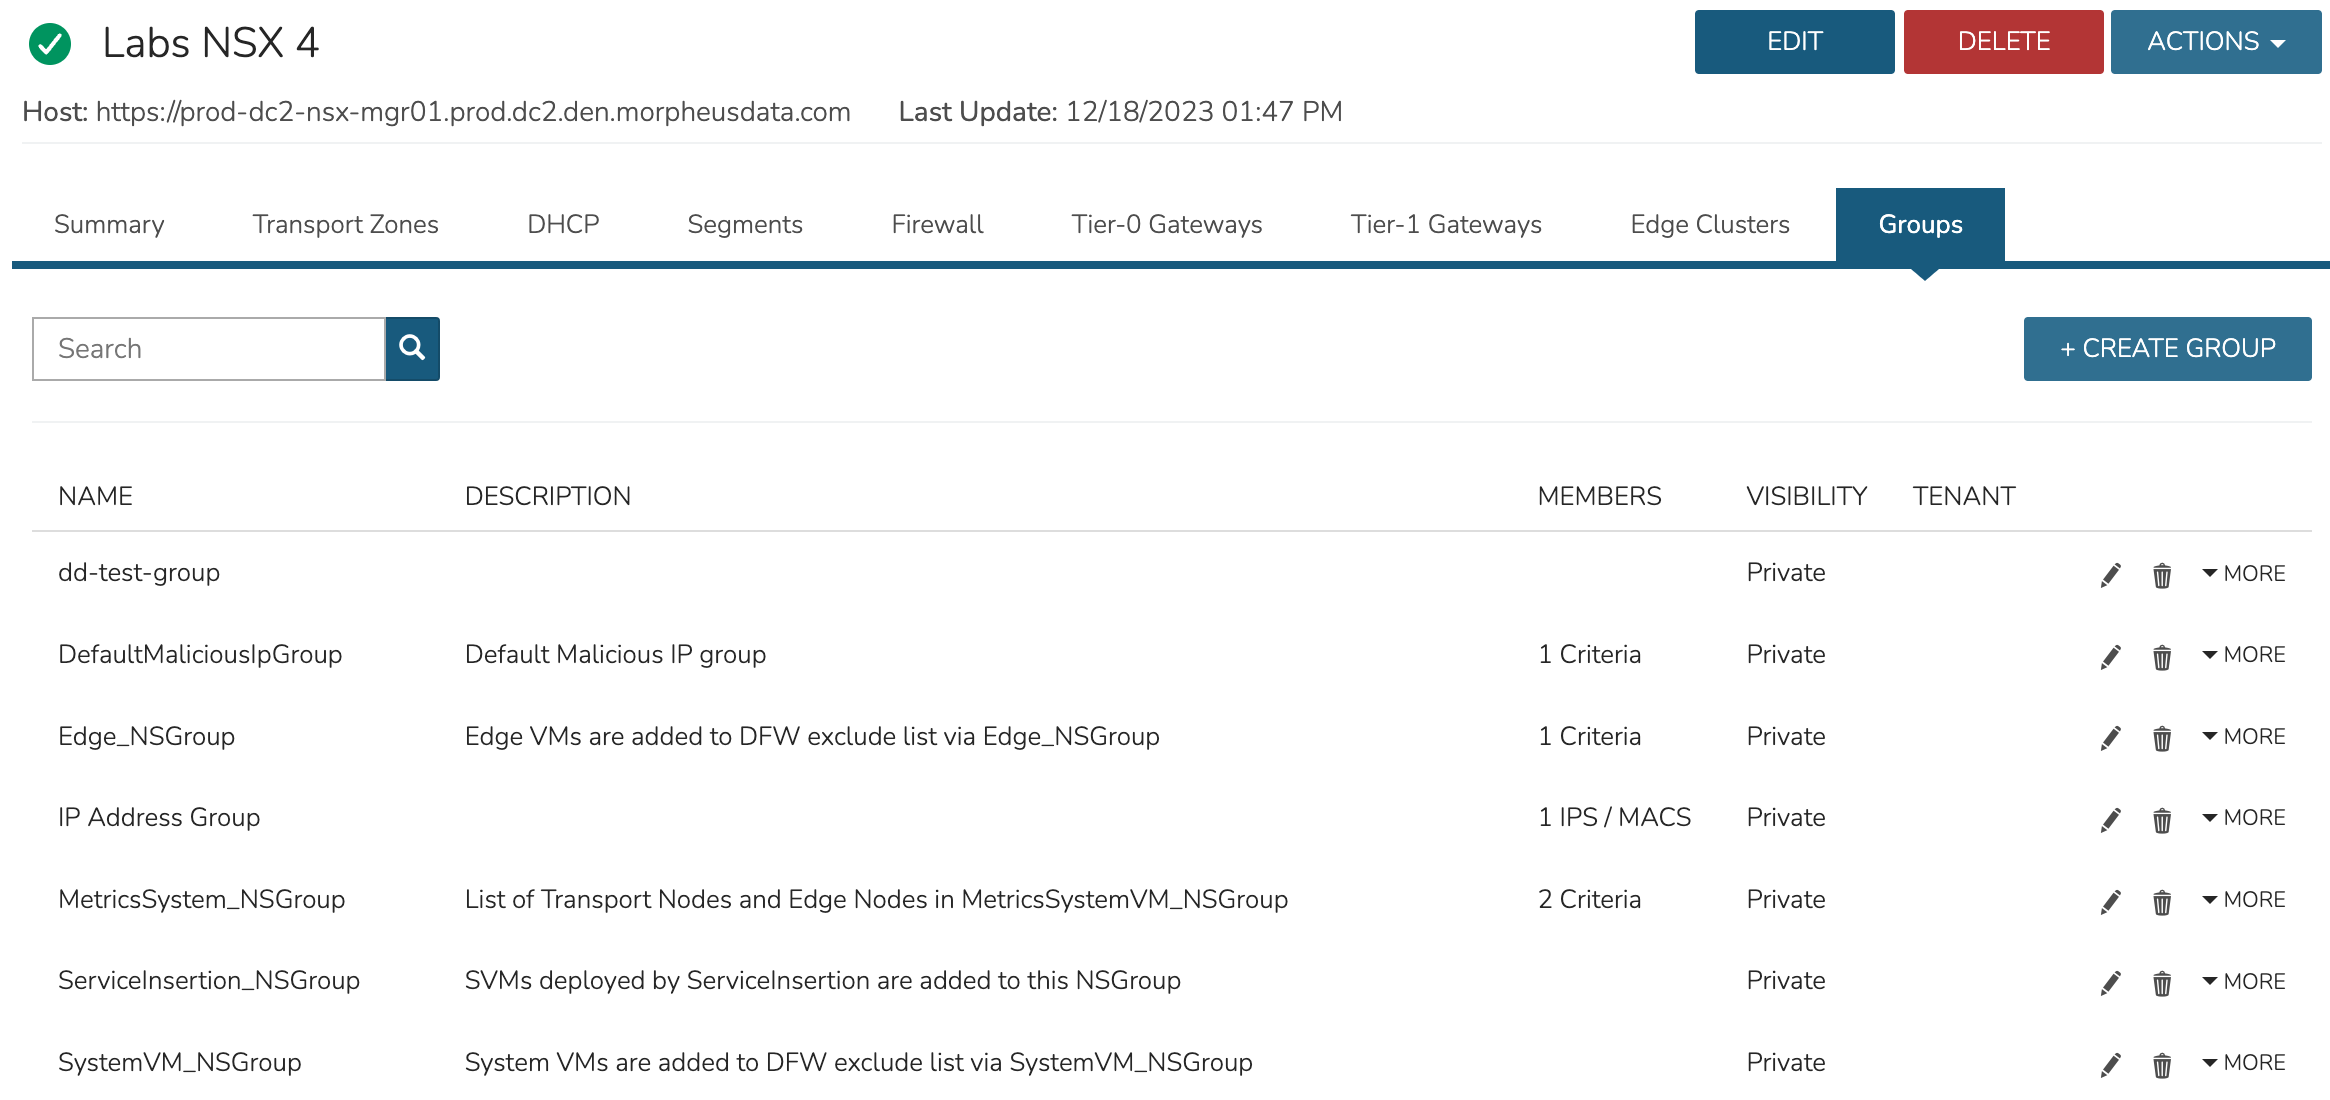
GROUPS
This guide goes through the process of integrating an existing NSX installation with Morpheus and working with the associated objects synced in with the integration. For more on installing NSX and an overview of its concepts, please review the NSX overview documentation provided by VMware.
NSX Projects
Projects in NSX are analogous to tenants in other products and are a part of NSX version 4+. Projects allow for the isolation of networking abstractions into individual tenants within a single NSX appliance. If your organization is already utilizing NSX Projects, you are probably very familiar with their concept and execution but others can find high-level details about them here.
Morpheus supports a full-featured integration with NSX, including the ability to scope the Morpheus integration to a specific Project the service user can access. Using Project-scoped integrations allows multiple NSX integrations to be made to the same NSX appliance and ensures Morpheus users are siloed to only the NSX Projects they can access.
Add NSX Integration to Morpheus
Navigate to
Infrastructure > Network > IntegrationsSelect Select + ADD > VMWare NSX
Enter the following:
NAME: Name for the NSX Integration in Morpheus
VISIBILITY: Public (available to all Morpheus Tenants) or Private (available only to the current Tenant). This option is shown only in the Morpheus Master Tenant
API HOST: URL of the NSX Manager (ex. https://x.x.x.x/api)
CREDENTIALS: A pre-stored credential set can be used to create this integration. If “Local Credentials” is selected, USERNAME and PASSWORD fields are presented and must be filled
USERNAME: NSX service account username. Prior to NSX version 4, this is likely an admin account with access to all networking constructs. In NSX version 4 and higher, this could be an admin for access to default space constructs or it could be a Project-specific user depending on the access needs of the integration being created
PASSWORD: The password for the NSX service account entered above
PROJECT: As soon as an API HOST and credentials are provided, Morpheus will attempt to authenticate with the NSX appliance. When authentication is successful and a NSX 4+ appliance is detected, a PROJECT field will appear and the dropdown will be pre-populated with Projects accessible to the service user account
VMWARE CLOUD: Select the existing VMware cloud associated with this NSX integration
Select ADD NETWORK INTEGRATION
Once the NSX Integration is added Morpheus will sync in existing Transport Zones, DHCP servers and relays, Segments, firewall groups and rules, Gateways, Edge Clusters, and Groups. We can manage these synced items from within Morpheus UI, including the ability to create, edit, and delete them.
Note
The available tabs on the integration detail page will be dependent on the Project selected when the integration was created. Just like in NSX, the default view (and thus integrations scoped to the default Project) will have access to all constructs whereas individual Projects will not. Integrations scoped to individual Projects can view the DHCP, Segments, Firewall, Tier-1 Gateways, and Groups tabs but not the other tabs described here. These limitations are identical to those in the NSX console UI. More information on NSX Projects is available here.
Summary View
The SUMMARY tab contains the default view when accessing an NSX integration. From the summary view we can see the status of the NSX server, and details about interfaces and group status.
Transport Zones
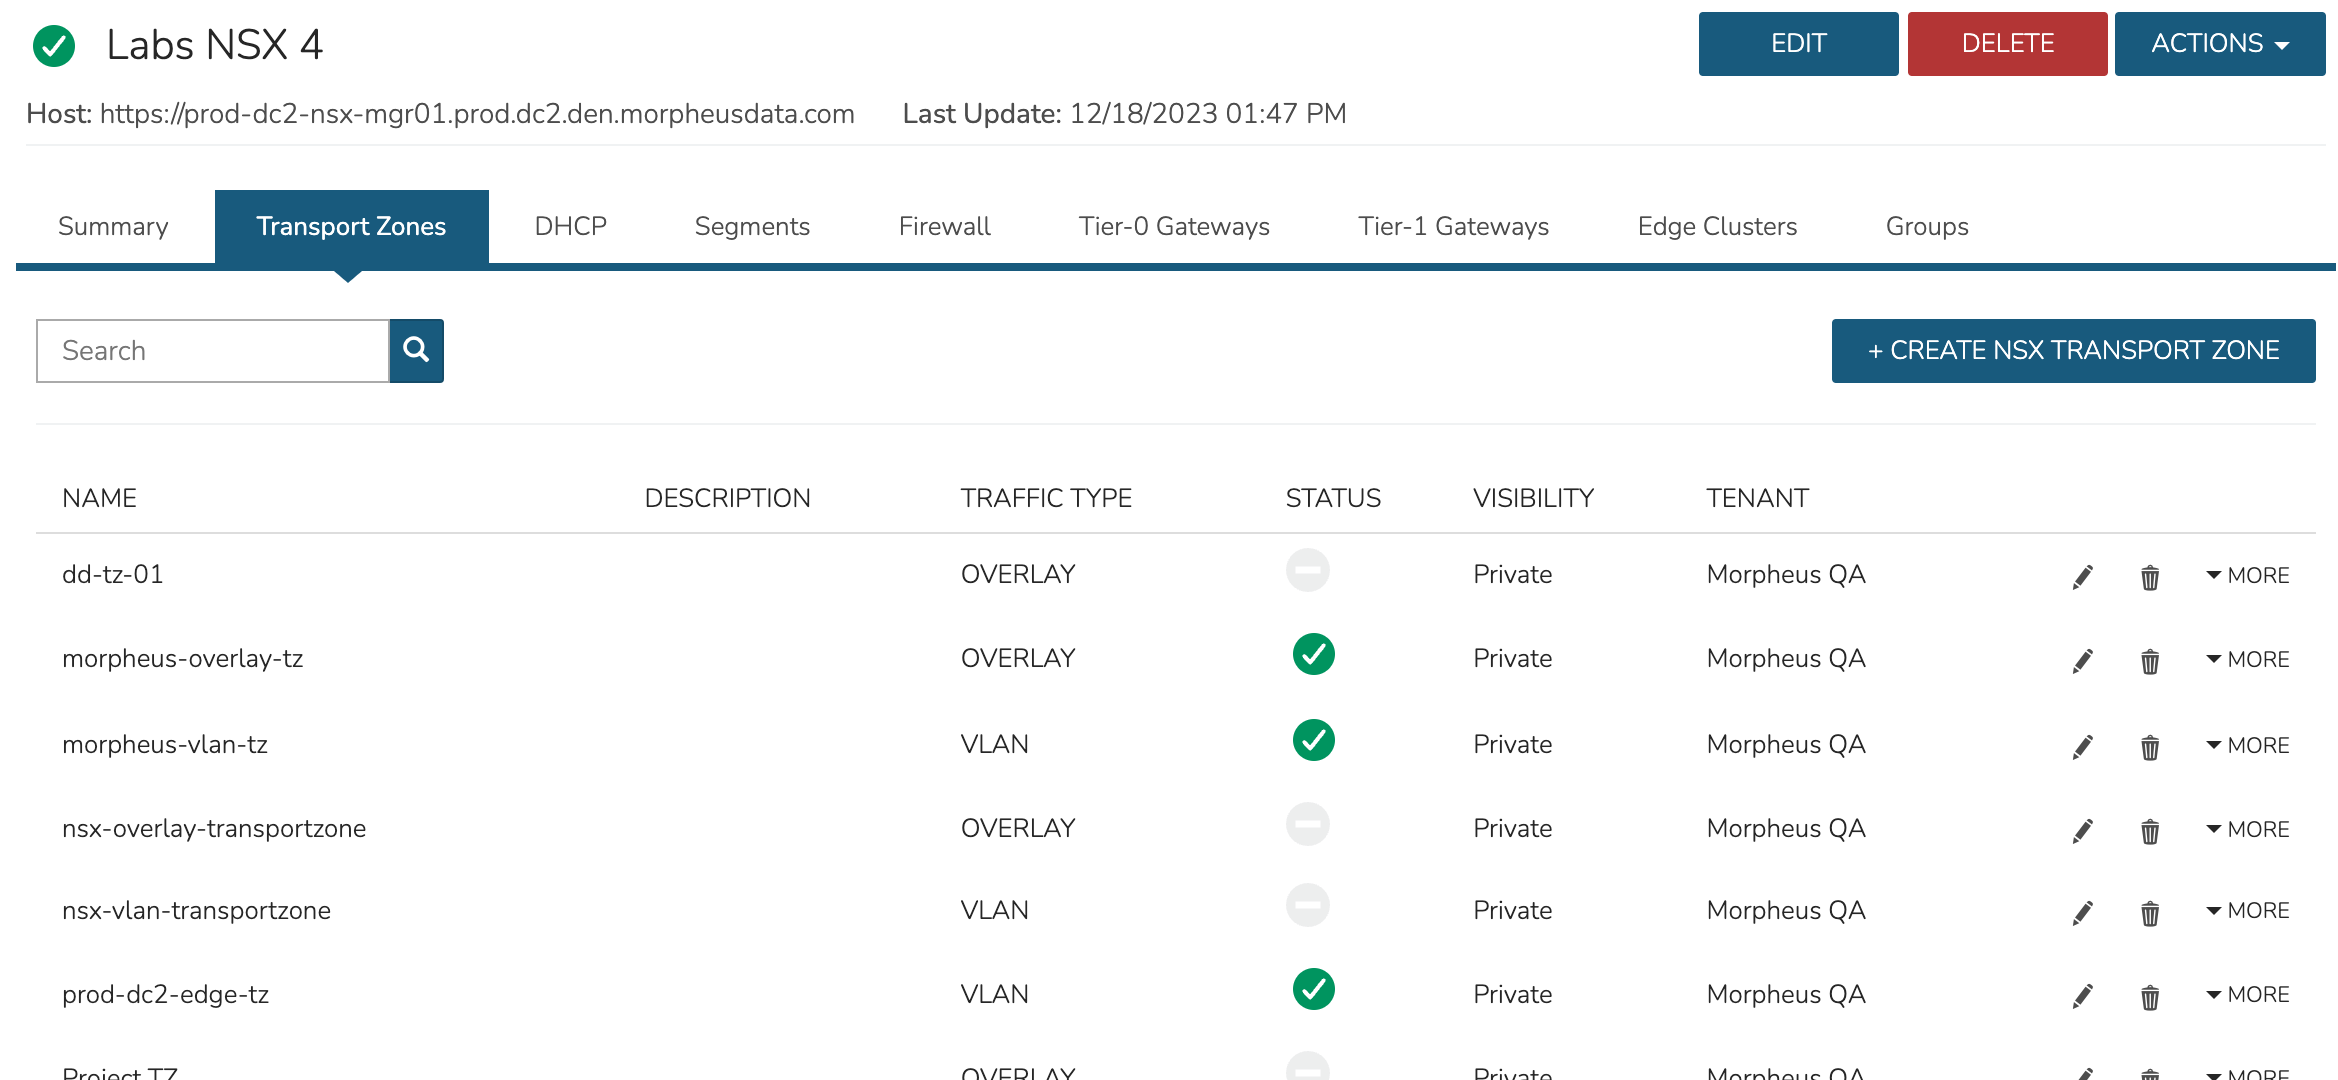
Access Transport Zones by selecting the Transport Zones tab. The default view of the Transport Zones tab lists Transport zones and presents some detail about them such as name, traffic type, status, and more. The integration allows for creation of new Transport Zones, editing and deleting.
DHCP
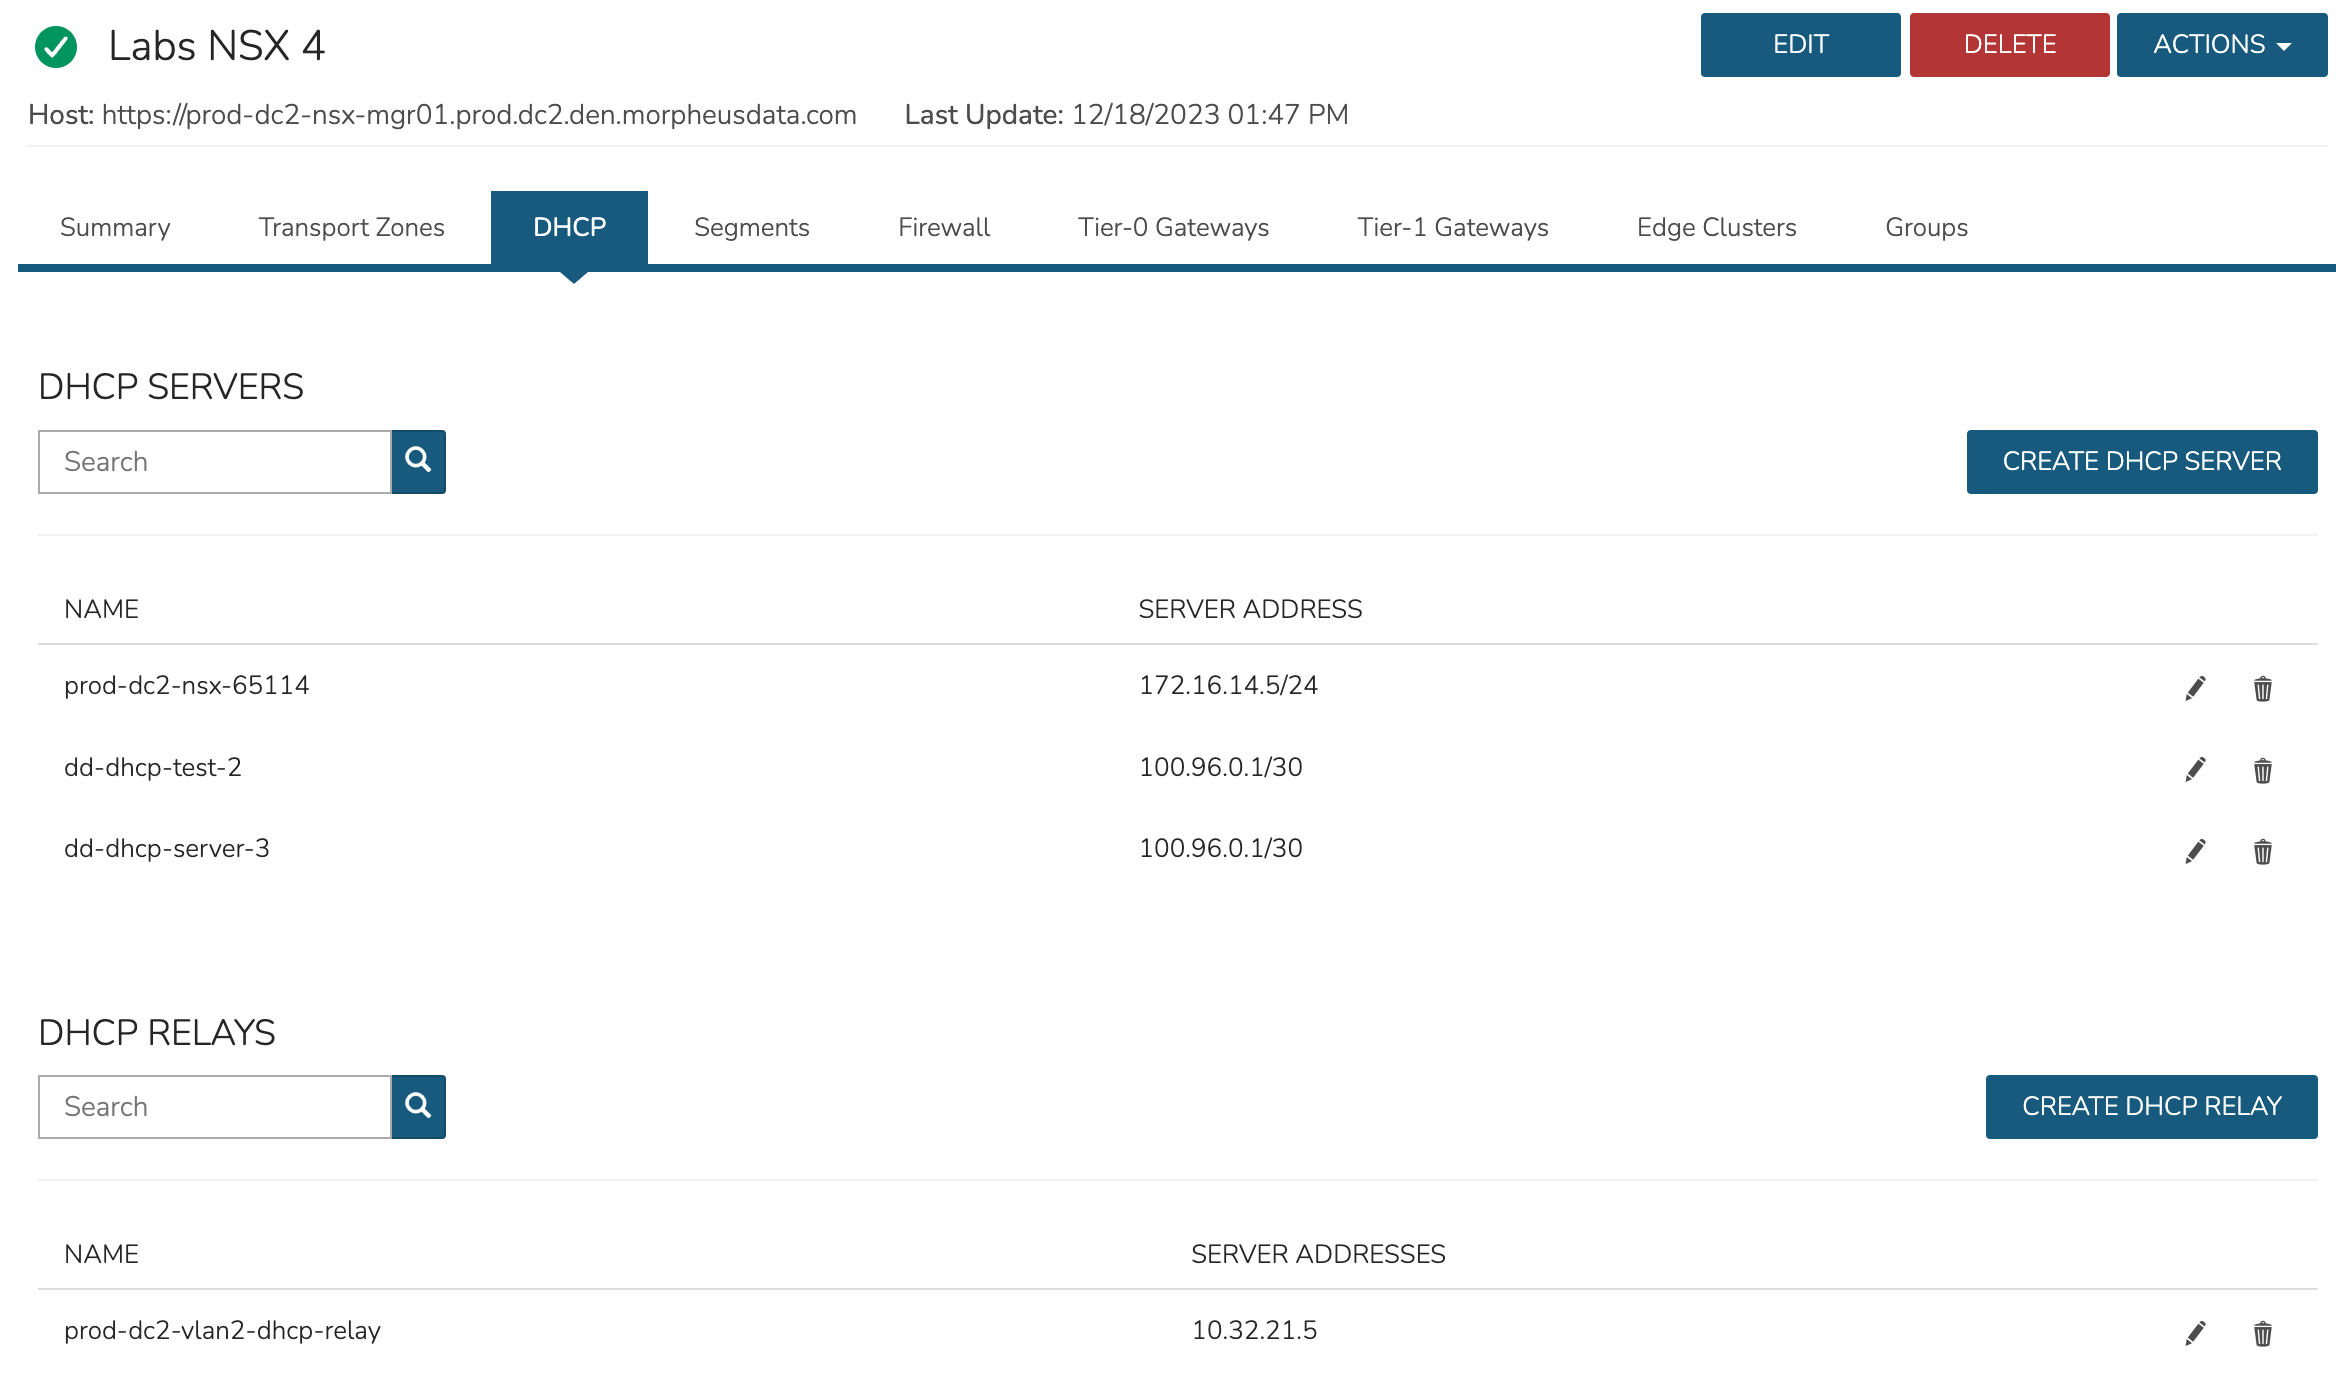
DHCP servers and relays are displayed on the DHCP tab. View information such as names and server addresses. The integration allows for creation of new servers and relays, editing and deleting.
Segments
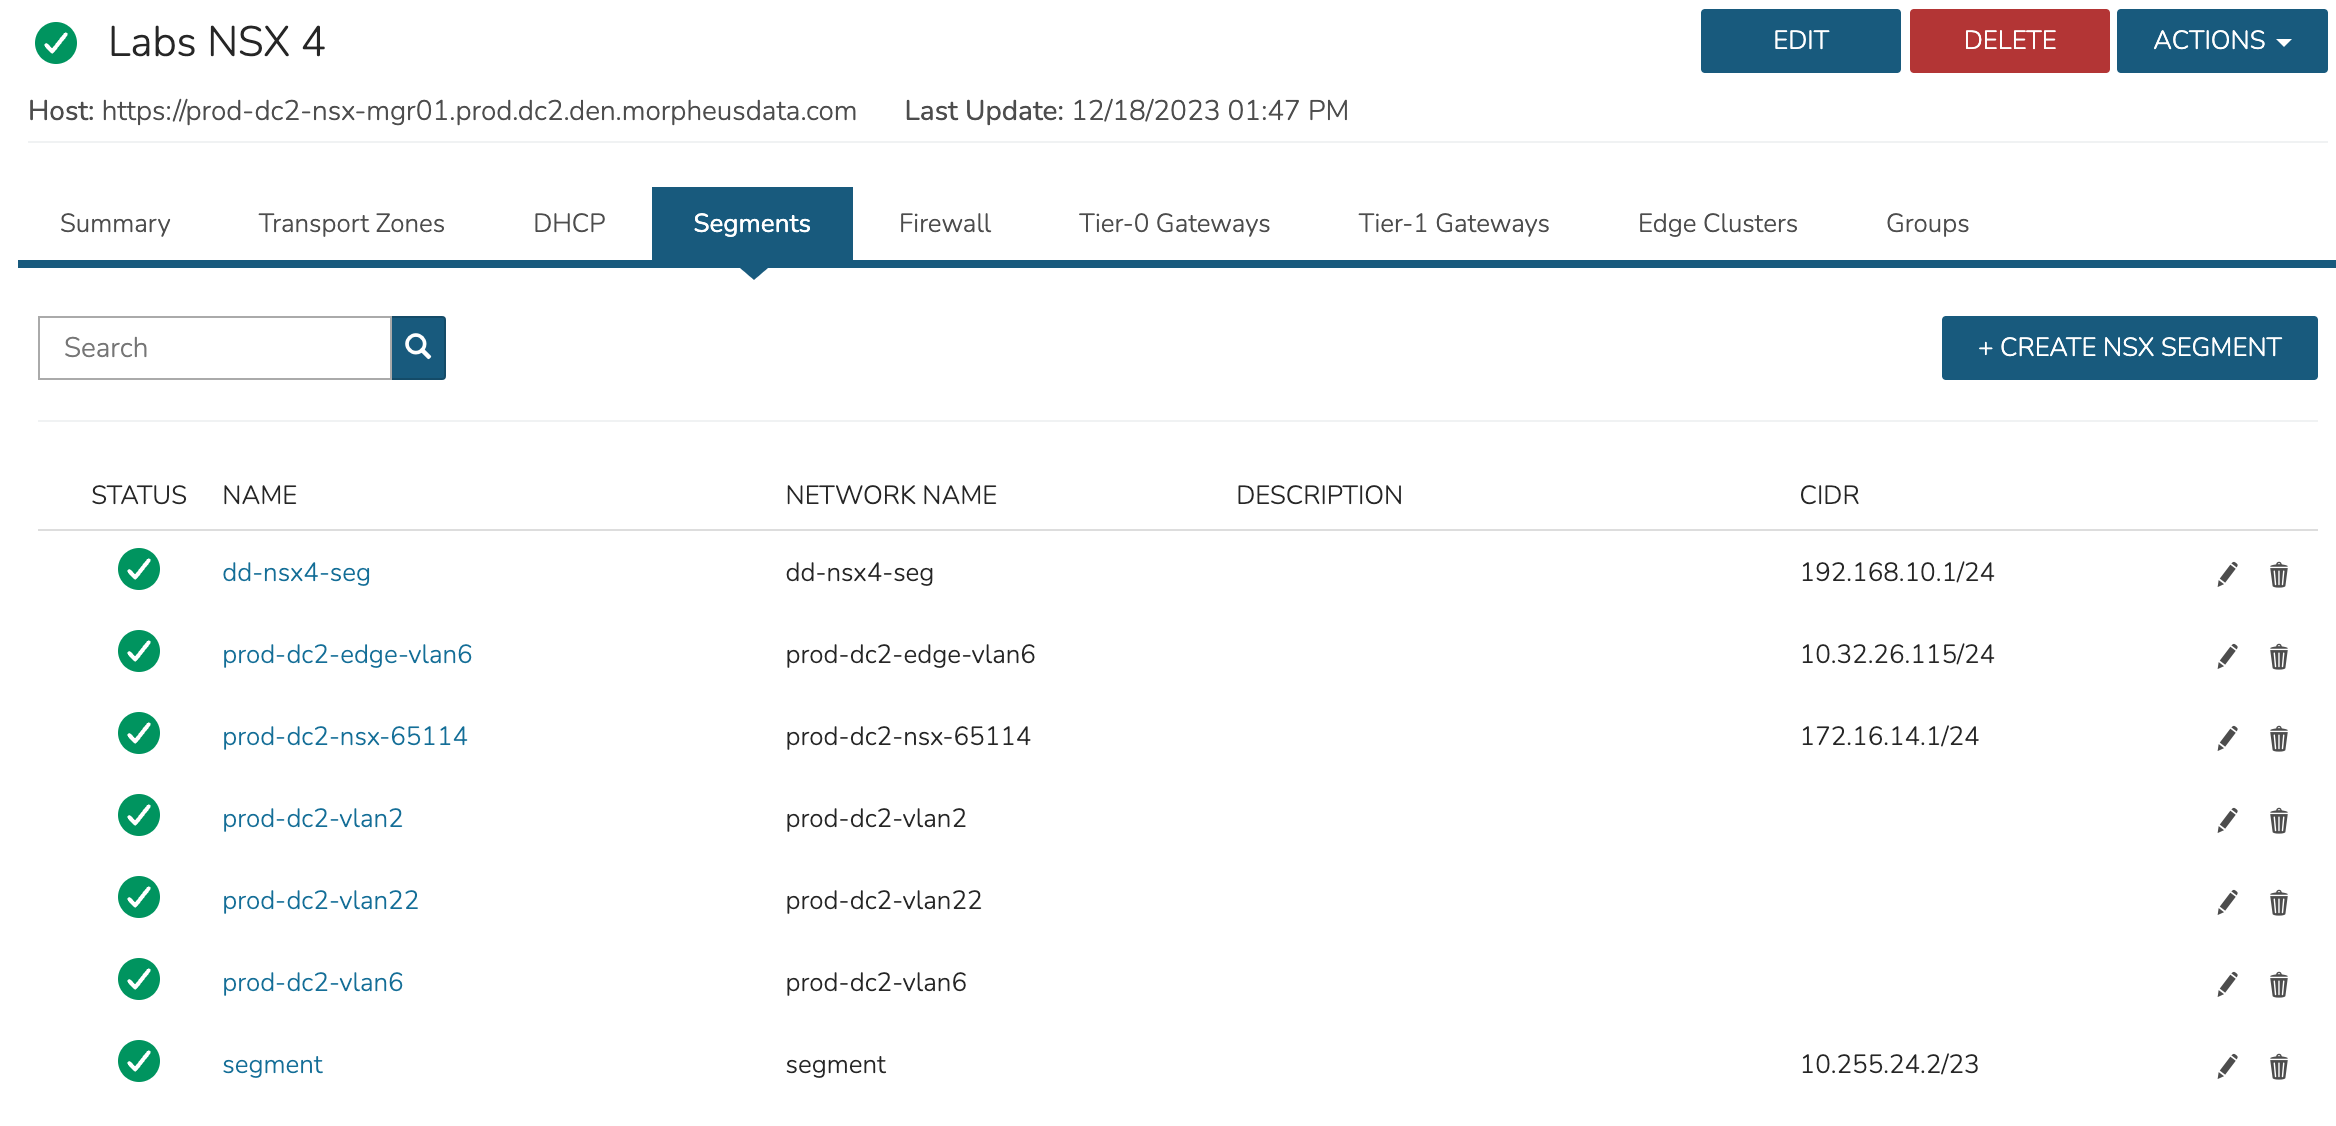
Access Segments by from the Segments tab. The summary view includes high-level information such as status, name, network name and CIDR. The integration allows for creating, editing and deleting NSX Segments
Firewall
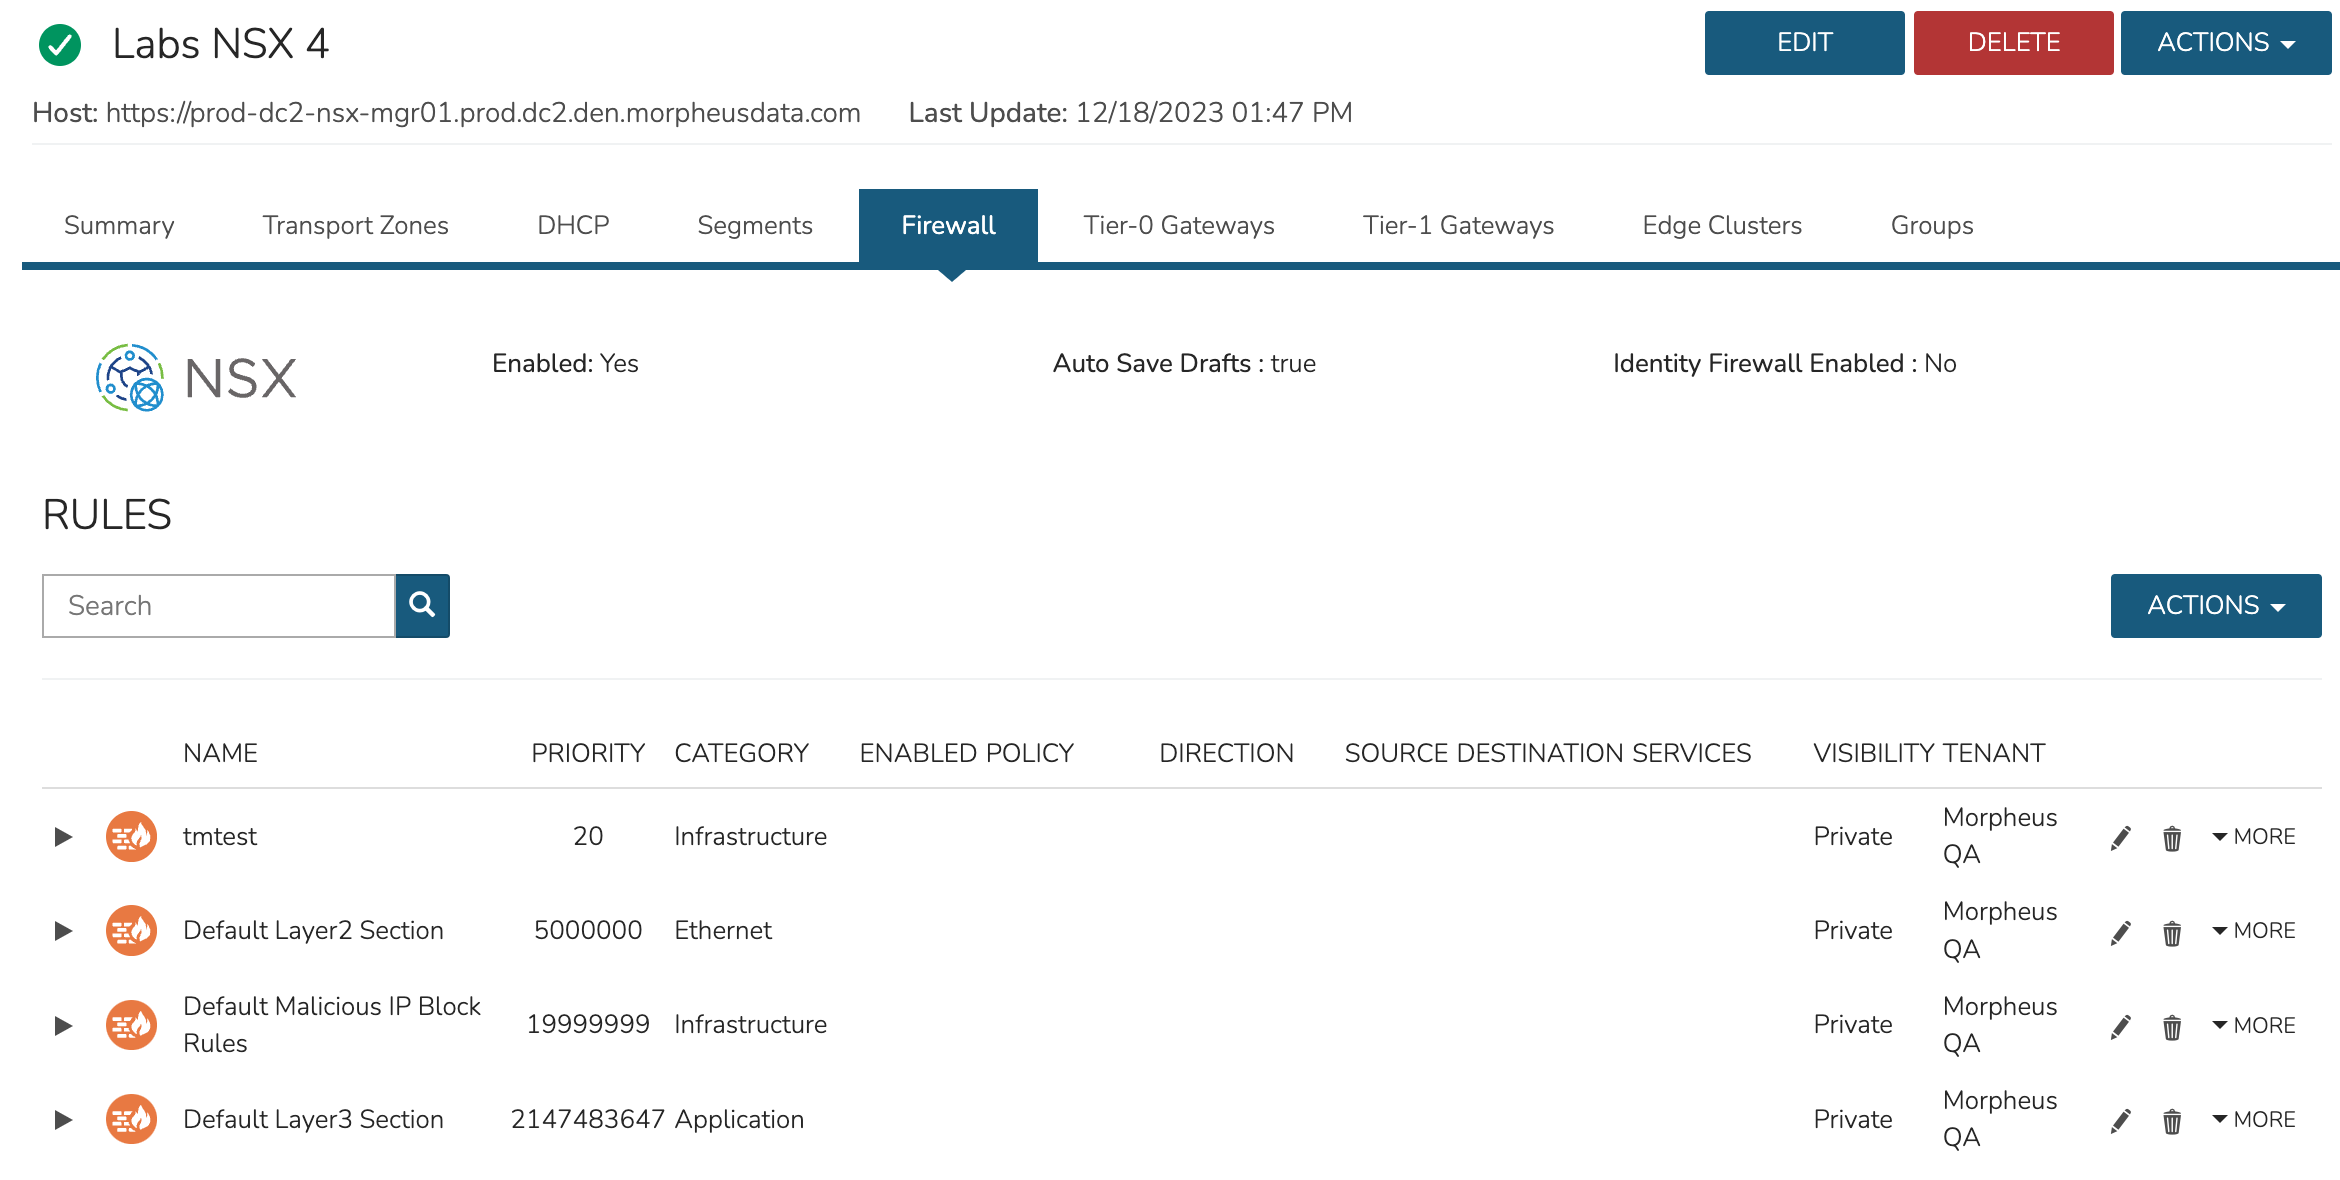
Firewall Groups and Rules are accessible from the Firewall tab. From the summary view, Groups can be expanded to view Rules within. From the ACTIONS menu, create new Groups by selecting “Create Group”. When a Group has been expanded, the “Create Rule” selection within the ACTIONS menu will also be accessible and a new rule can be created within the selcted Group. The integration allows for viewing, creating, editing and deleting Firewall Groups and Rules.
Tier-0 Gateways
Access Tier-0 Gateways from the Tier-0 Gateways tab. The integration allows creating, editing and deleting Tier-0 Gateways.

Tier-1 Gateways
Access Tier-1 Gateways from the Tier-1 Gateways tab. The integration allows creating, editing and deleting Tier-1 Gateways.

Edge Clusters
View Edge Clusters from the Edge Clusters tab. The default view lists each Edge Cluster with name, member type, cluster profile, and more. The integration allows viewing and limited editing of Edge Clusters.

Groups
NSX Groups are viewed from the Groups tab. The default view lists each Group alone with member details. The Morpheus NSX integration allows for creating, editing and deleting Groups.
