HPE Alletra MP Storage
Prerequisites
All HPE Alletra MP Storage iSCSI ports are reachable from each of the cluster hosts
The
multipath.confsettings on each node should be configured as follows:
defaults {
    find_multipaths yes
    user_friendly_names no
}
Add HPE Alletra MP Storage
The first step is to create a storage server in HPE Morpheus Enterprise. Once the storage server is added, you can create a datastore and provision Instances. Follow these steps to add a Storage Server:
Navigate to Infrastructure > Storage
In the “Servers” tab, Click the + ADD button
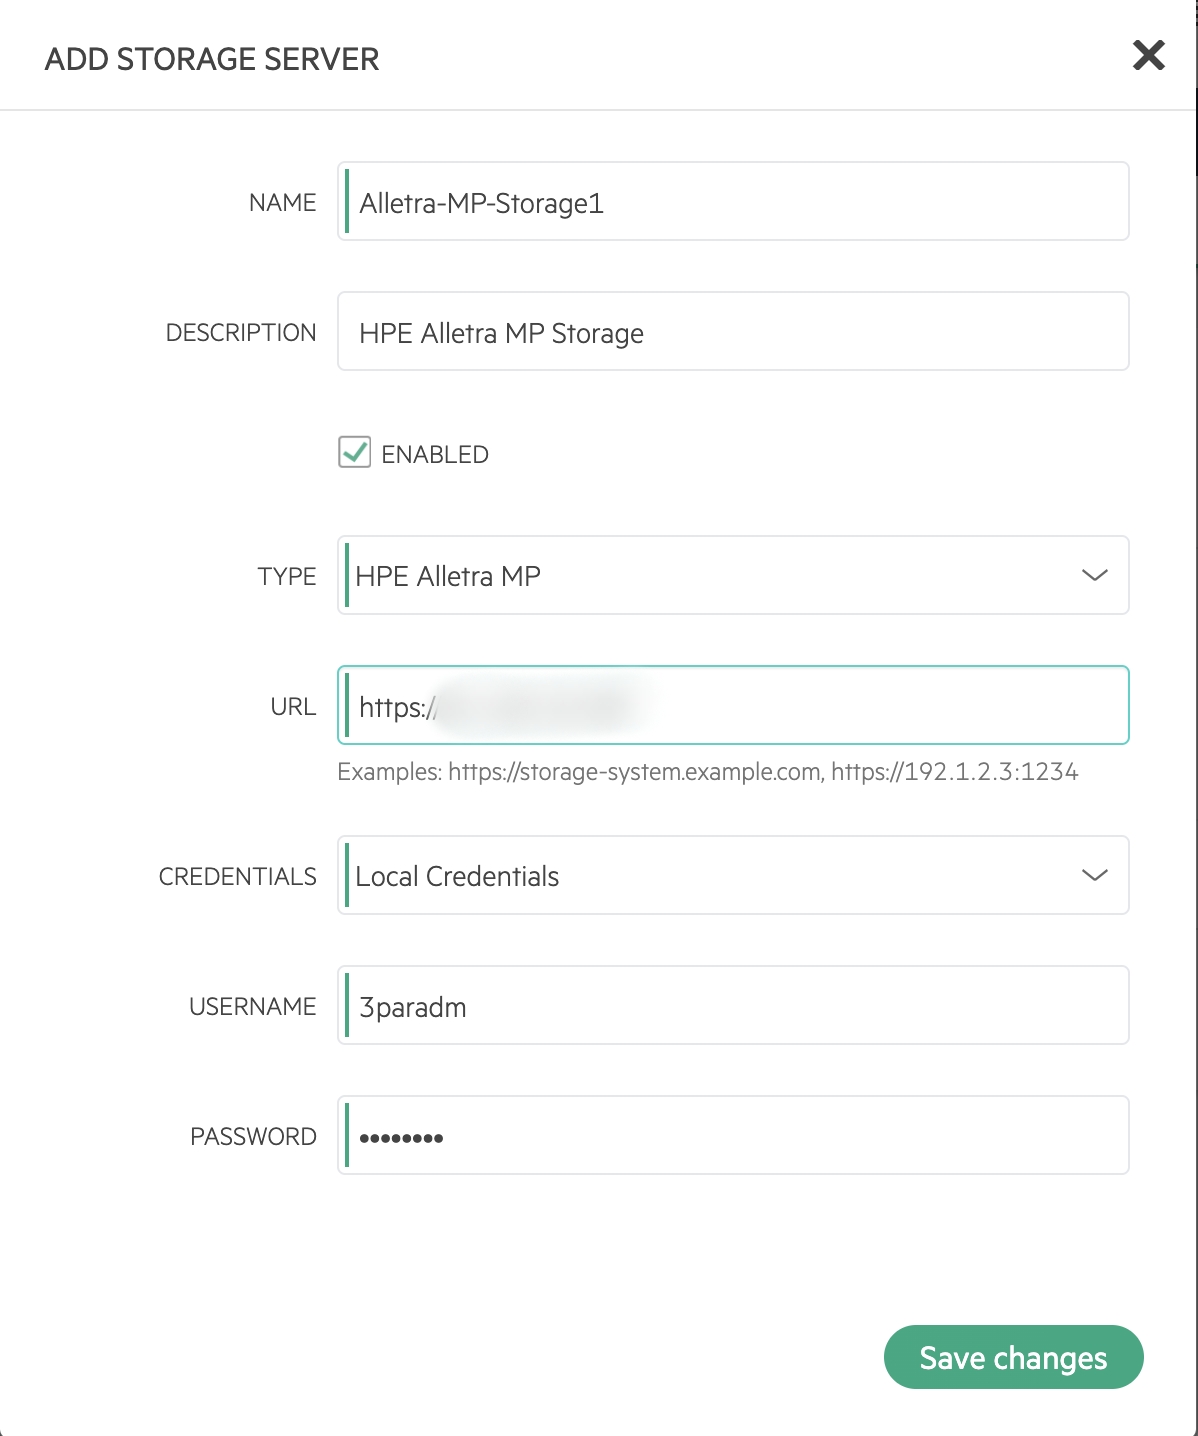
From the ADD STORAGE SERVER wizard, input the following:
- NAME:
Name of the storage server in HPE Morpheus Enterprise
- TYPE:
Select “HPE Alletra MP”
- URL:
URL of HPE Alletra MP Storage (ex.
https://storage-system.example.comorhttps://192.1.2.3:1234)- USERNAME:
Add your administrative user account
- PASSWORD:
Add your administrative user account password
Select SAVE CHANGES
The Storage Server will be added and displayed in the Datastore tab.
Create Datastore
Add a Datastore to the Storage Server.
Navigate to Infrastructure > Clusters
Click into the detail page for the cluster where datastore is to be created
Select the “Storage” tab
Under the “Data Stores” sub tab, Click + ADD
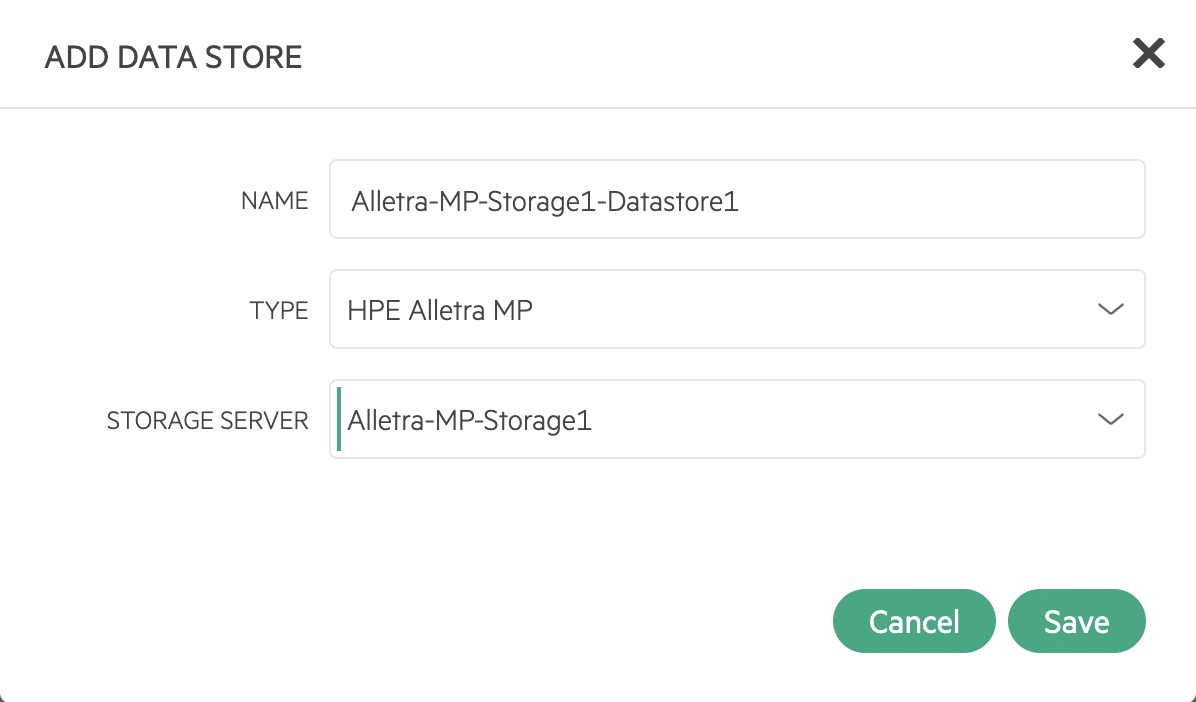
From the ADD DATASTORE wizard, input the following:
- NAME:
Name of the datastore in HPE Morpheus Enterprise
- TYPE:
Select “HPE Alletra MP”
- STORAGE SERVER:
Select the Storage Server created using the steps in the previous section
Select SAVE
The data store will be added and displayed in the “Datastore” tab. Confirm that its status is healthy.
Create Instance
Create an Instance with the Datastore.
Navigate to Provisioning > Instances
In the Instances tab, Click the + ADD button
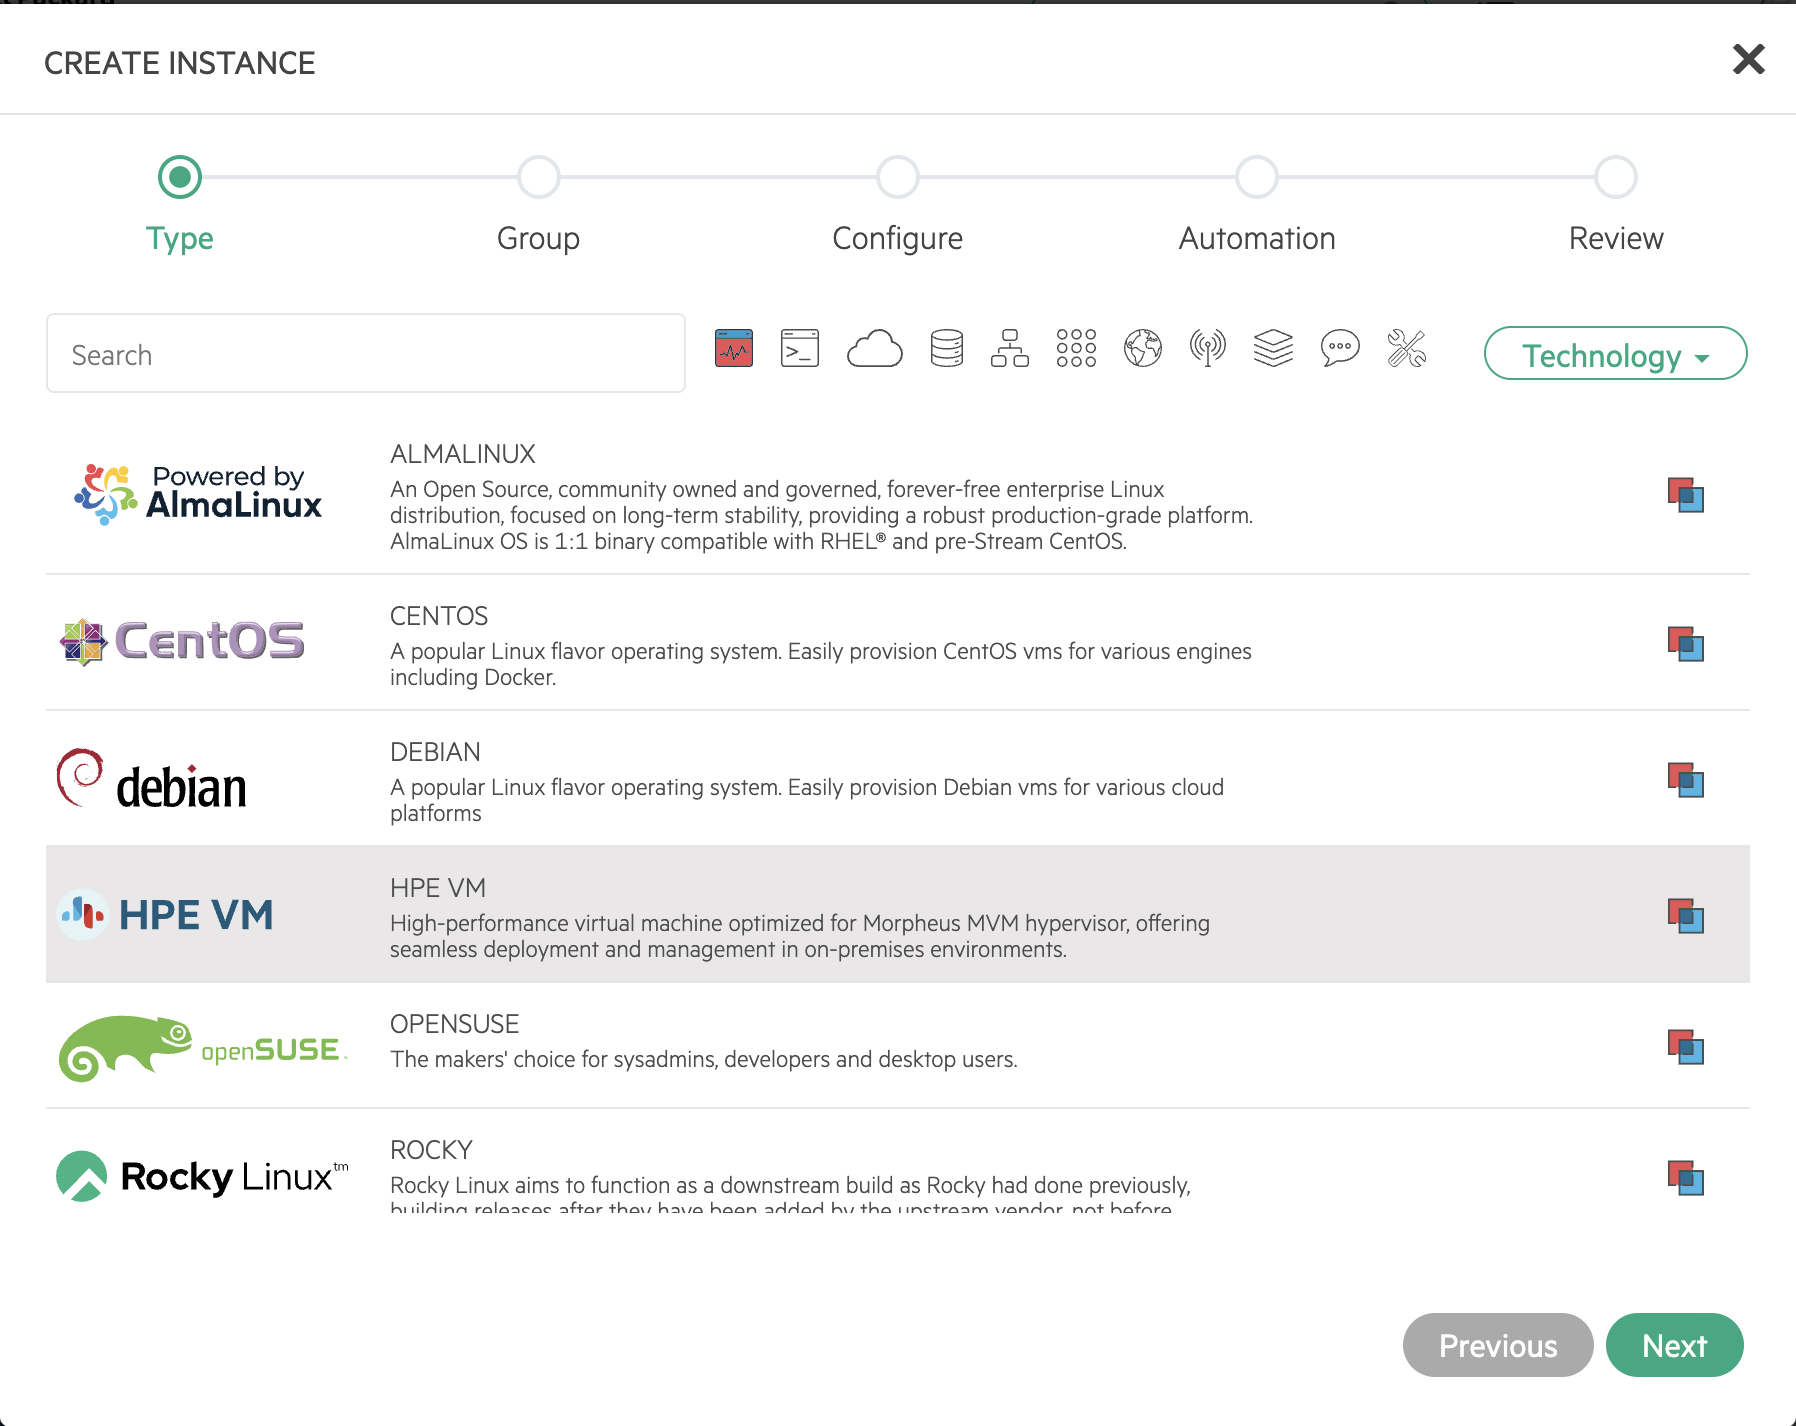
From the ADD INSTANCE wizard input the following:
From the TYPE section: Select “HVM”
Click NEXT
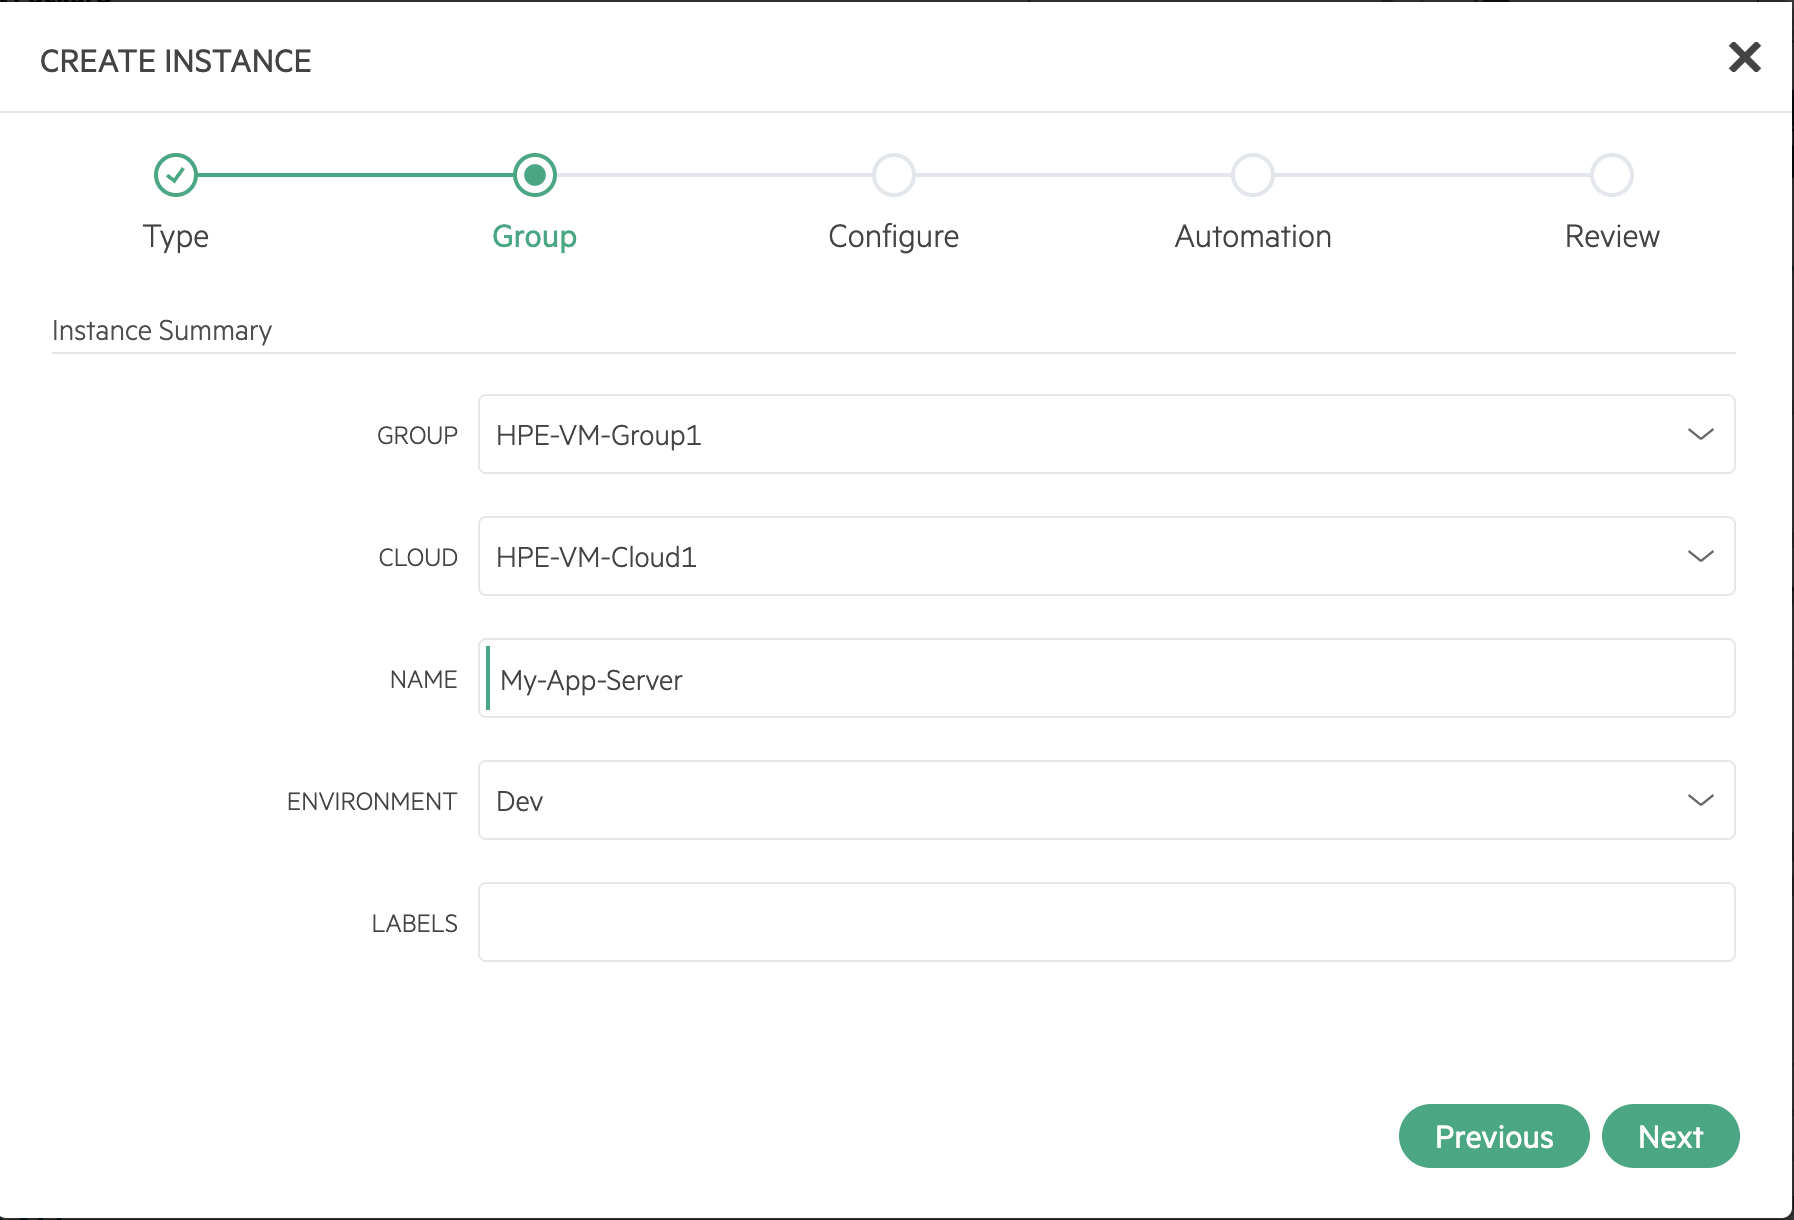
From the GROUP tab, input the following:
- GROUP:
Select the Group for the Instance
- CLOUD:
Select the Cloud for the Instance
- NAME:
Name for the Instance in HPE Morpheus Enterprise
Click NEXT
From the CONFIGURE tab, input the following:
- LAYOUT:
Select the Layout for the Instance
- PLAN:
Select the Plan for the Instance
- RESOURCE POOL:
Select the Resource Pool (Cluster) for the Instance
- VOLUMES:
Add one or more Volumes to the Instance. Select the datastore created in the previous section
- NETWORK:
Add Networks to the Instance
- IMAGE:
Select the Image for the Instance
- HOST:
Select the cluster host for the Instance
Other configurations may be added as needed.
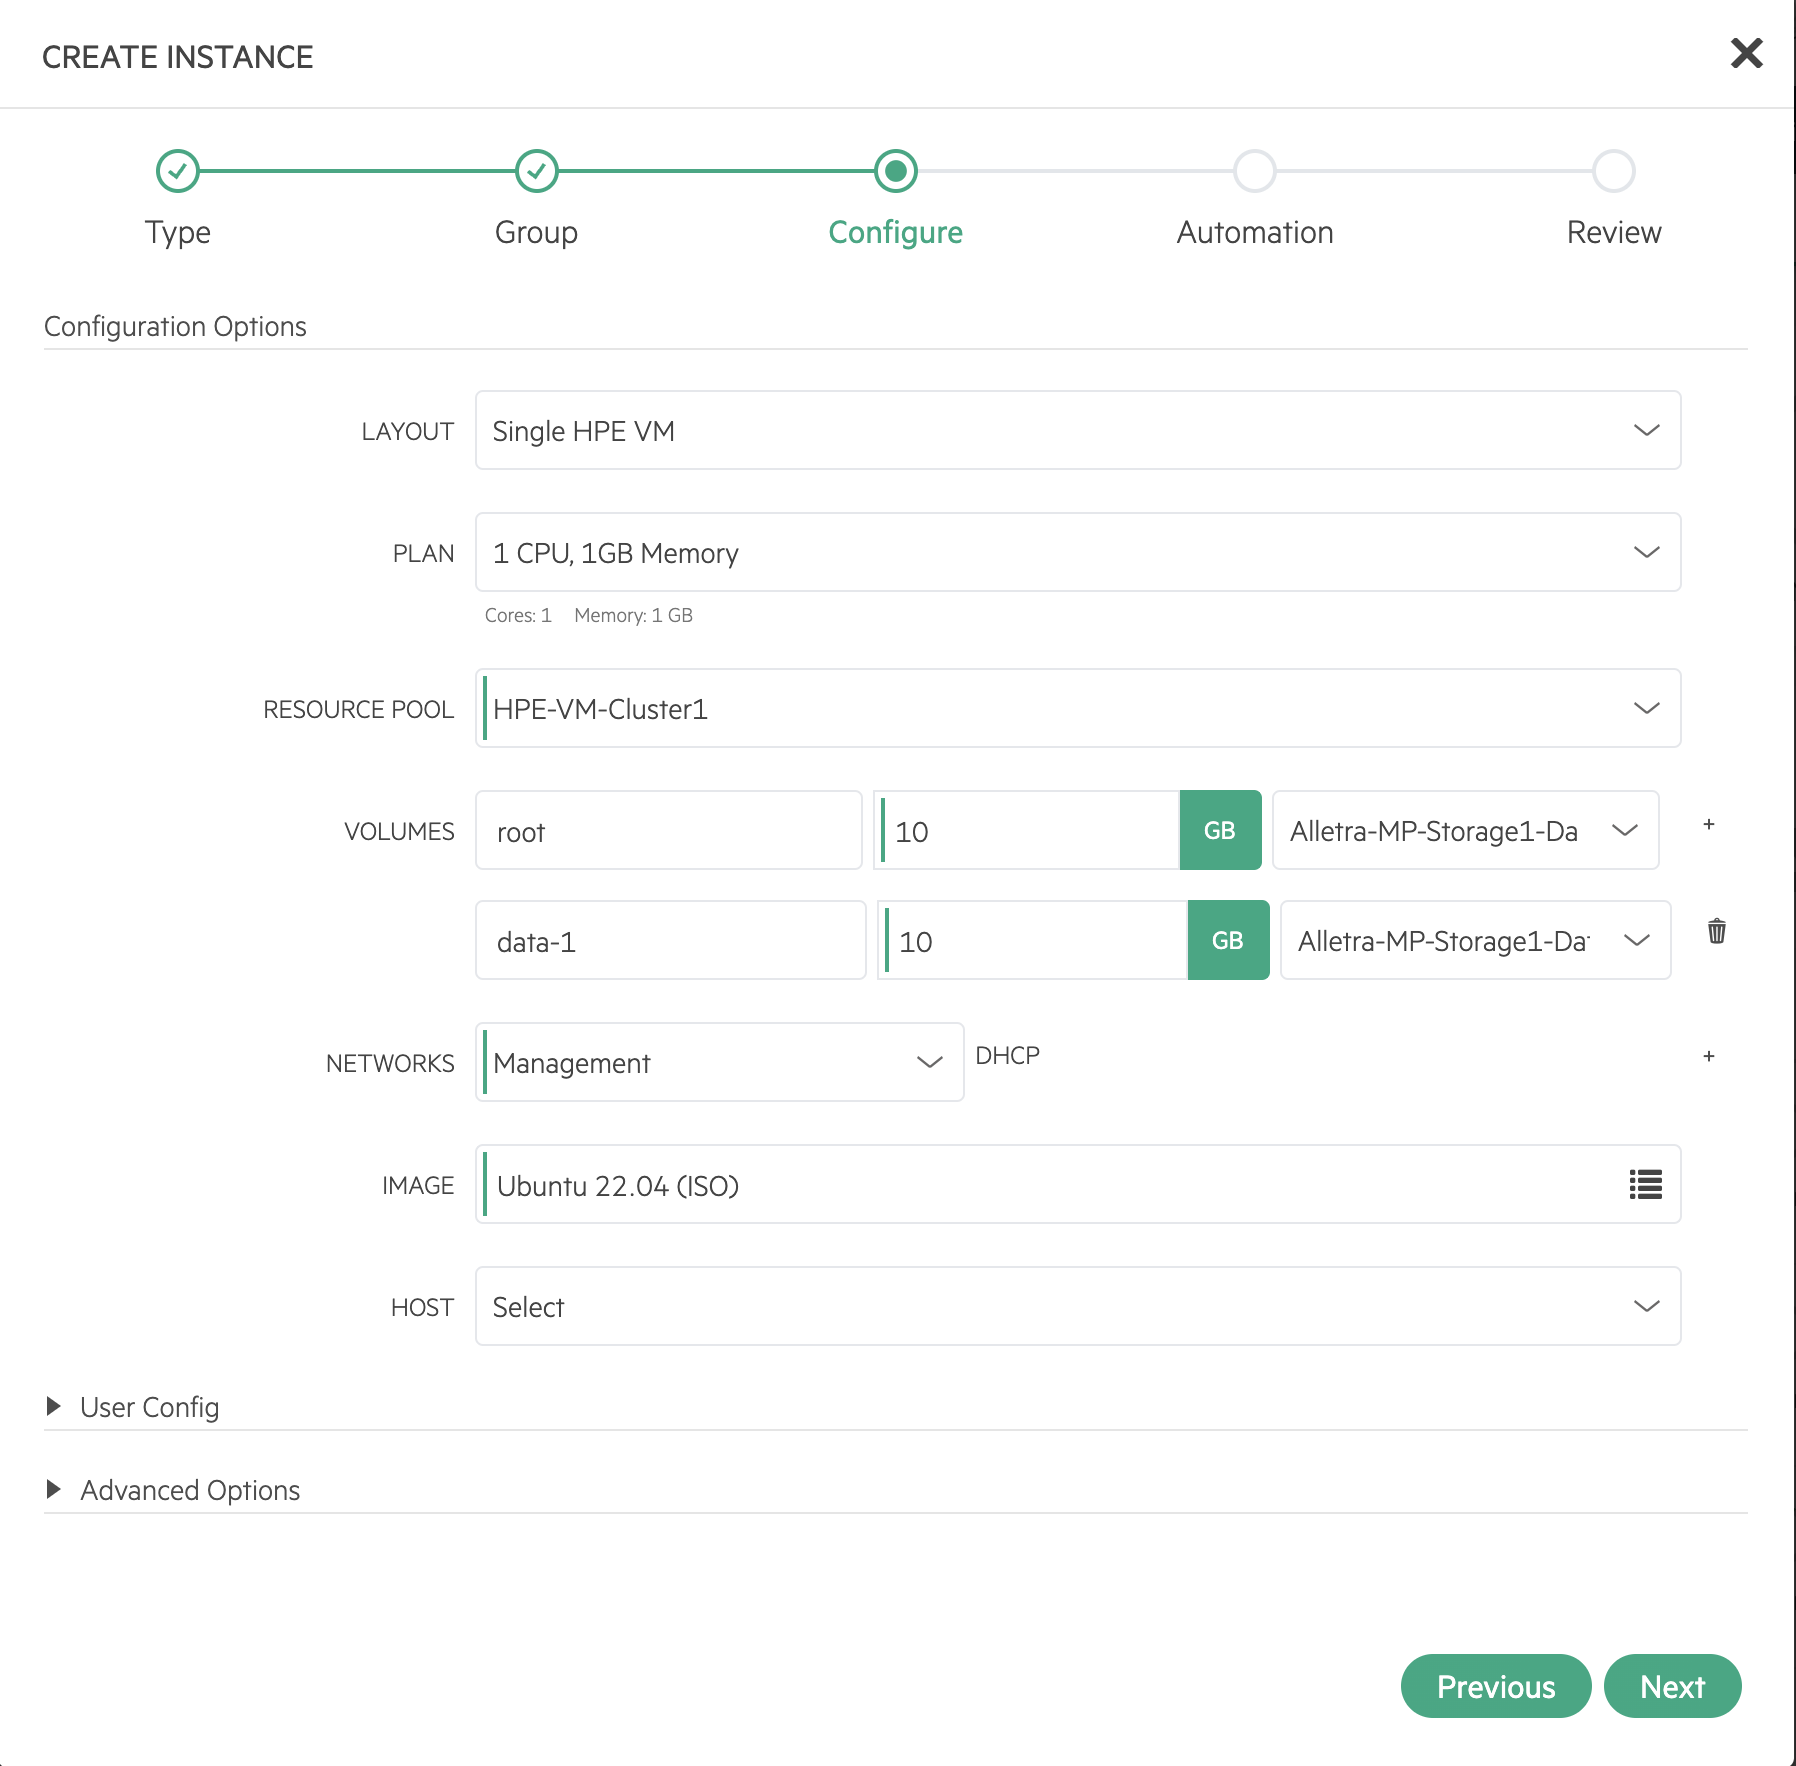
Click NEXT
Add Automation Tasks, if needed
Click NEXT
Review the Instance configuration
Click COMPLETE
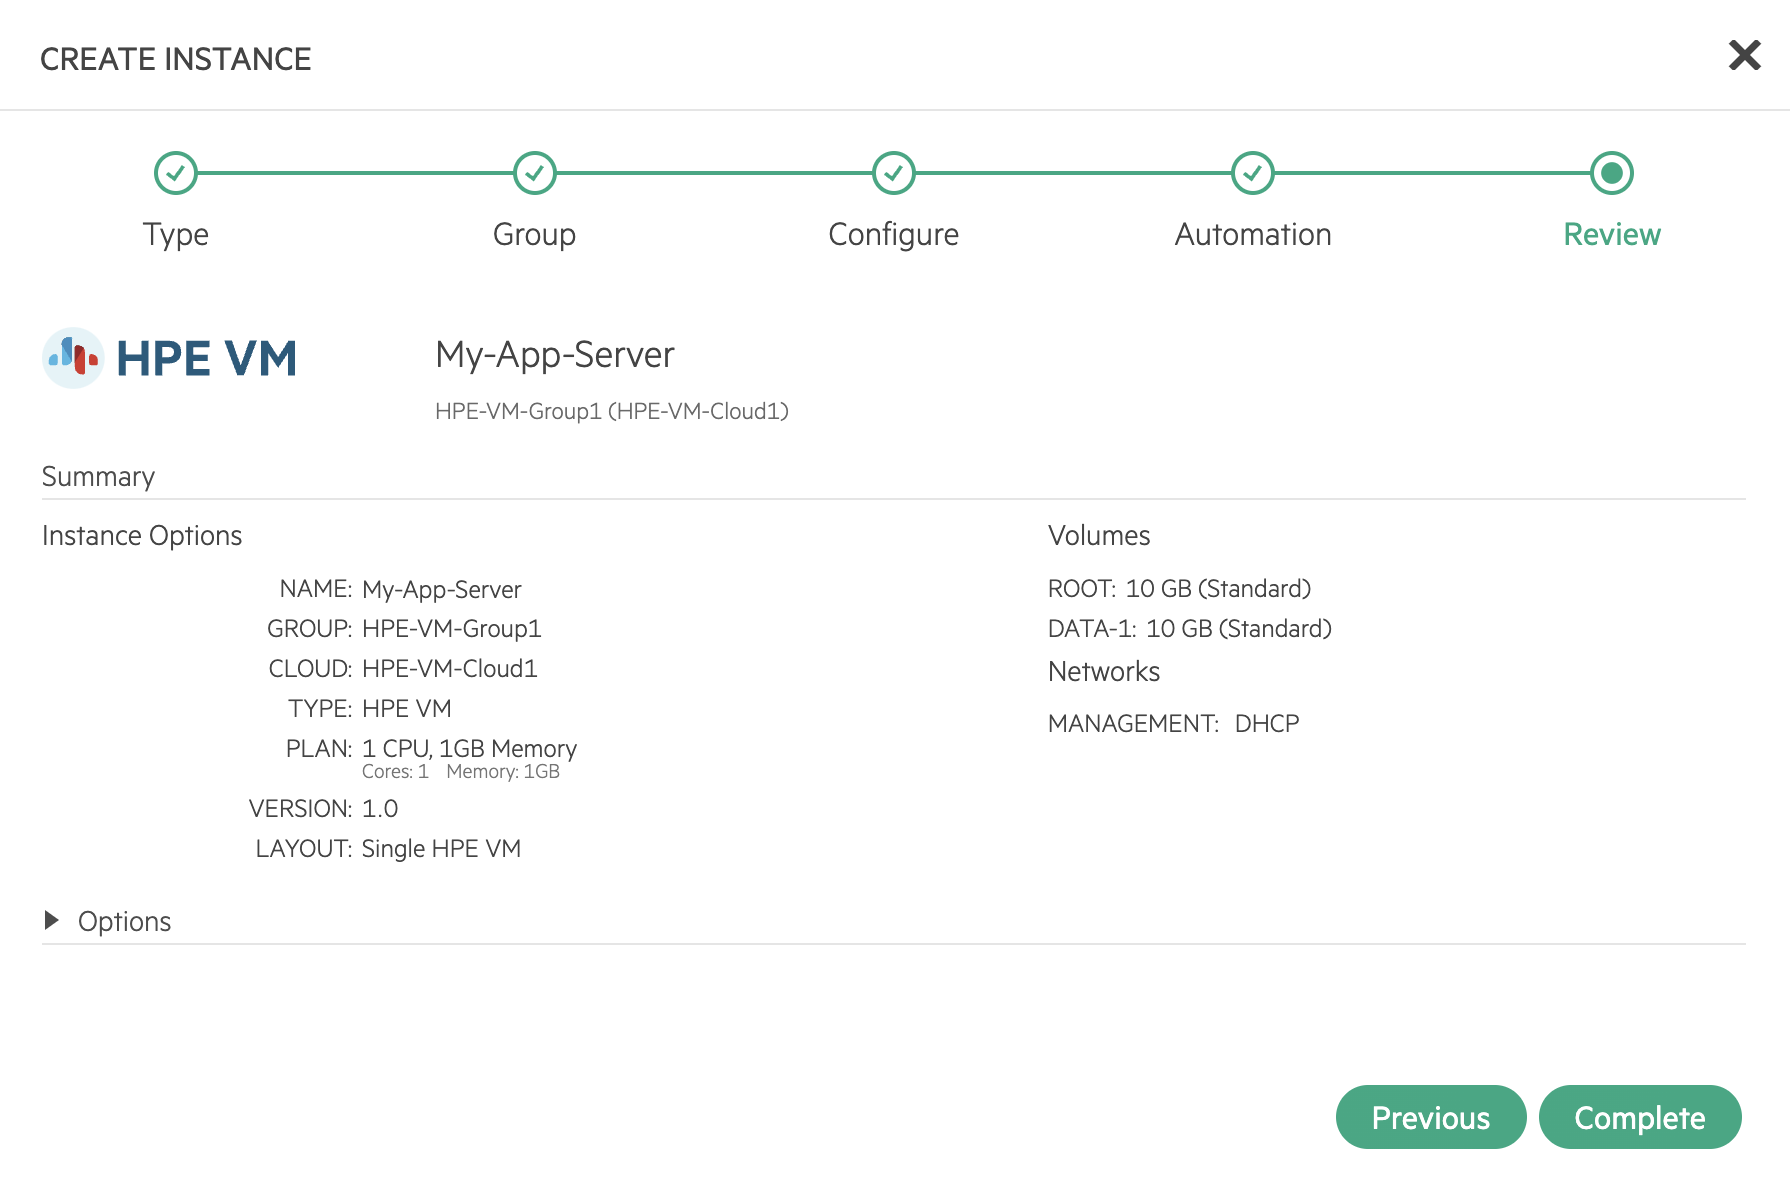
The Instance is now provisioned to the new datastore and is viewable within the Instances (Provisioning > Instances) section.