Nutanix Prism Central
Morpheus offers Nutanix Prism Central Cloud integration support through and official plugin. Adding the plugin to a Morpheus appliance adds a new Cloud integration type for Nutanix Prism Central. Download the plugin from the Morpheus Plugin Exchange and upload it to the appliance. Plugins are uploaded at Administration > Integrations > Plugins. See Morpheus plugin documentation for more details on adding plugins.
Features
Virtual Machine Provisioning
Backups / Snapshots
Automatic Cloud sync
Project scoping
Brownfield VM management
Clone VMs to images
Host monitoring
Datastore management
Hypervisor Remote Console
Lifecycle Management and Resize
Creating a Minimal Service Account
Integrating Nutanix Prism Central with Morpheus requires the use of a service account which has sufficient privileges to work with all Nutanix contructs that Morpheus touches. If possible, it’s recommended to use a service account with full administrator rights. This is because there is currently a bug on the Nutanix side that prevents limited roles from working with backups and snapshots. If you choose to use the minimal role permissions outlined in this section, those features will not work until the bug is resolved.
Recommended Minimal Service Account
The user belongs to the built-in “Prism Viewer” role
The user must be added to any Projects that need to be surfaced to the integration
The user must belong to a custom role with the permissions listed in the expandable section below
Required Custom Role Permissions
Access Console VM
Allow Cross Cluster VM Migration
Allow VM Power Off
Allow VM Power On
Allow VM Reboot
Allow VM Reset
Allow VM Volume Group Connection
Clone VM
Copy Image Remote
Create External Subnet
Create Image
Create Layer2 Stretch
Create Overlay Subnet
Create Subnet
Create VM
Delete External Subnet
Delete Image
Delete Layer2 Stretch
Delete Subnet
Delete VM
Delete VM Recovery Point
Deploy VM Templates
Expand VM Disk Size
Export VM
Mount VM CDROM
Restore VM Recovery Point
Revert VM
Snapshot VM
Unmount VM CDROM
Update Cluster
Update Container Disks
Update External Subnet
Update Image
Update Layer2 Stretch
Update Overlay Subnet
Update Subnet
Update VM
Update VM Boot Config
Update VM Categories
Update VM CPU
Update VM Description
Update VM Disk List
Update VM GPU List
Update VM Memory
Update VM Memory Overcommit
Update VM Name
Update VM NGT Config
Update VM NIC List
Update VM Owner
Update VM Power State
Update VM Power State Mechanism
Update VM Project
Update VM Recovery Point
View Availability Zone
View Category
View Cluster
View Cluster Networking Capabilities
View Container
View Container Datastore
View Container Stats
View Dashboard
View External Subnet
View Host
View Image
View Layer2 Stretch
View Layer2 Stretch Related Entities
View Marketplace Item
View Name Category
View Network Gateway
View Overlay Subnet
View Project
View Storage Pool
View Subnet
View Value Category
View vCenter Cluster
View vCenter Container
View vCenter Node
View vCenter VM
View Virtual Switch
View VM
View VM Host Affinity Policy
View VM Recovery Point
View VM Templates
View VPC
View Vpn Connection
Important
Due to a current Nutanix bug, non-administrator service accounts will not be able to utilize backup or snapshot features via Morpheus. Users who need these features should integrate using an administrator service account rather than the minimal user described here.
Adding a Nutanix Prism Central Cloud
Adding Nutanix Prism Clouds to Morpheus requires little more than the API URL and valid username and password credentials for a user with sufficient access to the resources that should be utilized by Morpheus. You’ll also need to ensure Morpheus can reach the NPC appliance at its API URL.
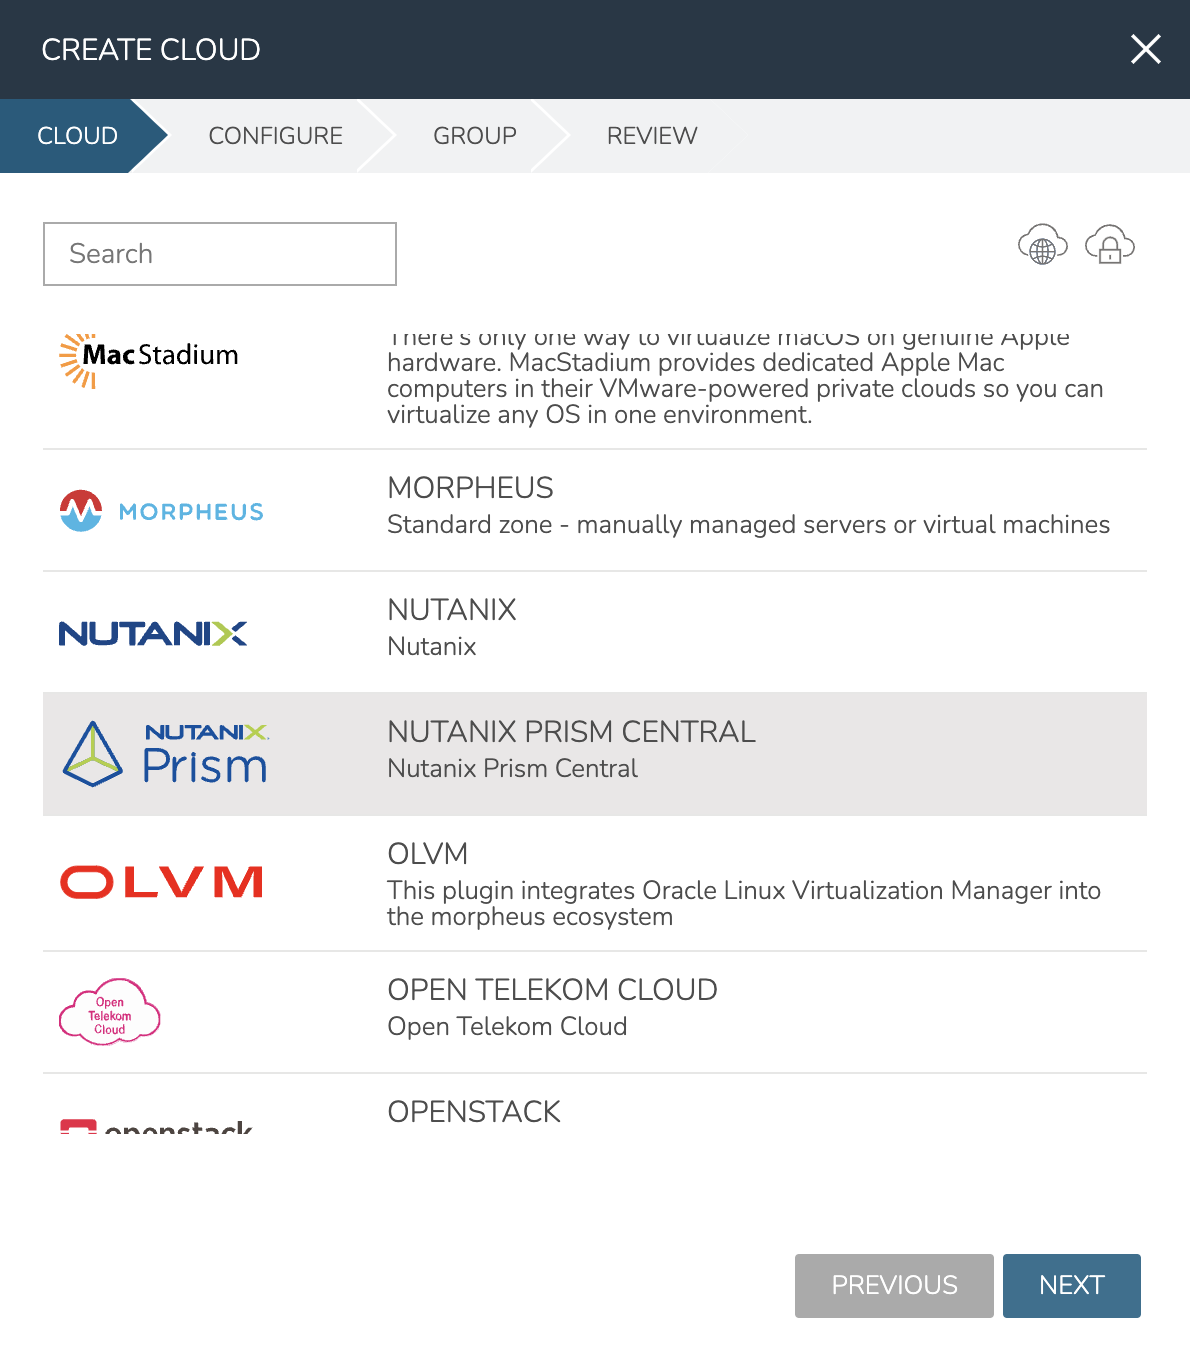
Navigate to Infrastructure > Clouds and click + ADD. As long as the Nutanix Prism Central plugin have been added to the appliance and this Cloud type isn’t disabled in global settings (Administration > Settings), NUTANIX PRISM CENTRAL should be selectable as a Cloud type to add. Select it and click NEXT.
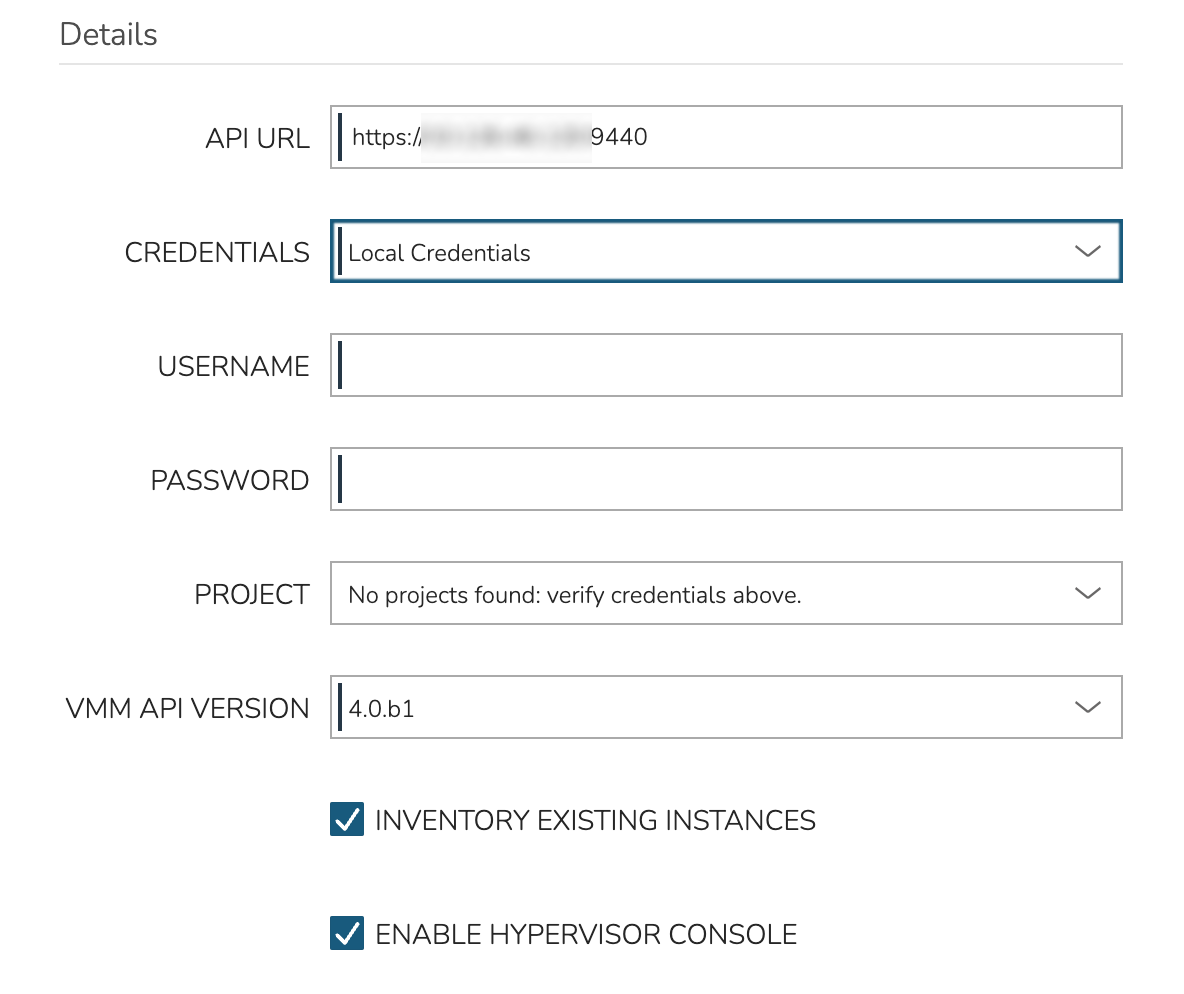
At minimum, it’s required to configure the following to add the new cloud:
NAME: A friendly name for the new NPC Cloud in Morpheus
API URL: API access URL (ex. https://xx.xx.xx.xx:9440)
USERNAME: Username for a Nutanix Prism Central service account (see the previous section for recommendations on service account user role configuration)
PASSWORD: The password for the service account
VMM API VERSION: Allows the user to select which VMM API versions their environment will support as Morpheus cannot auto-detect this and endpoint support differs between versions
You’ll know the API URL and credentials have been entered correctly when the PROJECTS dropdown becomes populated. You may choose to scope Nutanix Prism Central Clouds to a specific project or scope the Cloud to all Projects. Click NEXT and select a Group for the Cloud or create a new Group. Click NEXT to reach the review screen and then click COMPLETE.
After completing the wizard, Morpheus will immediately begin to add the new Cloud and perform the first Cloud sync. Within a short time, existing workloads will be discovered and onboarded into Morpheus UI (if you’ve chosen to discover existing workloads). The Cloud is now ready to be used as a provisioning target or for day-two operations.