Oracle Linux Virtualization Manager
Oracle Linux Virtualization Manager (OLVM) allows administrators to manage and support a multi-host Oracle Linux KVM environment. HPE Morpheus Enterprise has developed and supports a plugin which allows an OLVM environment to be integrated and consumed as any other Cloud type within the HPE Morpheus Enterprise ecosystem. OLVM Clouds can be scoped to individual OLVM datacenters or scoped across all datacenters depending on configuration at the time of integration. Once integrated, HPE Morpheus Enterprise can automatically bring onboard OLVM resources including existing hosts, VMs (if desired), virtual images, networks and datastores.
Features
Virtual Machine Provisioning
Backups / Snapshots
Automatic Cloud sync
Datacenter scoping
Brownfield VM management
Clone VMs to images
Host monitoring
Datastore management
Hypervisor Remote Console
Lifecycle Management and Resize
Adding an OLVM Cloud
Adding OLVM Clouds to HPE Morpheus Enterprise requires little more than the API URL and valid username and password credentials for a user with sufficient access to the resources that should be utilized by HPE Morpheus Enterprise. You’ll also need to ensure HPE Morpheus Enterprise can reach the OLVM at its API URL.
Navigate to Infrastructure > Clouds and click + ADD. As long as the OLVM plugin has been added to the appliance and this Cloud type isn’t disabled in global settings (Administration > Settings), NUTANIX PRISM CENTRAL should be selectable as a Cloud type to add. Select it and click NEXT.
At minimum, it’s required to configure the following to add the new Cloud:
NAME: A friendly name for the new OLVM Cloud in HPE Morpheus Enterprise
API URL: API access URL (ex. https://xx.xx.xx.xx/ovirt-engine/api)
USERNAME: Username for a OLVM service account, using an admin account will avoid any downstream permissions issues that could prevent features of the integration from working properly
PASSWORD: The password for the service account
DATACENTER: The Cloud may be scoped to a specific datacenter or to all datacenters
You’ll know the API URL and credentials have been entered correctly when the DATACENTER dropdown becomes populated. Click NEXT and select a Group for the Cloud or create a new Group. Click NEXT to reach the review screen and then click COMPLETE.
After completing the wizard, HPE Morpheus Enterprise will immediately begin to add the new Cloud and perform the first Cloud sync. Within a short time, existing workloads will be discovered and onboarded into HPE Morpheus Enterprise UI (if you’ve chosen to discover existing workloads). The Cloud is now ready to be used as a provisioning target or for day-two operations.
Monitoring the OLVM Cloud
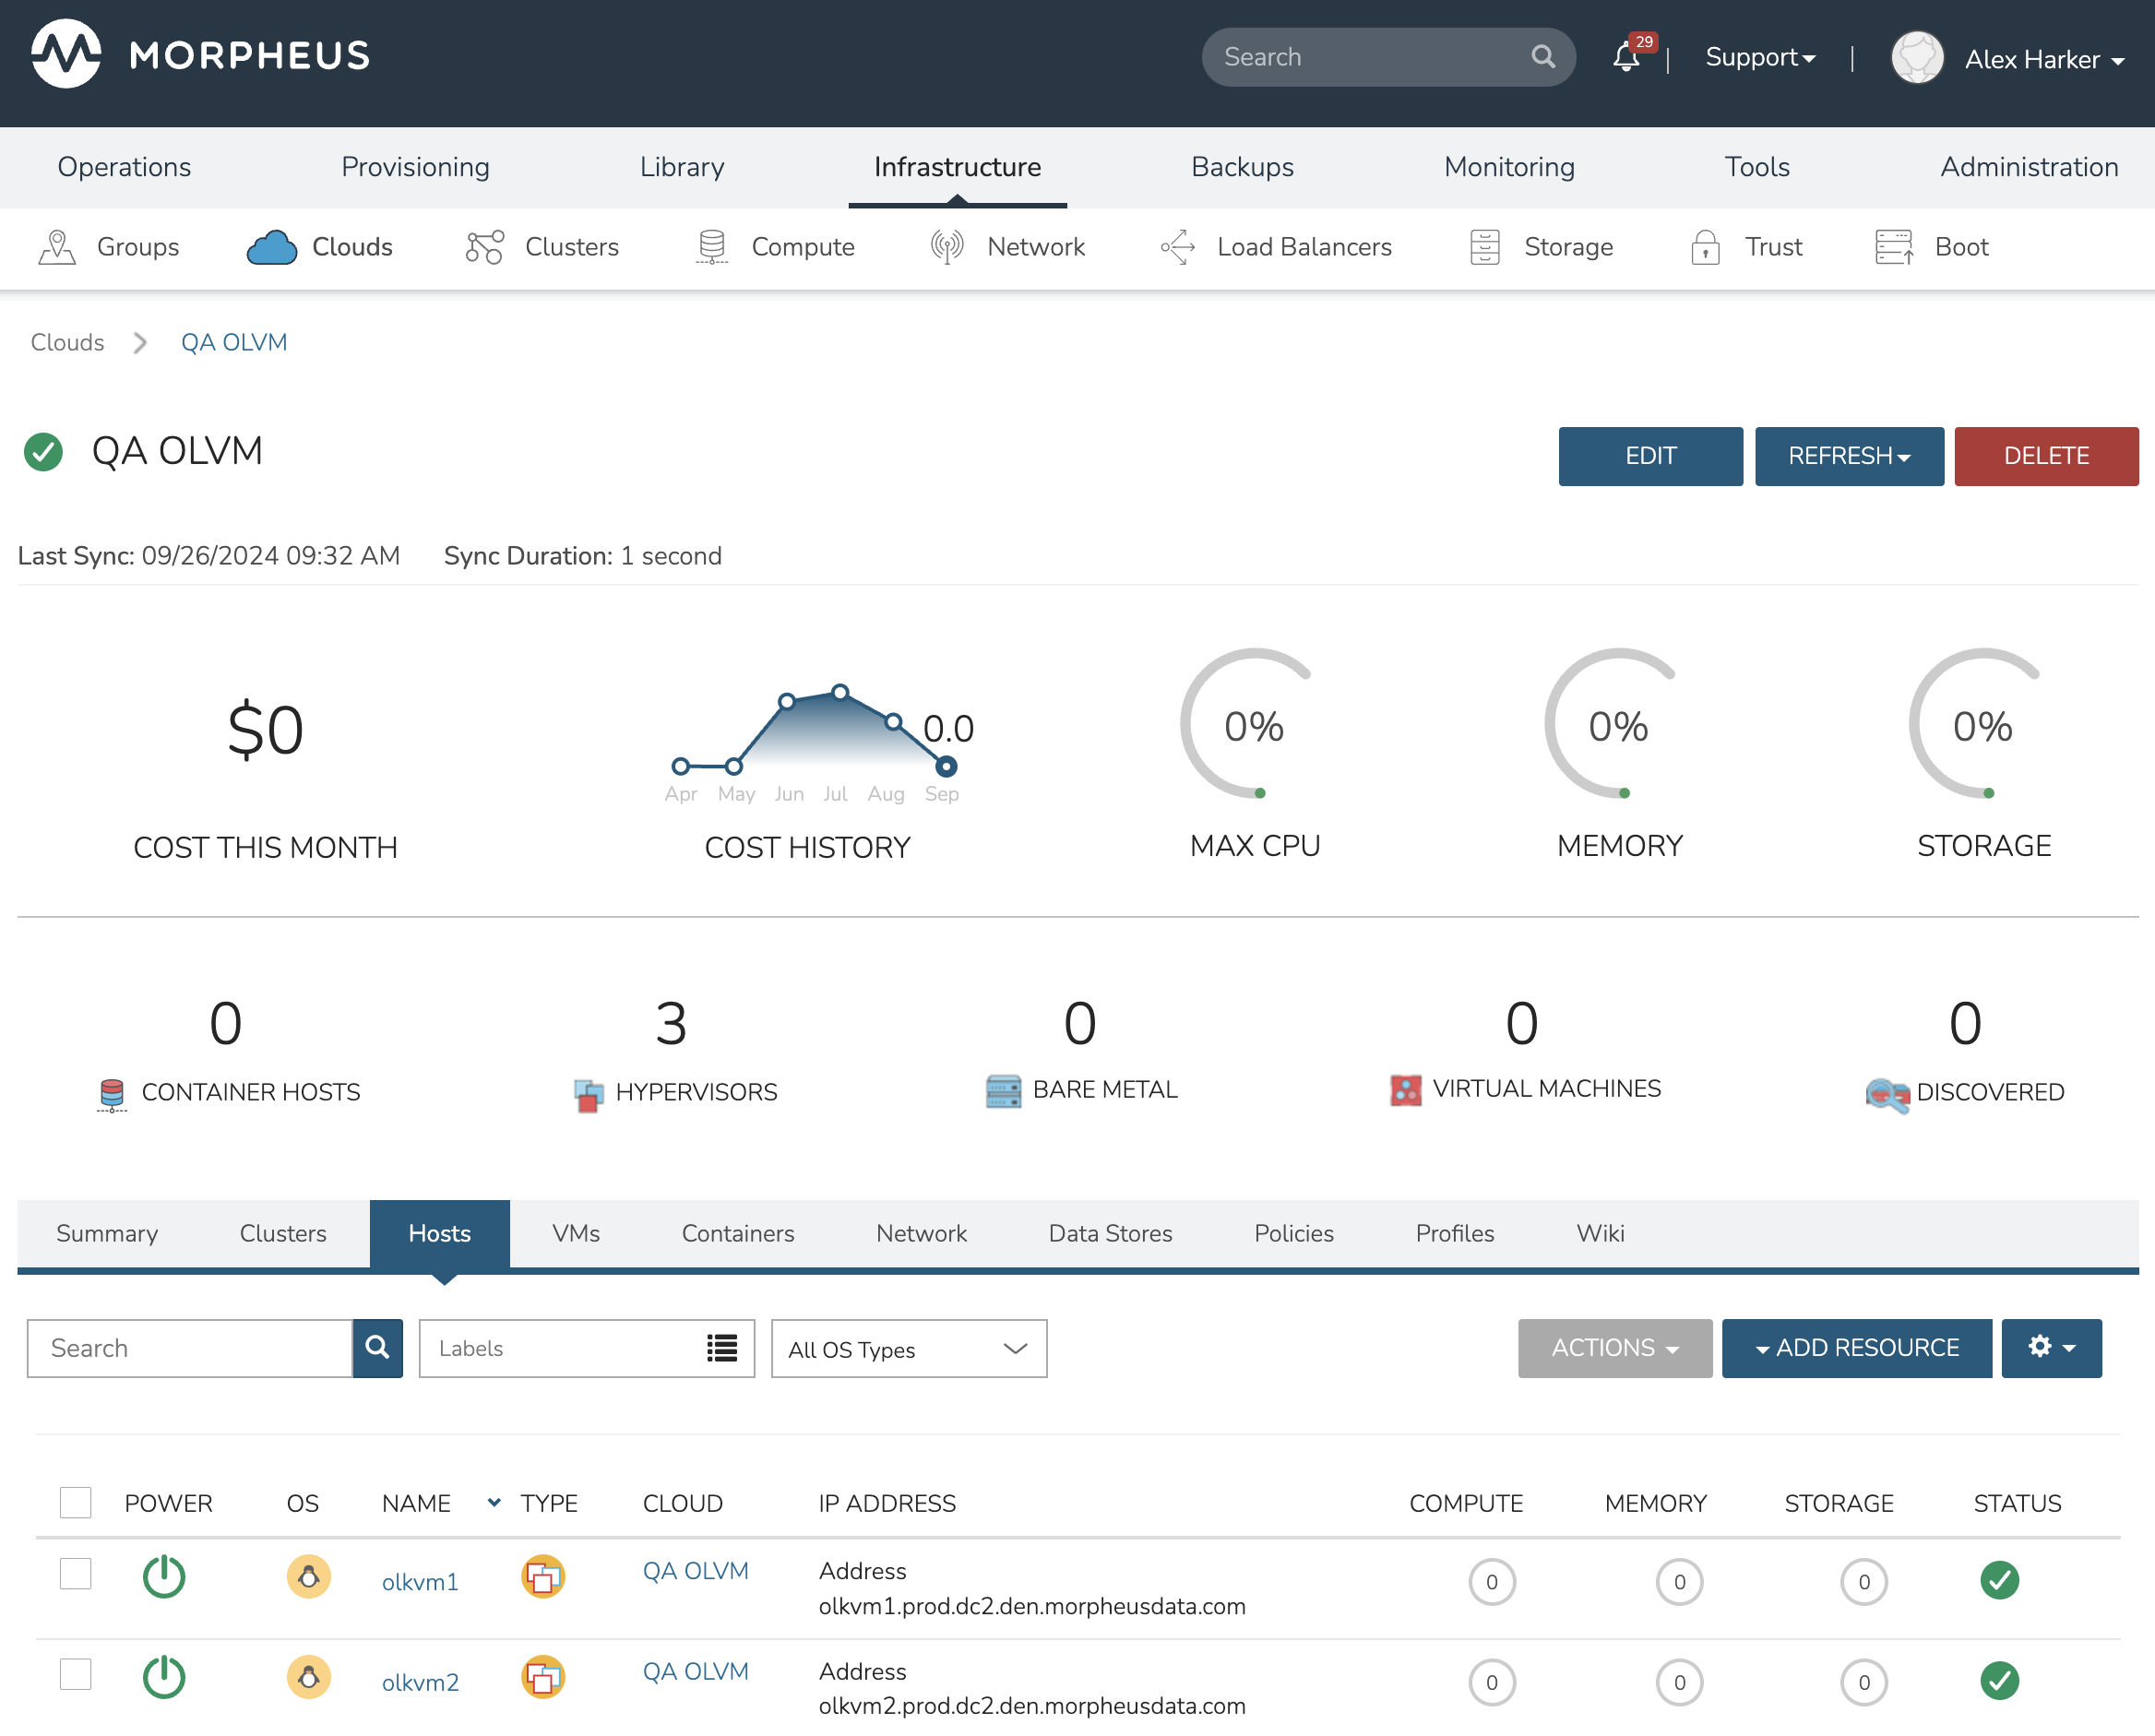
After integrating the Cloud, click into the Cloud detail page to see high level details about the OLVM environment including computed costs, number and health of hosts, resource utilization, and the number of running workloads.

Additional tabs on the detail page allow administrators to view a list of hosts (and click into a host detail page, if desired), view a list of running VMs (and click into a VM detail page, if desired), view and manage networks and datastores, view or add Docker clusters, and view any containers running on Docker hosts.
Provisioning to the OLVM Cloud
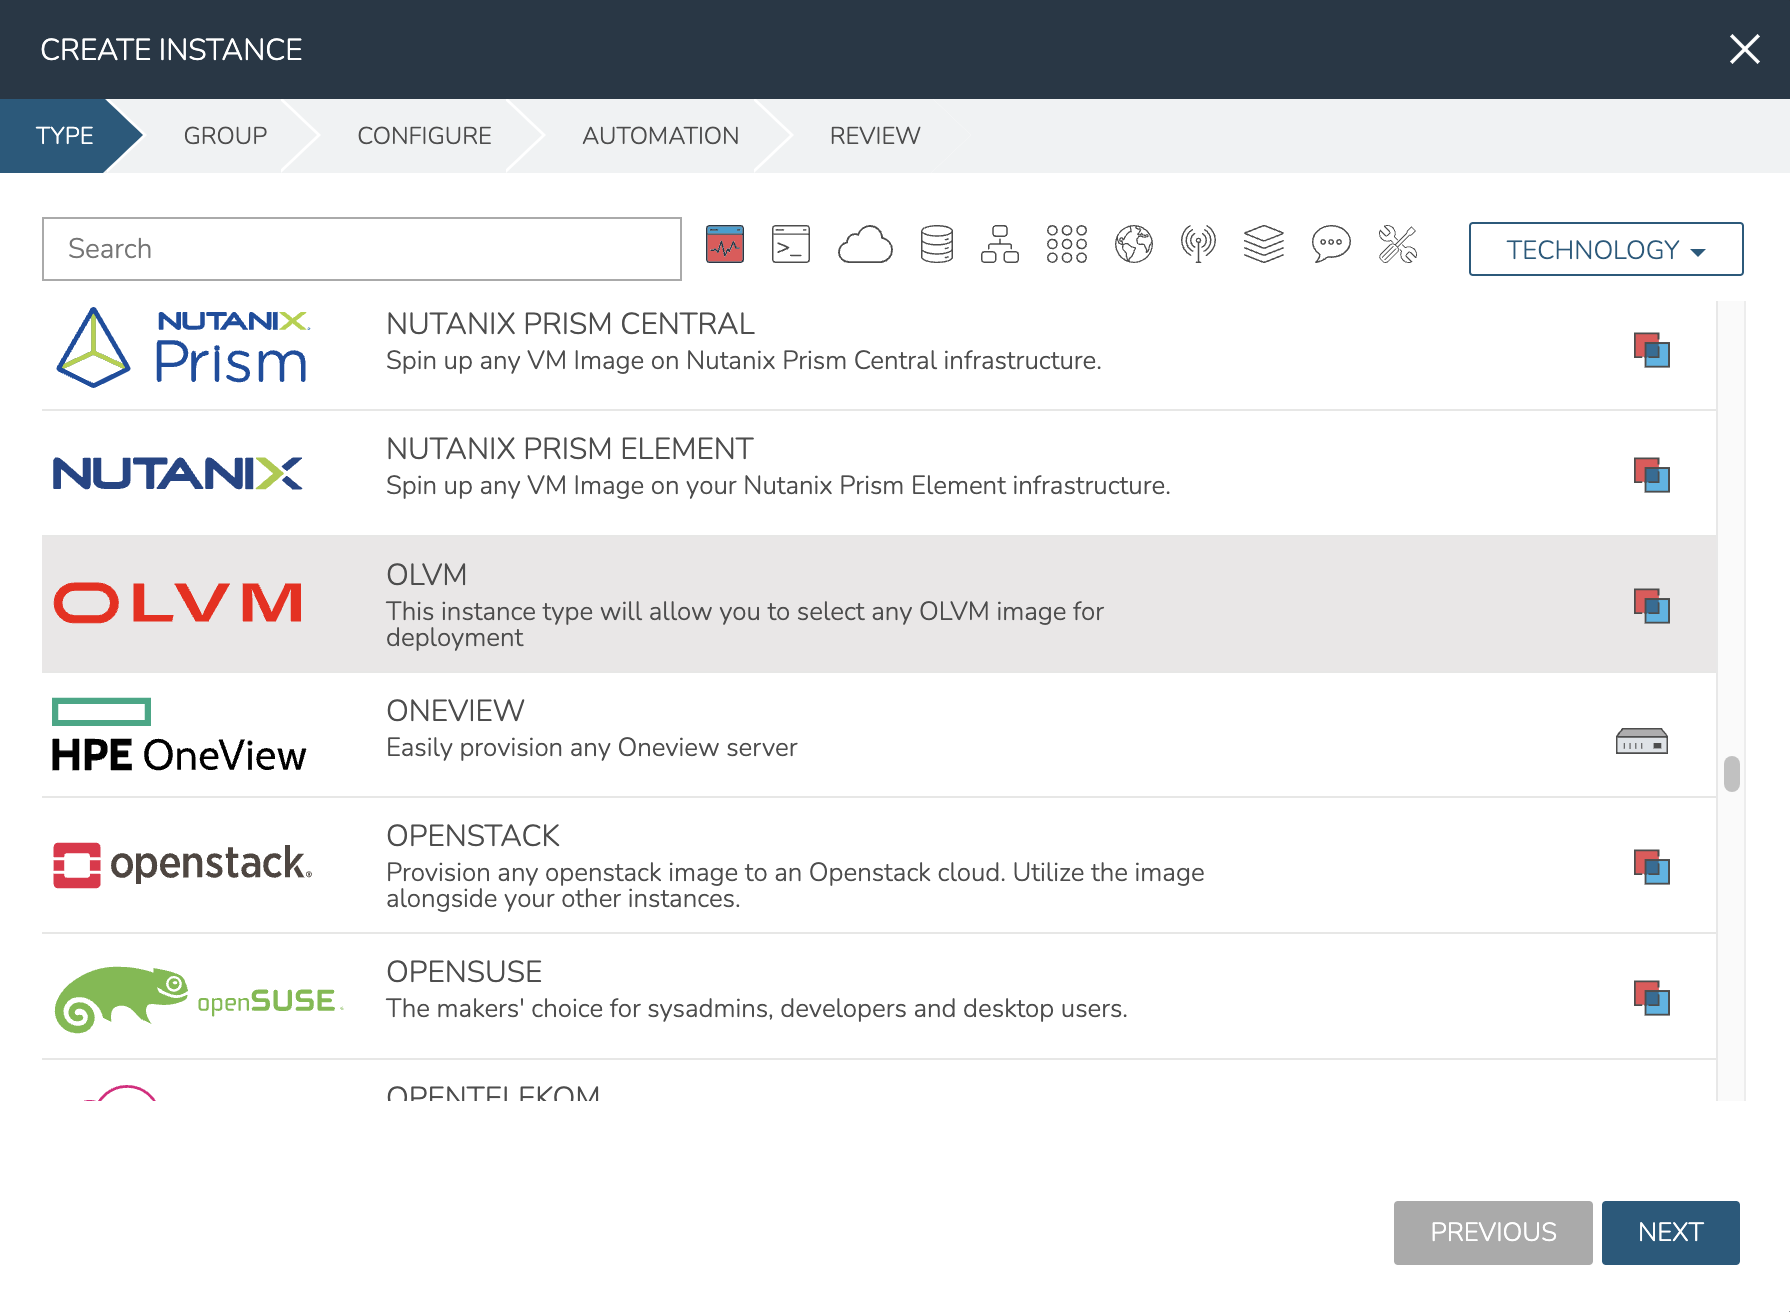
There are multiple ways to consume the new OLVM Cloud as a provisioning target. Adding an OLVM Cloud to HPE Morpheus Enterprise adds the OLVM Instance Type to the provisioning wizard. From the Instance list page (Provisioning > Instances), click + ADD and select “OLVM.”

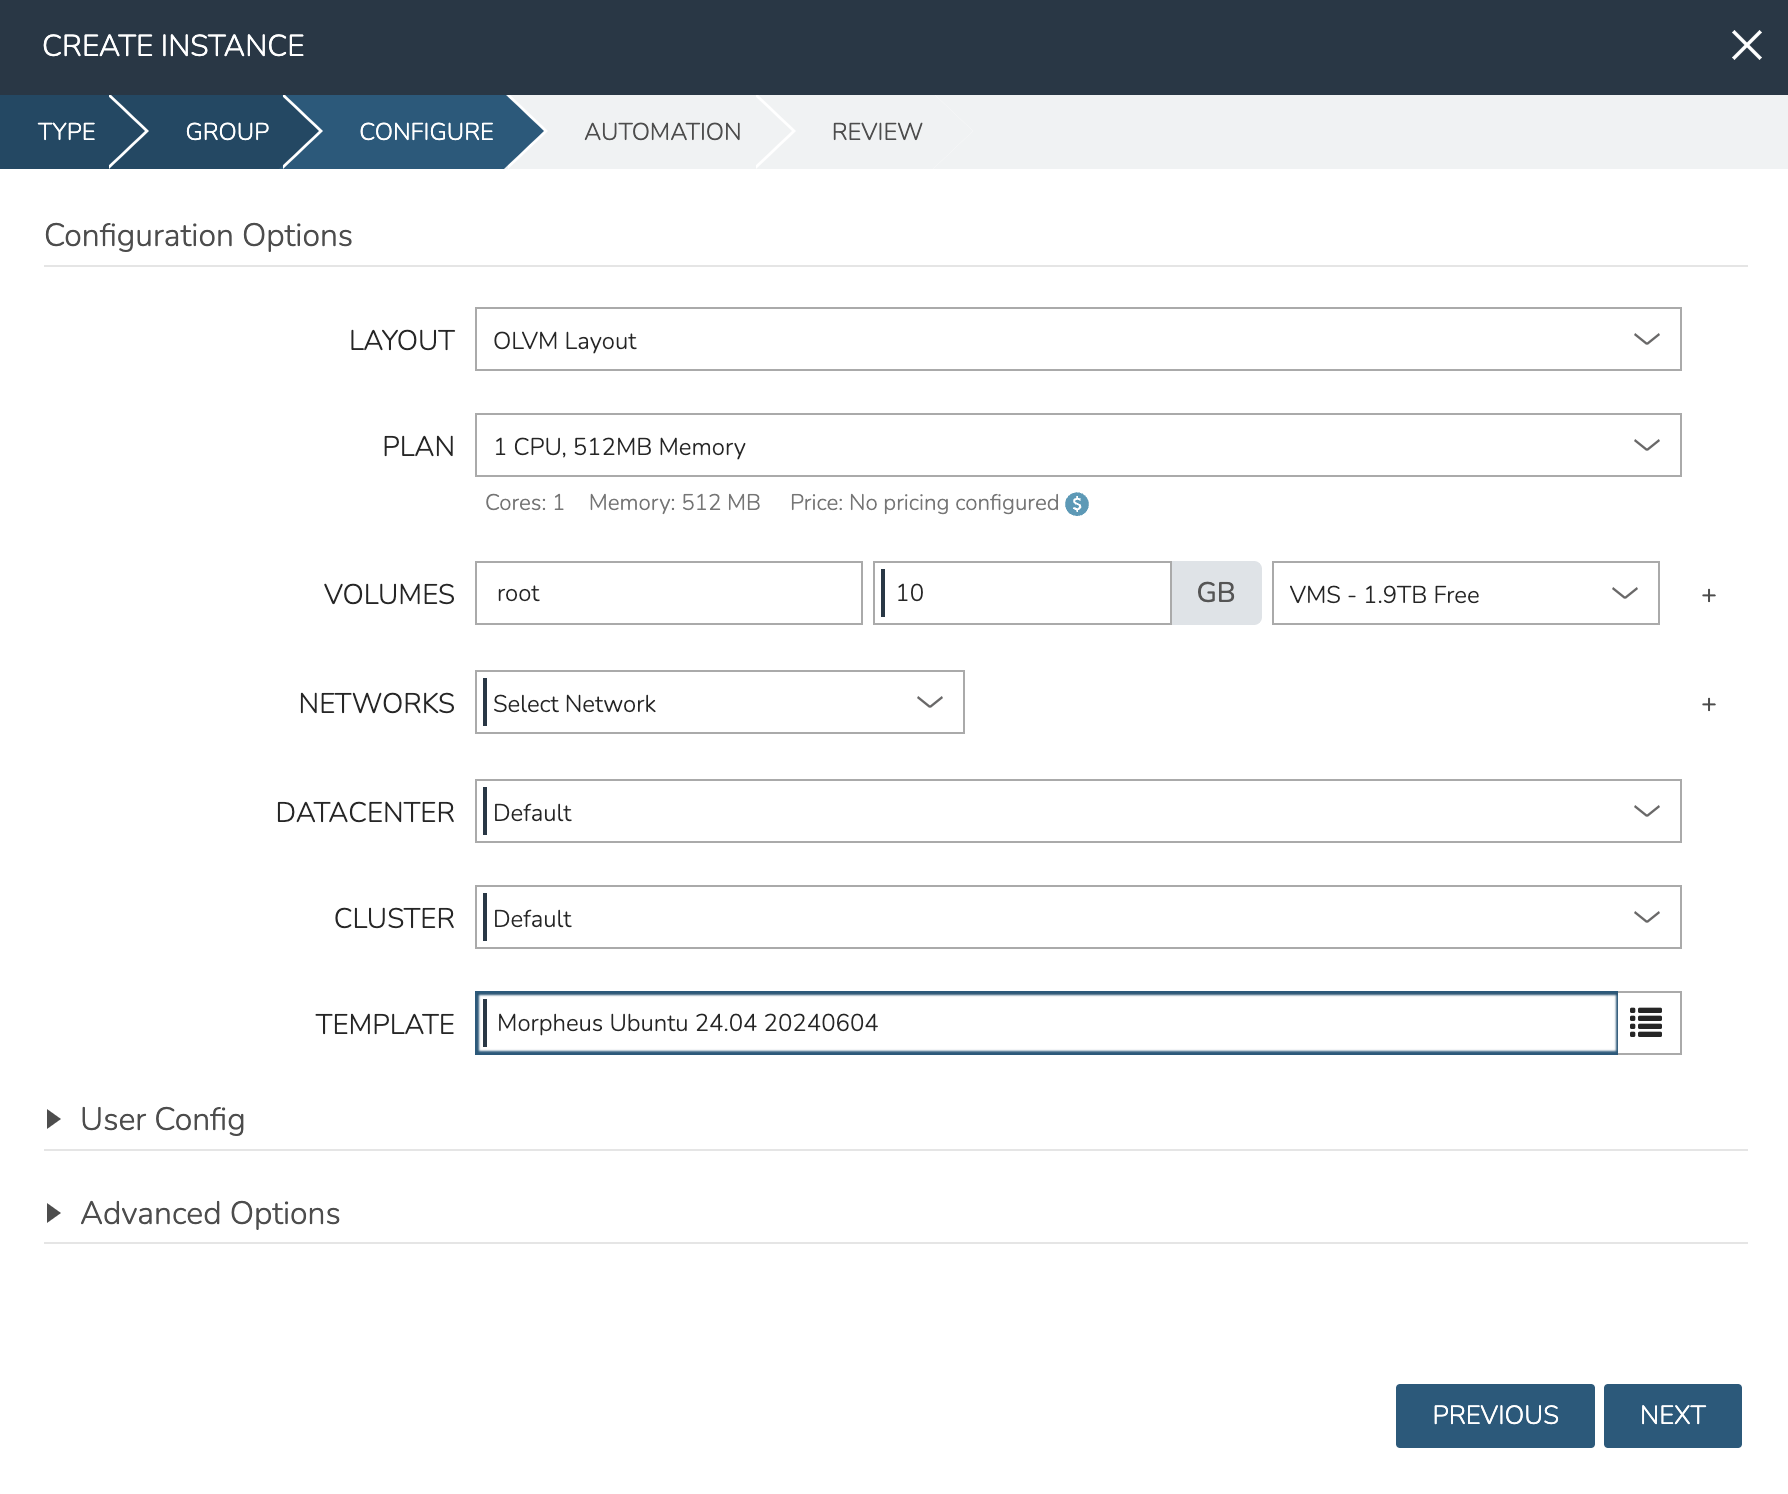
HPE Morpheus Enterprise syncs in all available Virtual Images from OLVM and presents them along with Datacenter and Cluster selections. Select the proper resource sizing and image template to provision a new VM into OLVM.

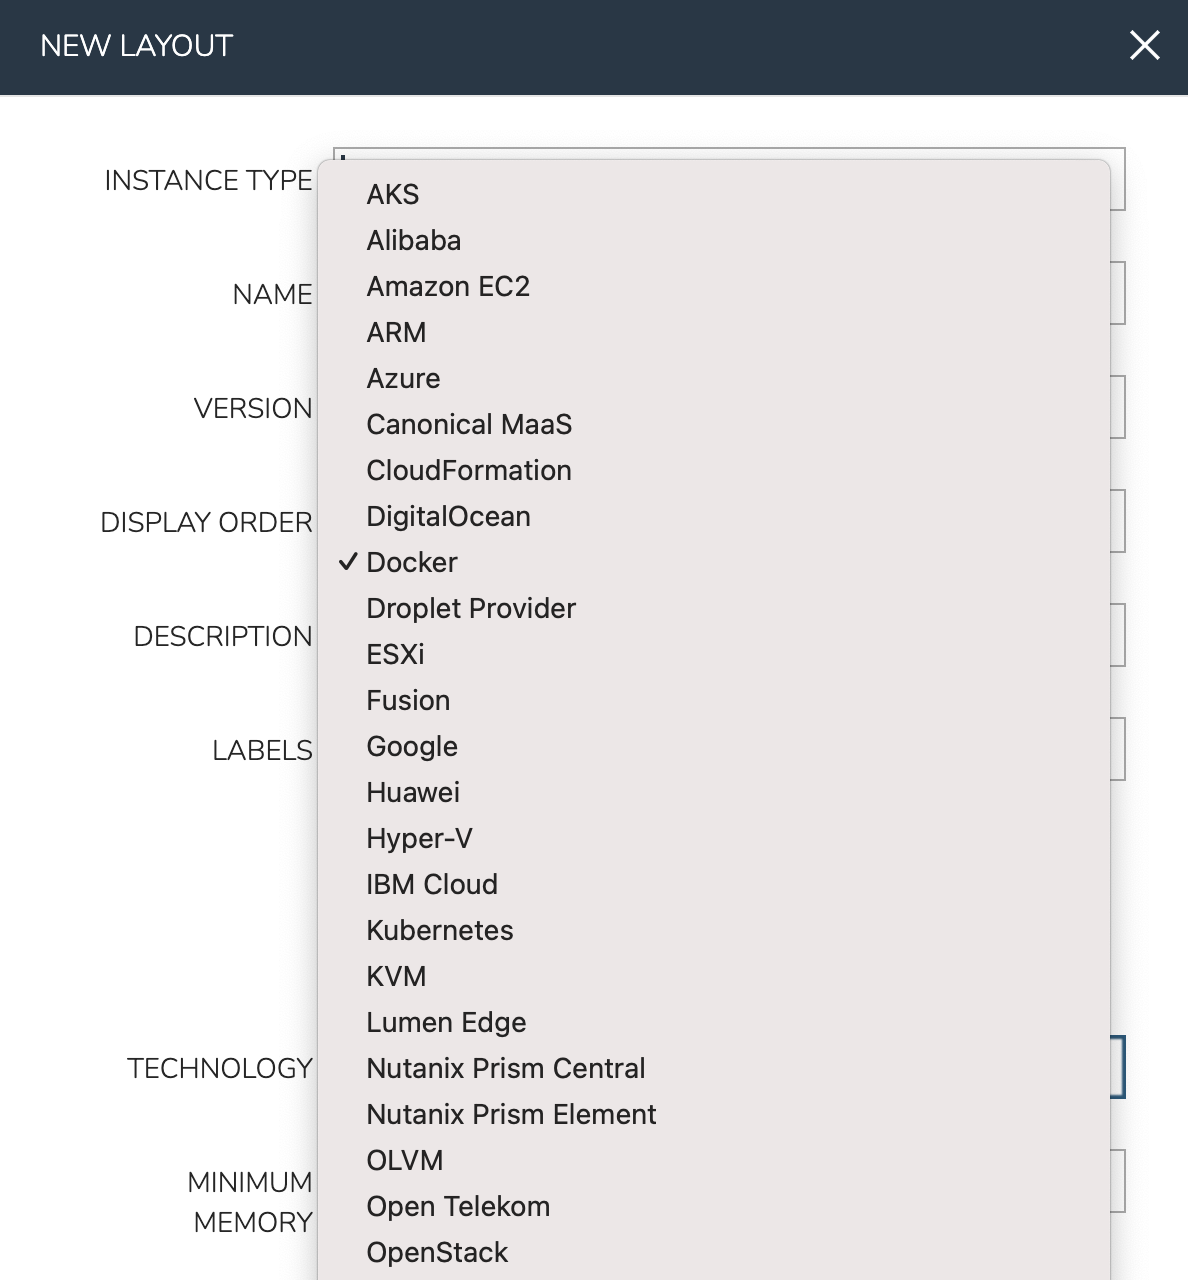
In addition to using the built-in OLVM Instance Type, adding the OLVM Cloud allows administrators to add OLVM-type Layouts to new or existing Instance Types. Add new Layouts in the HPE Morpheus Enterprise Library (Library > Blueprints > Layouts). When adding a new Layout, select “OLVM” from the Technology dropdown to make this Layout available when an OLVM Cloud has been selected as the provisioning target. See the Library section of HPE Morpheus Enterprise UI documentation for more details on building out Library items.
