Operating Systems
Out of the box, many Operating Systems (also referred to as OS types) are seeded into HPE Morpheus Enterprise by default. OS types can be set on Virtual Images when they are created. If you don’t use any other features of OS types described here, they are still useful to set on Virtual Images to ensure only Workflows designed for the platform can be run against workloads provisioned from the image. It can also help ensure certain types of reporting and dashboard metrics are correct.
Important
It’s important to note that user images are always selected over system images with the same configuration (same associated technology and/or Cloud). Additionally, more specifically configured images (for example, one with both a technology and a Cloud configured) will be selected over those less specifically configured. Only one user image can be added per Operating System with an identical technology and/or Cloud configuration and this image would supersede the system image with the same technology and/or Cloud configuration. Read this section in full for complete detail on the use cases for the Operating System construct.
Permissions
Access to Operating Systems is controlled by the Library: Operating Systems feature permission. Access levels are as follows:
FULL: Access to view, create, and edit Operating Systems
READ: Access to view Operating Systems only
NONE: No access to the Operating Systems section of the UI
Use Cases
OS types can primarily be used in one of two use cases. The first is adding your own images to existing OS types. The upshot of doing this is to use built-in Instance Types (for example, the “UBUNTU” Instance Type) while replacing the included default images with your own gold master images for some or all provisioning technologies.
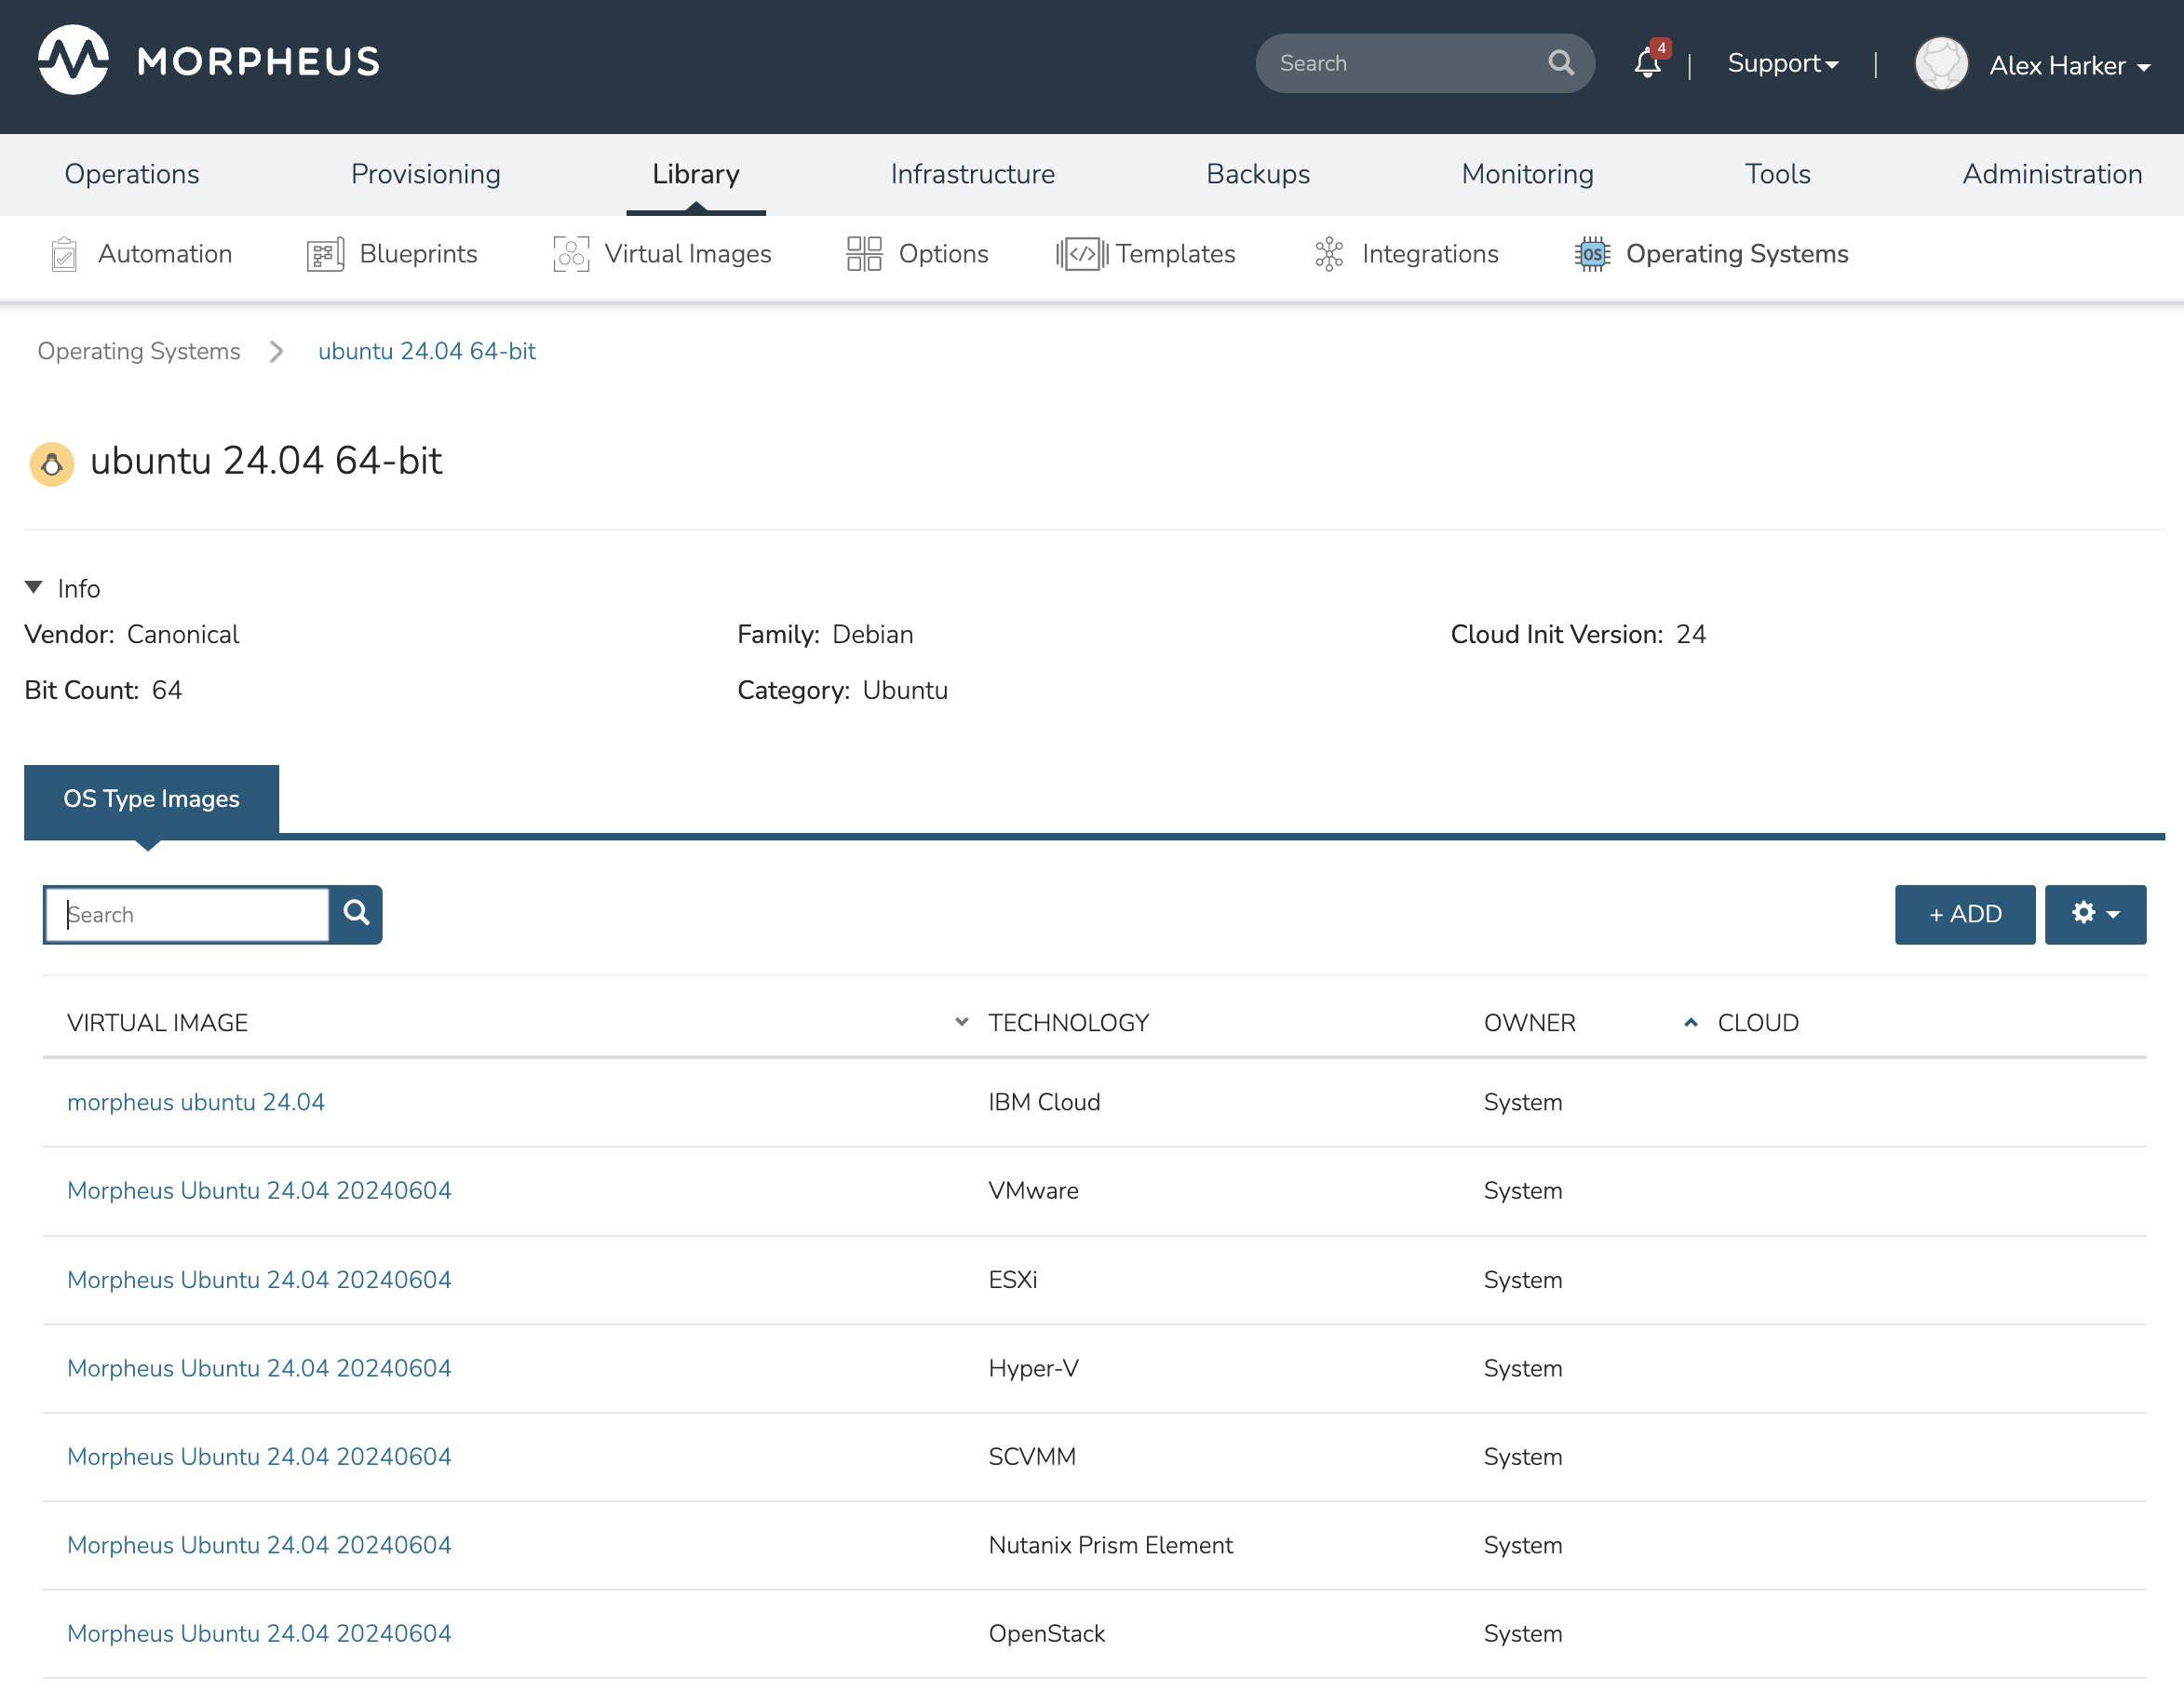
View the existing OS types by navigating to Library > Operating Systems. Here, a list of all OS types is shown. If this is a brand new appliance or if you’ve never added new Operating Systems, all shown here will be system default OS types. By clicking into any of the OS types for which HPE Morpheus Enterprise currently provides default images, you will see all of the Virtual Images for that OS type and the provisioning technology each image is compatible with.

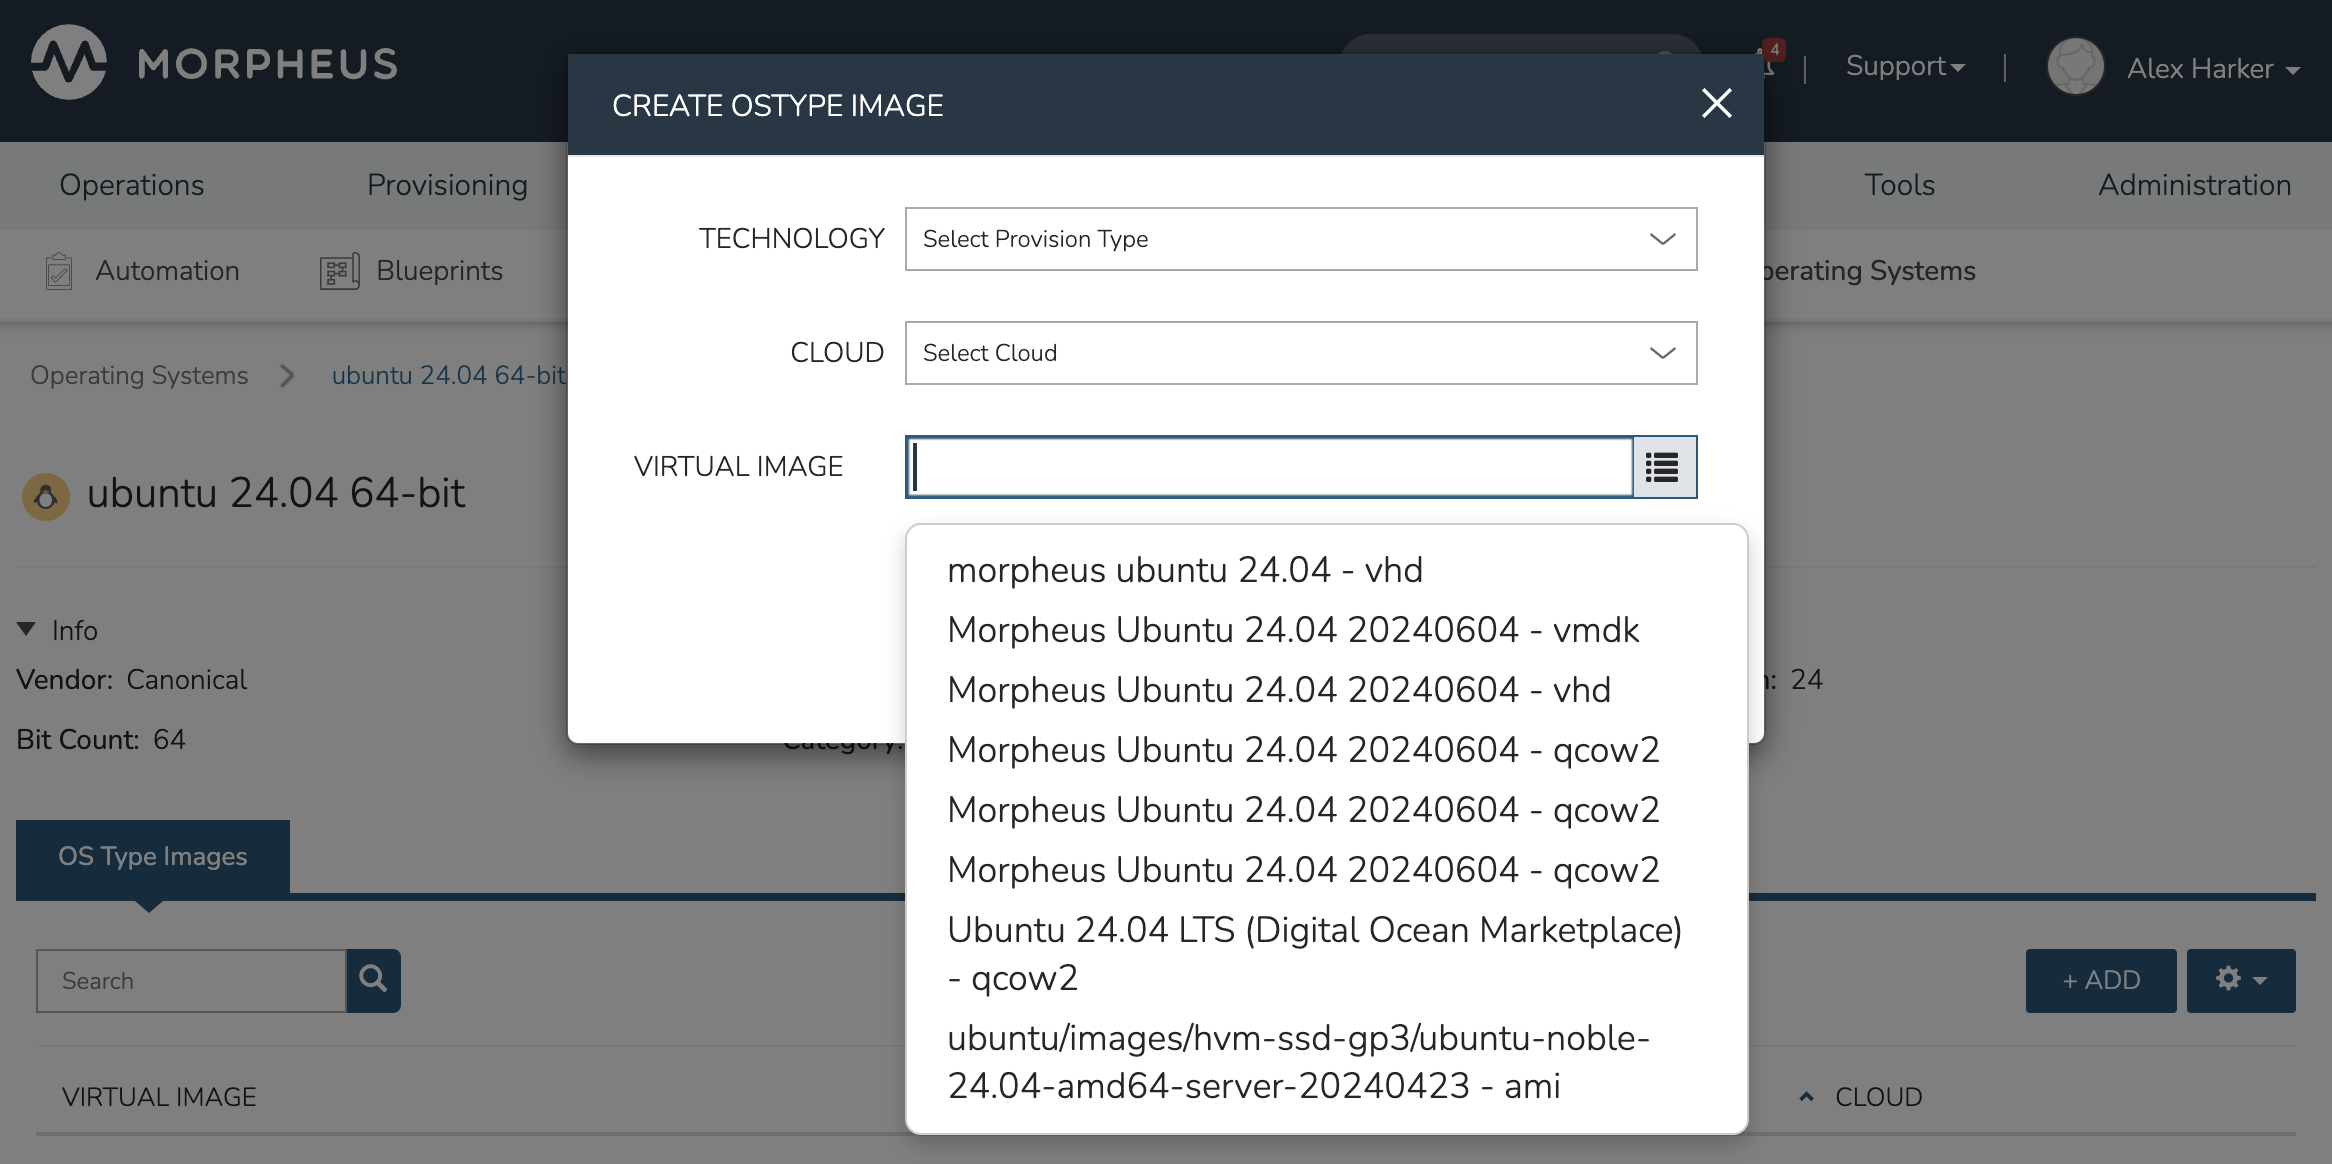
To add an existing Virtual Image to the currently-selected OS type, click + ADD. Select the image and optionally identify a provisioning technology or even a specific Cloud. When finished, click SAVE.
Note
When adding a Virtual Image to an OS type, only Virtual Images that have been saved with the same OS type (Operating System) configuration will be shown in the typeahead list.

Once images are associated with a built-in OS type, they will be used when the situation warrants (a compatible provisioning target is selected or the correct Cloud is chosen, depending on how the OS type image was configured). It’s important to note that user images are always selected over system images with the same configuration (same associated technology and/or Cloud). Additionally, more specifically configured images (for example, one with both a technology and a Cloud configured) will be selected over those less specifically configured. Only one user image can be added per Operating System with an identical technology and/or Cloud configuration and this image would supersede the system image with the same technology and/or Cloud configuration.
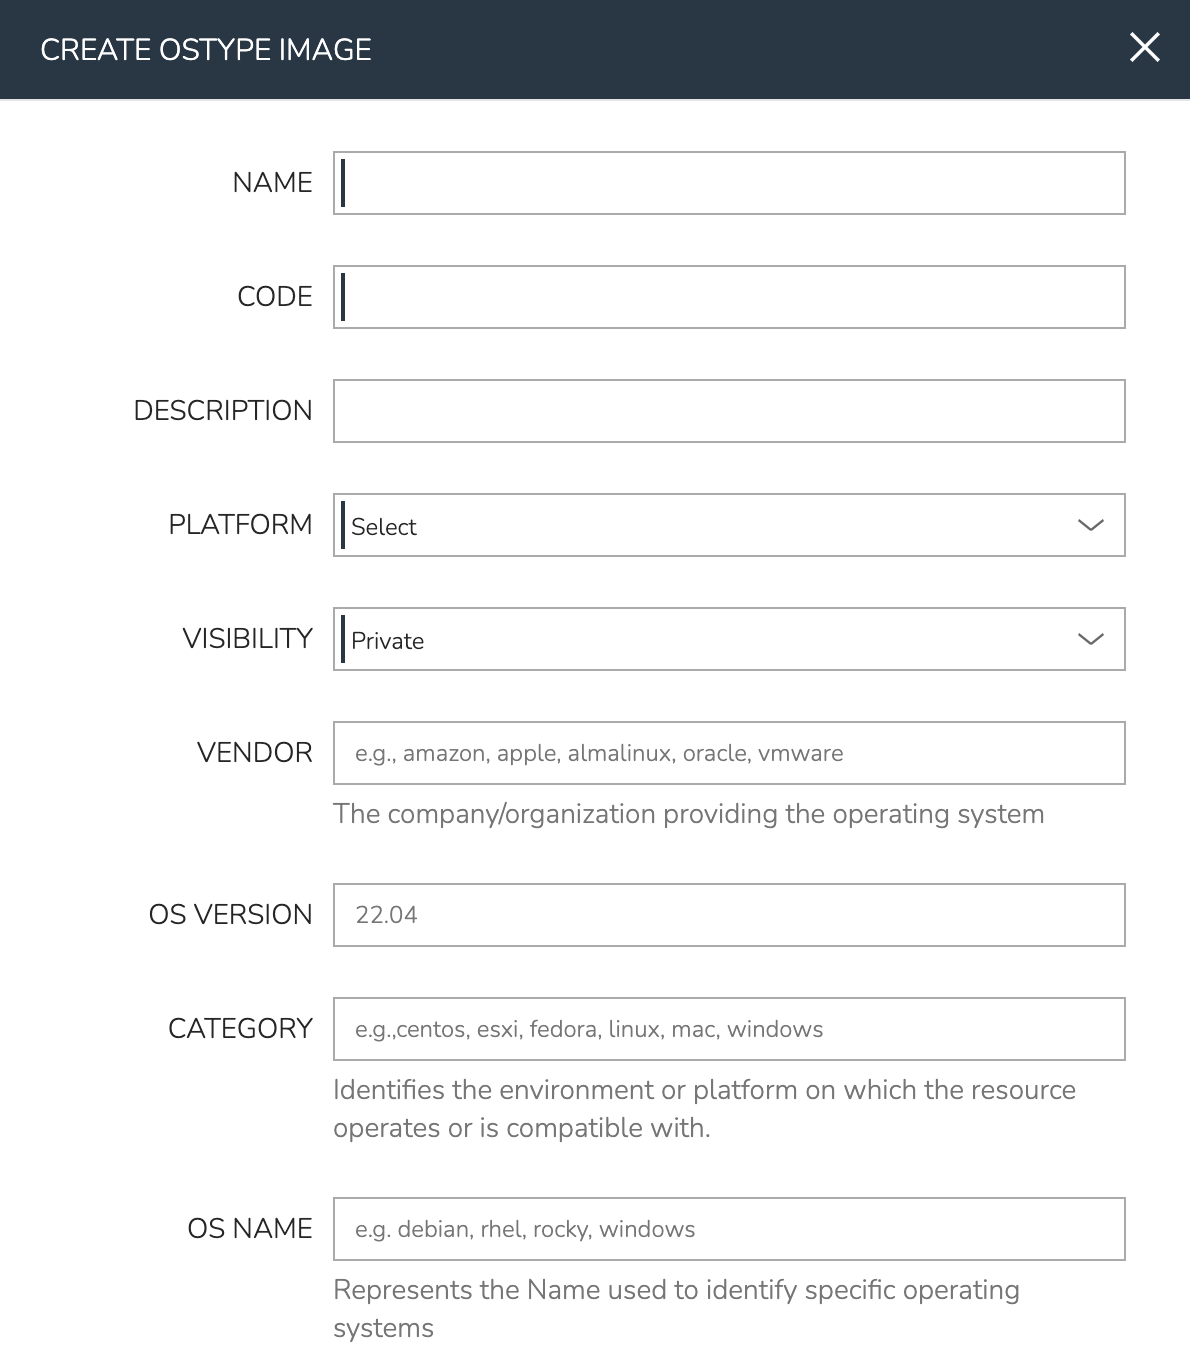
The second use case is to add your own Operating System. New Operating Systems can be added by navigating to Library > Operating Systems and clicking + ADD. OS types can be configured with highly granular detail allowing environments with similar Os types to distinguish them.

After creating the OS type, any new or existing Virtual Images can be associated to the newly created Operating System (Library > Virtual Images). Once Virtual Images have the Operating System association, you can return to the OS type and complete the association with the Operating System by clicking into the OS type and clicking + ADD.
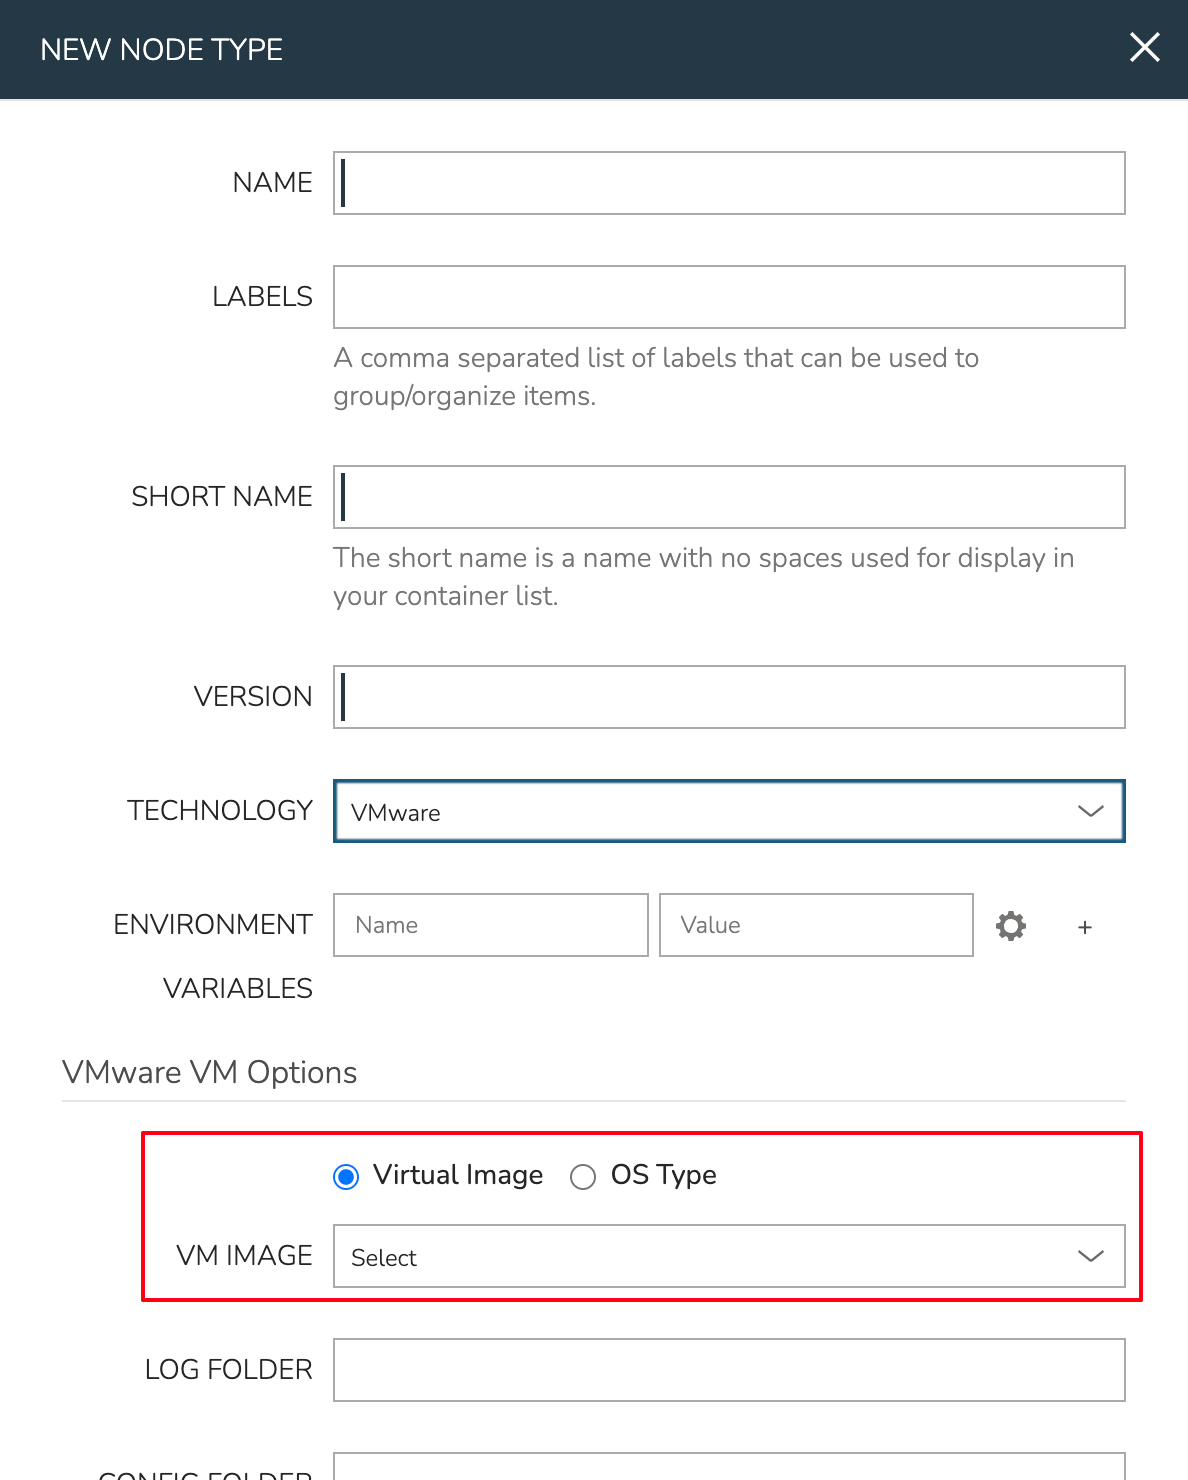
Once you have a custom Operating System loaded with your own gold master images, the OS type can be used with new Node Types going forward. To see how this works, navigate to Library > Blueprints > Node Types and click + ADD. Change the default technology for a new Node Type from the default “Docker” value to another technology, such as “VMware”. Notice that the option is given to associate the Node Type with either a specific image or with an OS type. By selecting an OS type, the Node Type will select the appropriate image at provision time based on technology and/or Cloud filters.

It’s important to note that more specifically configured images (for example, one with both a technology and a Cloud configured) will be selected over those less specifically configured. Additionally, only one user image can be added per Operating System with an identical technology and/or Cloud configuration.