Terraform Blueprints
Terraform Blueprints are one way that Terraform can be integrated and leveraged with HPE Morpheus Enterprise, with the other being the HPE Morpheus Enterprise Terraform provider which is not discussed in this section. HPE Morpheus Enterprise and Terraform are complimentary technologies which together can increase efficiency and simplify automation across cloud environments. For more on this relationship, see our whitepaper on how HPE Morpheus Enterprise and Terraform are better together.
Currently, HPE Morpheus Enterprise supports provisioning Apps based on Terraform Blueprints to VMware, Amazon, Azure, and Oracle Clouds with additional Cloud support coming in future releases. On first attempt to provision a Terraform App, HPE Morpheus Enterprise will automatically install Terraform. It is possible in some operating system configurations for this automated installation process to fail, requiring you to install Terraform manually. If needed, manual installation instructions and guidance are provided here.
To create a new Terraform Blueprint, navigate to Library > Blueprints > App Blueprints. Click + ADD.
On the Name tab of the New Blueprint modal, enter a name for your new Blueprint. In the Type dropdown menu, select Terraform. NEXT
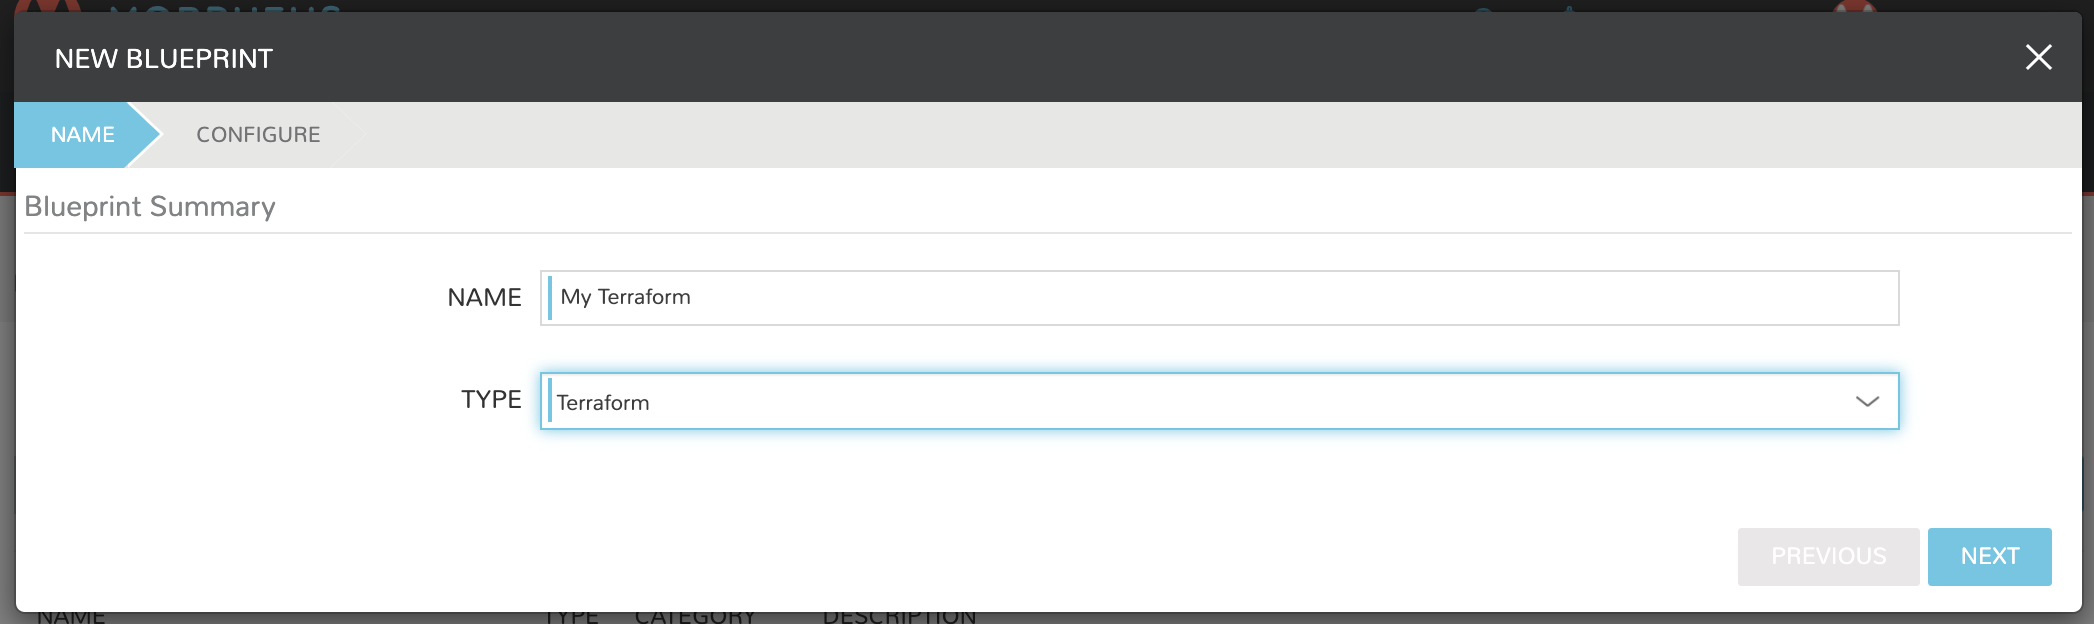
In the Blueprint Summary section, complete the following fields as needed:
NAME: Enter a name for this Blueprint as it will appear in the HPE Morpheus Enterprise Blueprints list
DESCRIPTION: An optional description field for your Blueprint
CATEGORY: An optional category tag for your Blueprint, such as web, utility, or app
IMAGE: An optional image icon to more easily identify your Blueprint from a list. If no image is uploaded, a default image will be used
The Terraform Configuration section is where the Terraform template file (.tf) is added or linked to the Blueprint. Using a Config Type of “Terraform (.tf)” or “Terraform JSON (.tf.json)”, you can write or paste your configuration directly into the new Blueprint. Alternatively, you can pull in config files from an integrated Git repository using the “Git Repository” Config type.
In the Terraform Configuration section, complete the following fields as needed when entering your configuration directly into the new Blueprint:
CONFIG TYPE: “Terraform (.tf)” or “Terraform JSON (.tf.json)” to create or paste configuration directly into the new Blueprint
CONFIG: Enter your configuration here
TFVAR SECRET: Select an existing TFVar-formatted Cypher. See the Cyphers section or HPE Morpheus Enterprise docs for more information on Cyphers
OPTIONS: Enter any additional options, such as a variable definition
In the Terraform Configuration section, complete the following fields as needed when syncing in configuration from a Git repository:
CONFIG TYPE: “Git Repository”
SCM INTEGRATION: If a pre-existing SCM integration is selected here, the available selections in the “Repository” dropdown menu will be filtered to show only those associated with the chosen SCM integration
REPOSITORY: Select the repository in which your configuration resides
BRANCH OR TAG: The branch in which your configuration resides
WORKING PATH: The path to your configuration files
CONFIG: Your selected config file
TFVAR SECRET: Select an existing TFVar-formatted Cypher. See the Cyphers section of HPE Morpheus Enterprise docs for more information on Cyphers
OPTIONS: Enter any additional options, such as a variable definition
Once finished, click COMPLETE.
Your new Terraform Blueprint is now saved and should be visible in the list of Blueprints. Blueprints are deployed in the Provisioning > Apps section of HPE Morpheus Enterprise. See the Apps section of HPE Morpheus Enterprise docs for more information on that process.